

Prints (0)
-
No Prints Yet
Be the first to upload a Print for this Design!
Description
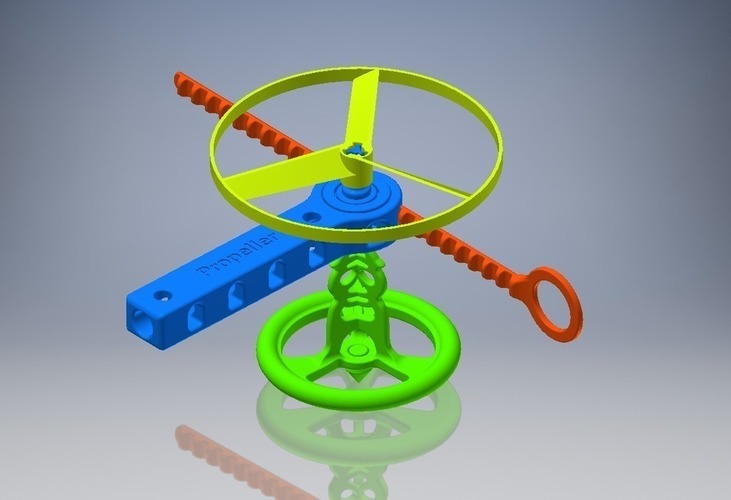
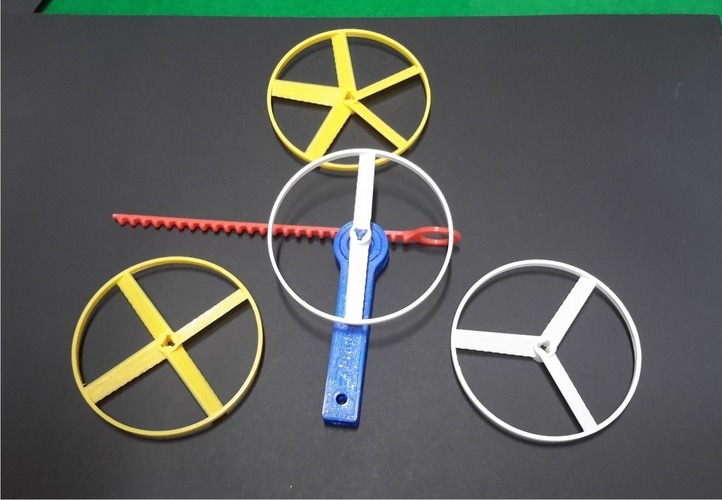
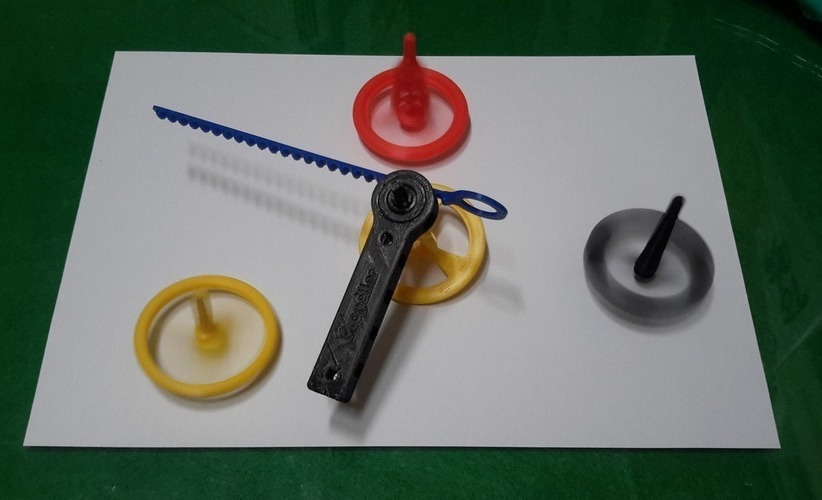
Summary This launcher is designed for both of propellers and spinning tops. You can fly the propellers and also spin the tops by using one launcher. It is a new design, but it was inspired by Davidcolsson's propeller launcher (http://www.thingiverse.com/thing:312971). To fly the propellers and turn the tops, I also adopted the Davidcolsson's method of pulling a dragger. Now design your own propellers and spinning tops, and print them. Then fly propellers and spin tops by using my launcher! Print Settings Printer Brand: Printrbot Printer: Simple Black Rafts: No Supports: No Resolution: 0.2mm layer thickness Infill: 100% How I Designed This I first designed the launcher of spinning tops in Autodesk Inventor. But, I found out that the driving principle of a propeller and a spinning top is the same. Finally I made this launcher. In order to save materials and printing time, if possible, I made it small and compact. Students create their own propellers or spinning tops, and drive(fly or spin) them by using this launcher. To help students design, I also uploaded customizable propeller and spinning top files. Project : Design Propellers and Spinning Tops Objectives:
Learn dynamics of a propeller and a spinning top. Learn basic 3D design skills and how to use at least one of 3D modeling softwares. Design and create propellers and spinning tops.
Audiences:
Students in grades 5-10
Preparation:
Have students form into working groups. Each group is composed of 4~5 students. Research and study a propeller or a helicopter rotor. and a spinning top (https://en.wikipedia.org/wiki/Top). Learn how to use one of Tinkercad, FreeCad, SketchUp, or OpenSCAD, etc. Learn how to use Autodesk Meshmixer(http://www.123dapp.com/meshmixer). This software is used to modify and combine models in this project.
Step1. Print a launcher.
Each group prints one launcher. The launcher consists of 4 parts: launcher_handle.stl, launcher_drive_coupling.stl, launcher_lid.stl, and launcher_dragger(3_turns).stl. For more power, print launcher_dragger(4_turns).stl (220mm long). I can't print it because of the limitation of my 3d printer. Use different colors to distinguish from each other. When you assemble the launcher, glue the lid with cyanoacrylate adhesive.
Step 2. Design a propeller(propellers).
Use one of Tinkercad, FreeCad, SketchUp, or OpenSCAD, etc.
Design Considerations
* In Autodesk Meshmixer : Replace your cylinder hub with "Propeller_Hub.stl". Propeller_Hub.stl is the file that I've already designed and uploaded.
Customizable Propeller : In OpenSCAD, I designed a customizable propeller (design_propeller_scad.zip). To make the propeller hub, “import_Propeller_Hub.stl” file is imported.
Step 3. Design a spinning top(tops).
Use one of Tinkercad, FreeCad, SketchUp, or OpenSCAD, etc.
Design Considerations
* In Autodesk Meshmixer: Replace your rod spindle with "Top_Pole.stl". Top_Pole.stl is the file that I've already designed and uploaded.
Customizable Spinning Top: In OpenSCAD, I designed a customizable spinning top (design_spinning_top_scad.zip). To make the top spindle, “import_Top_Pole.stl” file is imported.
Step 4. Print models.
Use 0.2mm layer thickness and 100% infill.
Step 5: Test models, iterate, and 3D print.
Test flying the propellers and spinning the tops. Students give feedback on their models. If necessary, re-design and re-print models.
Results:
Each group races in a classroom. Prizes : Best Design, Best Performance(flying distance or spinning time), or Top Battle Champion, etc. For example : Propeller - Flying at the Target(https://www.youtube.com/watch?v=yyO3txRh6Ps), Spinning Top - Best Spinning Time ( 1 m 23s ) (https://www.youtube.com/watch?v=h4Qw5tbjWi0)
References
My propeller models are : propeller_2blades, _3blades, _4blades, and _5blades.stl files. I uploaded spinning tops : top_Blade_type.stl, top_KAZA-ORBITAL_REMIX.stl (http://www.thingiverse.com/thing:542914) And I designed a special top(http://www.thingiverse.com/thing:1320207) for my launcher.
Comments