

Prints (0)
-
No Prints Yet
Be the first to upload a Print for this Design!
Description
Description
3D printing is a powerful tool. It enables individuals to hold the power of creation within their grasp, a power originally limited by the financial burdens of manufacturing. That is why, for this contest, I wanted to create something more than just a mere weapon or prop. I wanted to create something to represent this industrial revolution, a model to remind us of where it all started while showing us how far we’ve come. To do this, I’ve had to travel back 28 years to Star Trek: The Next Generation and The Neutral Zone.
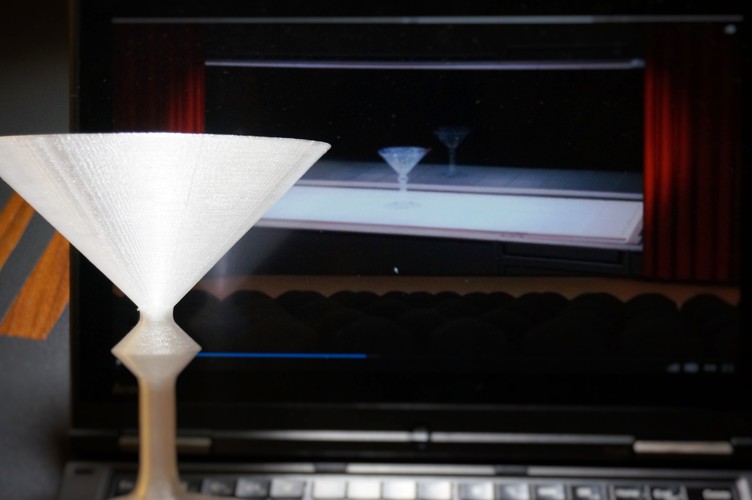
Star Trek is home to perhaps the most iconic movie 3D printer of all time: the Replicator. First introduced in Season 1, this machine helps produce food for the crew by piecing together molecules, and years after the TV series concluded, it has become the inspiration for many 3D printing companies, like Makerbot. I wanted to create something to represent this unique symbol, a model with a balance between complexity, printability, and significance. In the end, I settled with this martini glass.
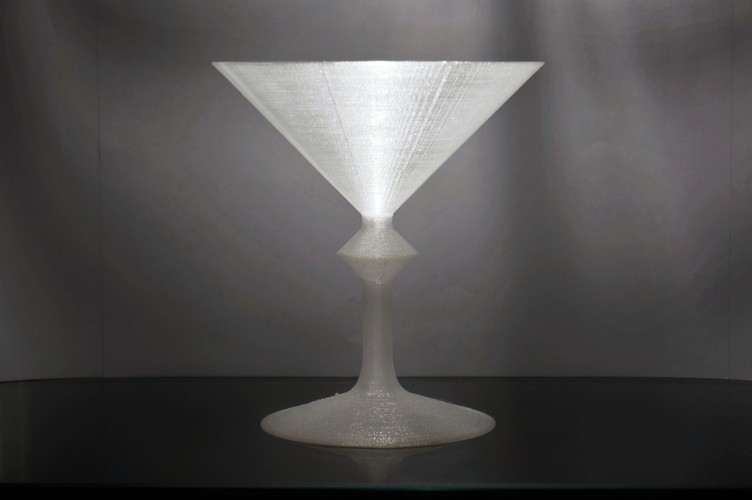
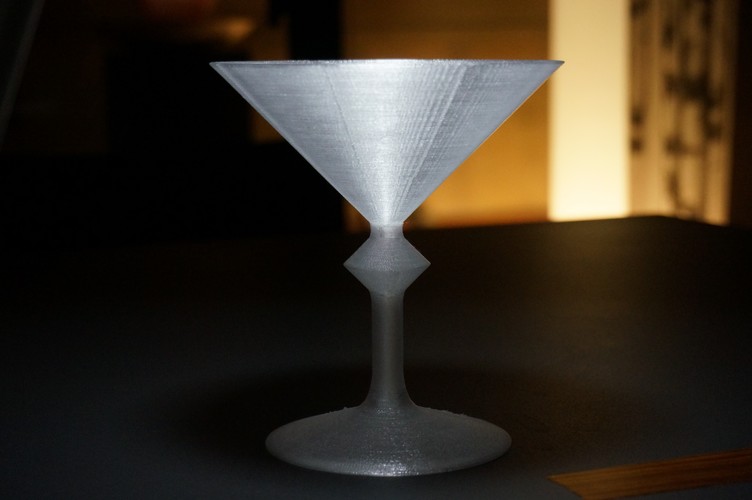
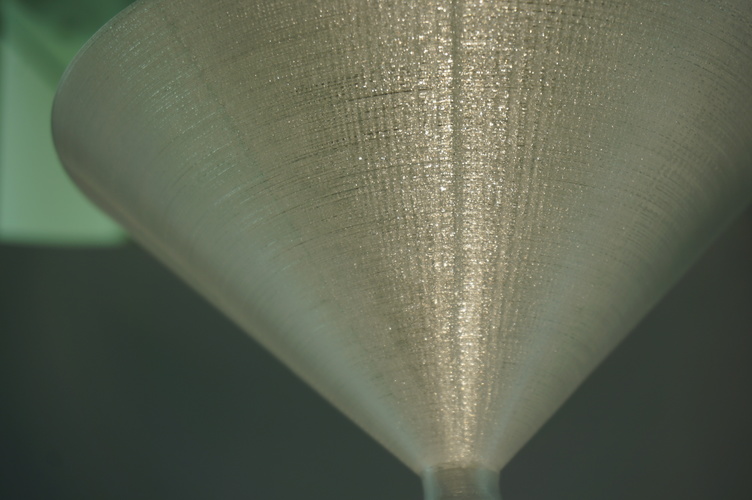
This glass has been created to depict the one that L.Q. Clemonds, a cryogenically frozen man from the 20th century, ordered, caught half-materialized. This sparkling look was created by utilizing the unique optical properties of clear filament, as extensively explained in the instructions below. Additionally, all of the overhangs on this model are within 45 degrees, making it easily printable on all printers with all filaments; moreover, the dimensions are only 136 by 136 by 150 mm, which makes it yet easier to print, even with limited print volume. However, this does not mean that the model is simple: with the correct print settings that I’ve found through extensive testing, it can gain a new layer of interest and complexity seen in very few designs.
So, if you’re printing this, know that 28 years ago, the same object was created with the same technology. Maybe in another 28 years, we will have real 3D printed martinis!
Note: If renderings come out with models on their side, it is a bug. Files load into the slicer right-side up.
Instructions
Note: Far more detailed PDF instructions (with pictures and exact settings) available for download (highly recommended!).
As I mentioned before, print settings are crucial for getting the most out of this model. Each type of printer and filament is different, so I’ll run through a general guide on how to find the right settings for printing this (for exact settings, see the instructions PDF).
First, I would recommend printing a small, 1 mm thin wall at temperatures spaced evenly throughout your filament’s printing window. This helps you get a grasp of how your filament behaves at varying temperatures. “Normally”, if the filament is extruded at too low of a temperature, it will tend to be slightly more opaque, and as the flow gets better with higher temperatures, it will turn transparent, with a nice, overall sheen: to a point. Once the temperature exceeds that transparent point, small bubbles will start forming in the plastic, and the model will turn sparkly and eventually a solid, frosted white. For this specific model, you ideally want to find a temperature at which prints come out translucent with some sparkle, but not fully opaque. This is what I find as the optimal setting, but feel free to play around.
Now, with the temperature set, there are a few other important settings that will have a visible effect on your final print: wall thickness, infill, bottom thickness, layer height, print speed, and fan speed. I’ll address each one of these individually.
· First of all, wall thickness. I would recommend setting this at 0.8 mm (2 walls) or 1 mm (also 2 walls, with a slight space) because the thin parts of the model are 1 mm thick (but at an angle, so the width that the printer prints is actually around 1.41 mm). Personally, I used 1 mm, sliced in Cura, and that turned out fine. You don’t want the setting to be too thick, as it will make your print too opaque. Again, 1 mm is a nice place to start.
· Second, infill. Just turn it off, for the sake of visual properties and saving plastic. Some people will recommend 100% infill for more transparent parts, but honestly, that’s just a waste of plastic, and in this case, having a more diffused look actually helps. Additionally, some people might worry about defects on the inside of the base (the underside of the slope, with a severe overhang) showing through the walls, but with the right printing temperature, you really can’t tell the difference, and it only adds to the model!
· Third, bottom thickness. This isn’t really that important, but it is something worth considering for more confident users. The design has a flat base for printability, and it doesn’t affect the model visually, but for bolder people wanting to make the print slightly more realistic, the bottom (not top) thickness can be set at 0. The catch is that what once where defects hidden inside the model will become the outside surface, albeit on the underside. Additionally, you may want to disable combing to avoid strings in the void. Note: I have not included a file without the flat base, but I will upload such a file if repeatedly requested to.
· Fourth, layer height. Just don’t set it too low, as it will make your print opaquer. I found 200 microns (0.2 mm) to be a nice middle ground, and the layers are well hidden by the sparkle of the plastic.
· Fifth, print speed. Now this is important. You do not want to print your model too slow, as the prolonged exposure to heat will cause the model to get opaquer. I set everything at 50 mm/s with only the inner wall at 65 mm/s, but your settings may vary.
· Finally, fan speed. You want a setting that will produce crisp overhangs while giving the lines of plastic maximum time to meld together, increasing transparency. For me, 50% fan speed was a nice setting, but it might be different for you and your filament.
Whew! Now, with all those settings correct, go ahead and print this model, and it should have a nice, half-materialized look! To photograph, simply find a nice background and a light to shine into the glass!
Comments