

Prints (0)
-
No Prints Yet
Be the first to upload a Print for this Design!
Description
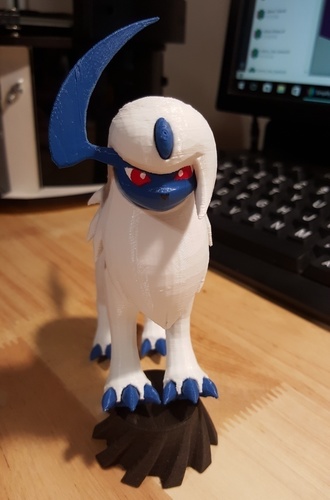
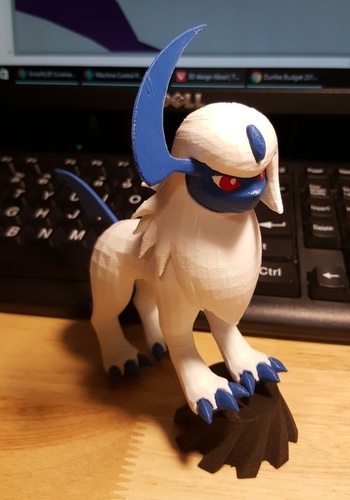
Challenging print, but well worth the time when you see Absol form before your eyes.
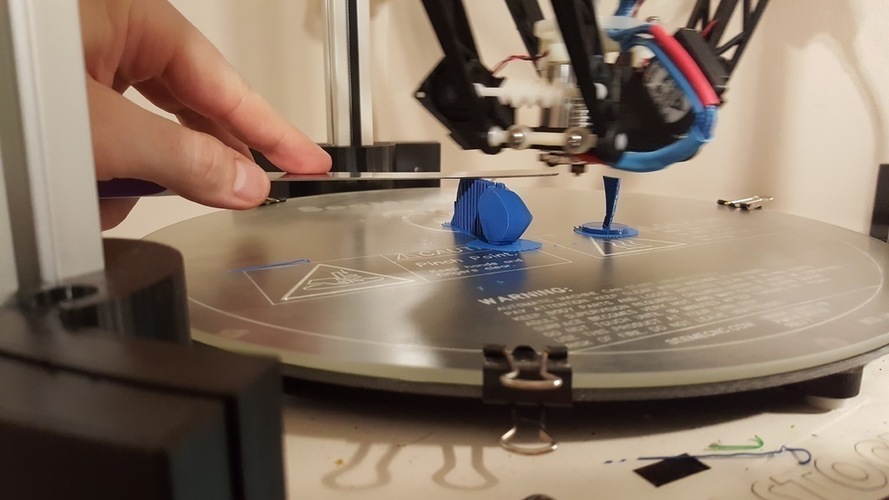
Print Notes: You may have to play around with support depending on how well you have your printer dialed in. If I had to print over, I would scale up at least 150%. This one ranks as one of the more challenging prints I've done to date where I had to babysit with a frosting spatula and place a spot fan to prevent the PLA from curling on me (see babysitting photo). I put the pieces together with super glue. I used a heat gun to soften the plastic to give a nice snug fit. Finally, used some modeling paint for the eyes and nose. (paint before you attach the face)
- Absol-Body.stl or Absol-Body-supported.stl - Print in white. I supplied one with support to assist in better foot containers.
- Absol-Claw.stl - Print four in blue. I designed with the same claw for simplicity. I used a brim instead of a raft so it would be easier to clean. I printed along with dewclaws and jewel.
- Absol-Dewclaw.stl - Print four in blue. I actually print with a brim along with the claws and jewel.
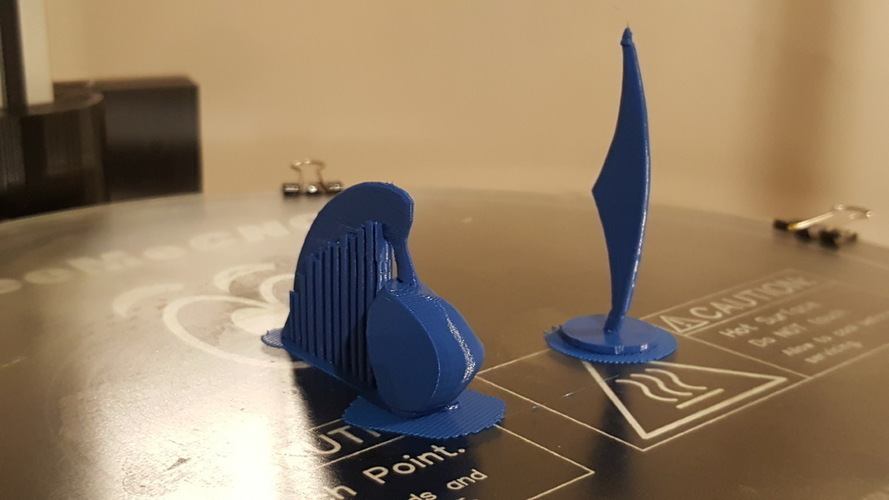
- Absol-Face.stl - Print in blue. Good luck, I had to babysit with a frosting spatula for curling along with a fan and while support is not necessary (actually the auto-generation in Simplify3D doesn't create any even at 30 degree overhang). I slowed the print speed from 30mm/s to 20mm/s, printed at lowest temperature I could get away with (190C) at .1mm resolution and, also, printed with the tail just to give the plastic more time to cool.
- Absol-Head.stl or Absol-Head-supported.stl - Print in white. I printed several versions trying different orientations and I think this one nets the best quality. I only had to babysit with my handy spatula for the first 10 layers or so till the head was formed and curling was at a minimum. Again, good luck.
- Absol-Jewel.stl - Print in blue. I printed along with the claws and dewclaws.
- Absol-Tail.stl or Absol-Tail-Alt.stl - Print in blue. The alternate I felt produced a more uniform output that matched the head protrusion, and provided the height to print along with the face.
How I Designed This: I retrieved the base model from ROEStudios and imported into Meshmixer to dissect into individual meshes and extrude faces into objects. I imported into Tinkercad for orientation, some custom support and size polishing. Couple pieces (head & body) I returned back to Meshmixer to generate/create support.
For Absol-Full.stl, I made some minor fixes through Meshmixer to combine the head and dew claws with the body before running it through MakePrintable; then, finished it back in Meshmixer to reduce triangle count.
Credits: Obviously, visit Pokémon for everything Pokémon.
Comments