
Prints (0)
-
No Prints Yet
Be the first to upload a Print for this Design!
Description
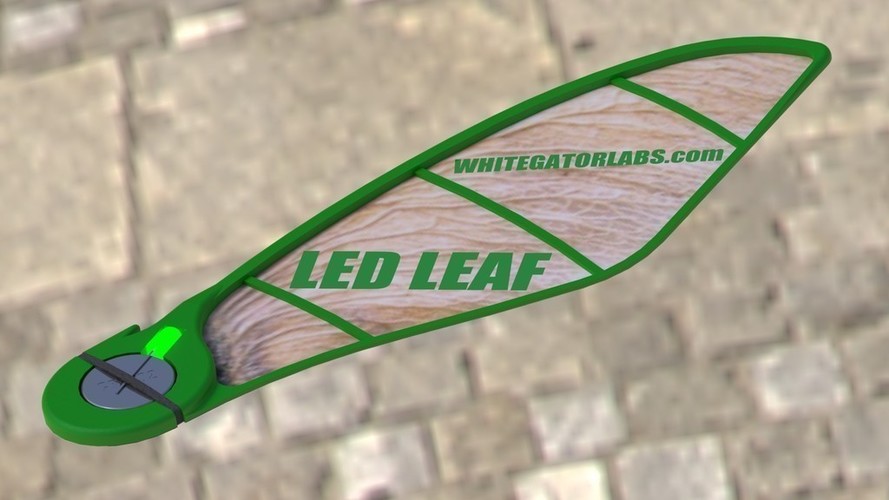
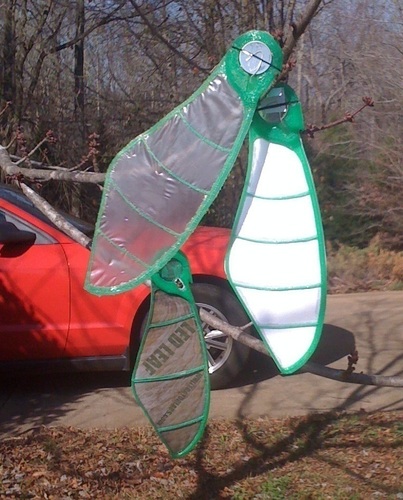
SummaryAfter seeing an LED helicopter (https://www.youtube.com/watch?v=zEm2yhqjDGg) I wanted to build my own. Instead of using their concept, I wanted a Maple seed design. The leaf should fly 30-40 Feet High and Spin Back to earth. This is my 4 revision and should work. Background information about the last 3 designs: LED Leaf V1- Smaller Area with a 5mm tall leading edge & .5mm Thick wing. Launched well, but did not spin. Weight distribution issues. LED Leaf V2- Same size a V4. Wing thickness .5mm leading edge 3.5mm tall. Same problems as V1, Launched well but did not spin. LED Leaf V3- Same size a V4. Wing thickness .25mm (1 layer) leading edge 3.5mm tall. Would spin but plastic on the wing did not stay together. LED Leaf V3.5- Took the LED Leaf V3 and Traced the profile in paper. Removed the .25mm wing (leaving the leading edge) and super glued the paper to the plastic. LED LEAF V3.5 launched well and spun every time. 1/2 the time the LED leaf would only launch 15 feet. I think this is due to the paper wing not being supported on the tail end. When launched the tail end would cause the LED leaf to become unstable in flight. Thus making it turn and start to spin. LED LEAF V4- Thinner Blades with a Glue on wing Led Leaf V5- Lightest Version yet. Best Model to print! Still can Use LED Leaf V4 PDF for the Wing. (Large print! Not designed for Makerbot's Yet, just Repraps)InstructionsPrint: (@ 0.25mm or .125mm layer height) LED_Leaf_V4.STL LED_LEAF_Launch_Stick.STL LED_LEAF_PAPER_V4.PDF (Inkjet printer) Find: CR2303 Battery 5mm LED Small rubber band (For battery) Two large rubberbands (For launcher) 1) Apply glue to Plastic part 2) Center part on paper and apply 3) Let glue set 4) Cut Along Edges 5) Add Battery to Assembly 6) Connect LED to Battery 7) Wrap rubberband around Assembly. 8) Add Rubberbands to Launcher 9) Launch @ Night
Comments