Prints (0)
-
No Prints Yet
Be the first to upload a Print for this Design!
Description
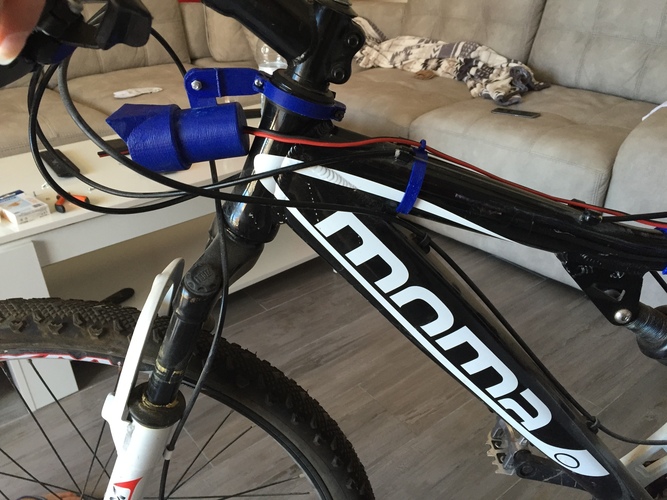
From childhood I have been passionate of computer science, electronics and electricity and I create a lot of projects but from now I will present to you this self powered lights system for bicycles. There are more accessories in one but all accessories have one goal: NOT TO PAY ANY MORE MONEY FOR BATTERIES AGAIN.
Sorry for my poor english but I`am romanian living in Spain from about 14 years and in my head is a really languages mess.
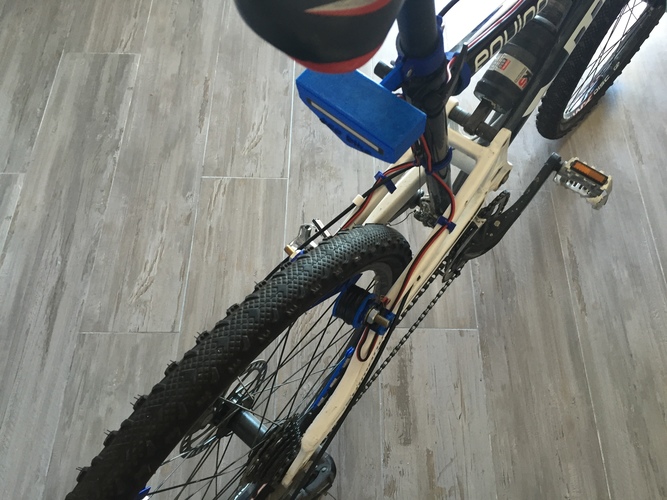
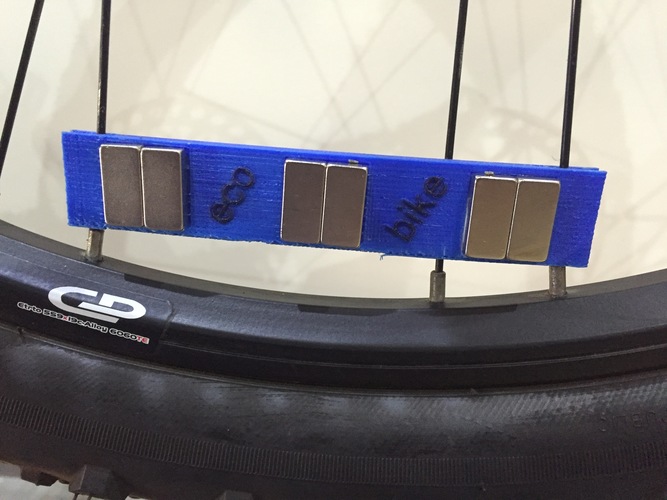
This project is based on magnetic induction to generate electricity (as a simple dynamo) but this system has NO FRICTION and for this is more RELIABLY than a dynamo. I like that in everything I create to include recyclable components and make sure that all my projects have 100 % functionality.
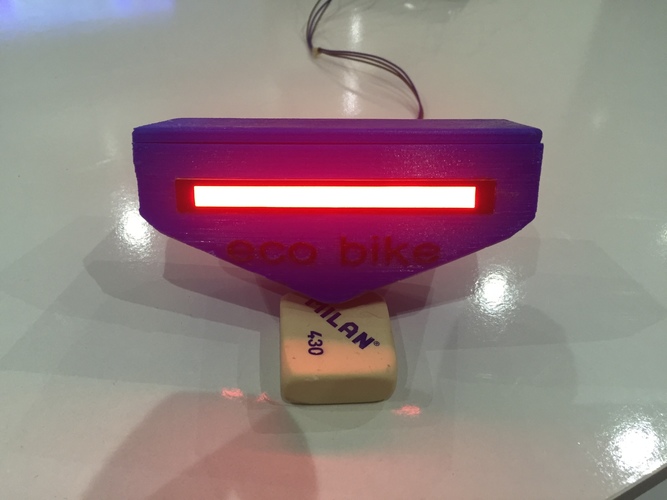
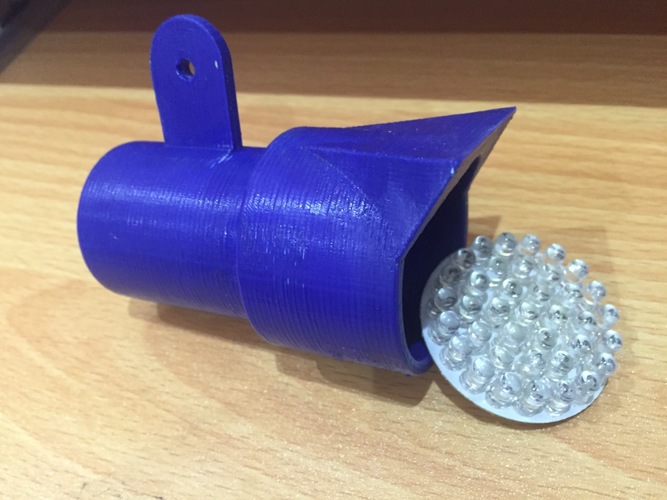
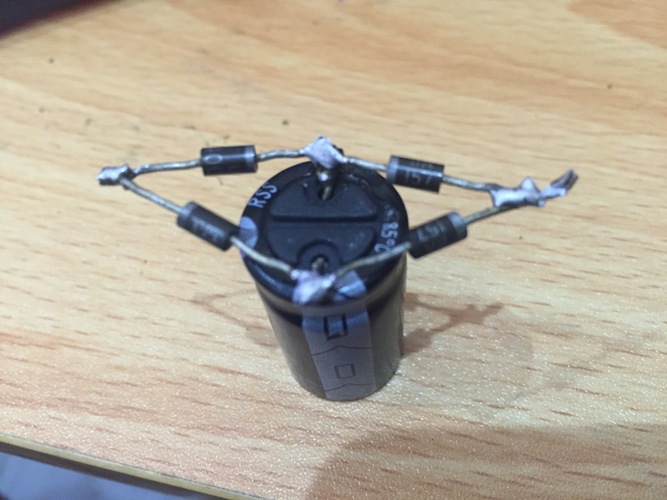
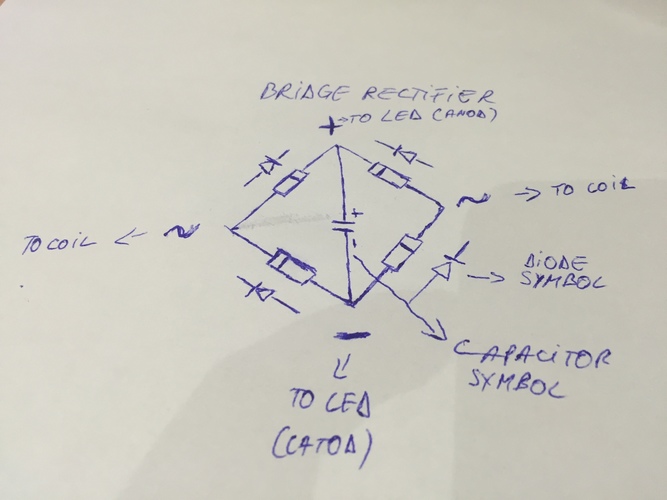
Electronic components like wire coil, diode, capacitor and LED lights on the back, are from an old TV (Cathode Ray Tube TV) that was thrown in the trash. The LED front lights are from an old and broken ceiling light (see the picture). I added the schematic, is a very simple bridge rectifier (see the picture). The capacitor have 2 purposes: the first is to filtrate the current and the second is to storage the current and actuate like a battery.
The bridge rectifier has the purpose to convert the alternative current generated from the coil to continuous current that is used for the LED lights. This system could have a lot of purposes: to charge a mobile phone, to charge an action camera and for those who want to recharge the electric bicycle while riding just contact me and I will provide the schematics for the voltage amplifier/charger.
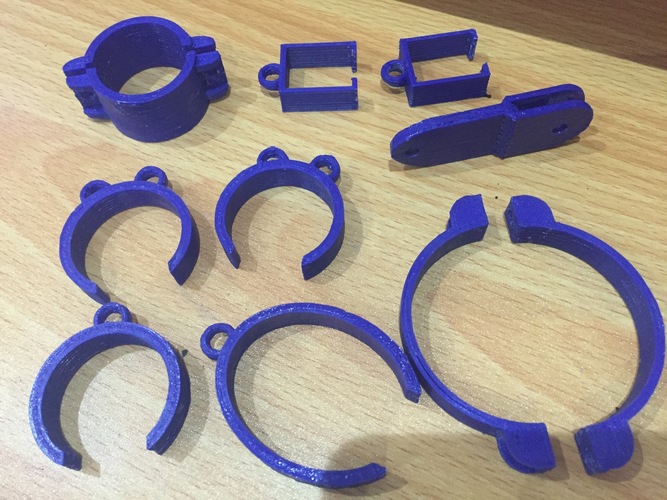
All the measures have taken from my bike (MOMA BIKE) but I created all accessories with more dimensions and if that does not suit you contact me and I will make the drawing with your measures.
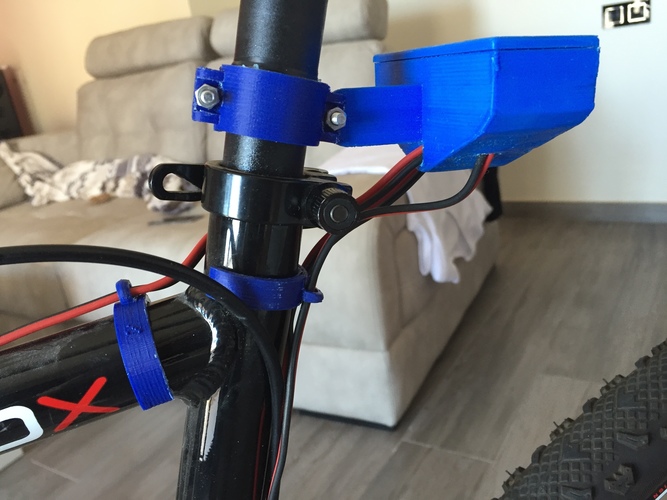
The rear lights box we are going to used for 2 purposes: 1 to mounts the rear light and 2 to have a conexion box and storage the electronics.
Attention are parts that need support for creating a good Printing. I printed all accessories with an infill between 30 % and 60 % depending on the functionality given to each component, for example supports for lights, coil and magnets, need to be tough and I used more infill, printing velocity 30 ( for my printer )
The only component that I believe that we not all have in our house are the neodymium magnets (N52 the most powerful Gauss grade) but do not worry for this there are cheap from the aliexpress webpage, from where I have buy it a time ago for my other projects.
LIST OF COMPONENTS:
Neodymium magnets: you will need 24 pieces and you will cost you 8.24€ and 2€ shipping to Spain (other countries no clue).
You could use only 16 magnets (4 magnets per support) and will cost you 7.74€ + shipping. But for optimal voltage I recommend 24 magnets but it’s up to you. It’s a small price to pay but I assure you that you will have a great weekend project.
From this webpage:
Enameled copper wire: I have used 0.40 mm wire from scraping an old TV. The formula for this coils is very simple: tinier is the diameter of the wire=longest wire=more voltage (from my 2 coils I have 12 volts: 6v per coil)
Capacitor: 1 piece between 25v-50v and 1000uf to 3000uf (more microfarads=more current storage=more power of charging/lighting)
Diodes: 4 pieces, I assure you that all most any type of diode will do this job all you need is to respect the schematics (see picture).
Screws: 10 pieces 4x30 mm and 2 pieces 12mm x (depends of the coil dimension in my case 40mm with 30mm coil axe).
Big LED (6v) bicolor red/blue 8mmx76mm mine is from scraping but also you can use 8 pieces of normal red led on the second rear light version.
Connections wire: 2,5m piece, just the typical parallel wire (red and black: red is + and black is -) that uses the speaker will do the job.
Old led dichroic for the front light: 1 piece
This is the video with the rear side light . I will upload tomorow the rest of the project.
And here the second video and the entire project with full functionality.
Comments