
Prints (0)
-
No Prints Yet
Be the first to upload a Print for this Design!
Description
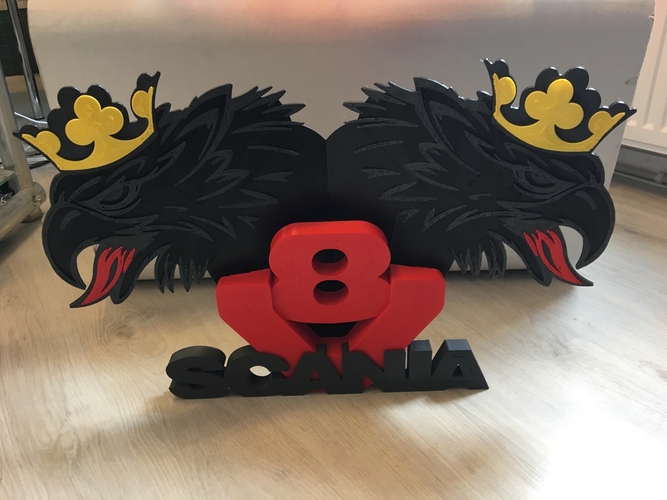
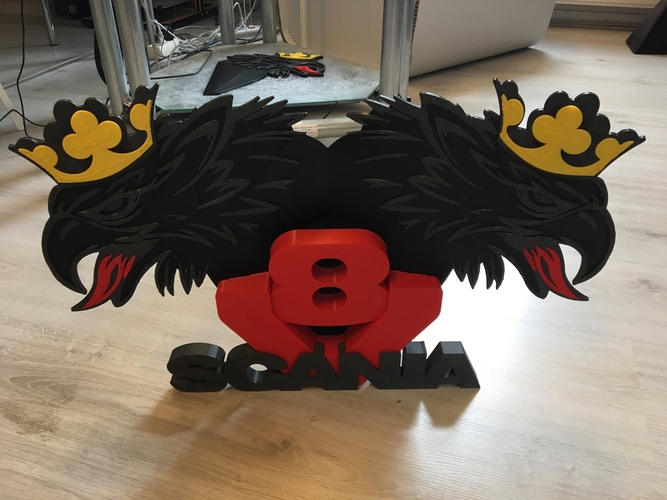
not the the most easy print to do so read the instructions well.
only the scania v8 part is printed with support.
first print the scania file. then the scania v8 file.
this was the easy part of the print.
now comes the tricky part.
load the scania bird black and grey right part 1 in the slicer. for the black part you have to print from 0 and let the print stop at 1,8 mm. For the grey part you have to print from 1,8 mm til the end.
then load the scania bird red and yellow right part 2 in the slicer. the red part starts at 4,2 mm the same is for the yellow part.
now you have 4 g codes and you can start printing. strat with the black part then the grey then red and at last yellow.
When you start printing do not remove the print from the bed. If you print with a heated bed make sure your temp stays at the right temp while you are changing the filament color.
Do the same for the scania left files.
Now you can put it together. I used a 3D pen to welt it all together but you can also use glue or something else.
good luck printing
Comments