

Prints (0)
-
No Prints Yet
Be the first to upload a Print for this Design!
Description
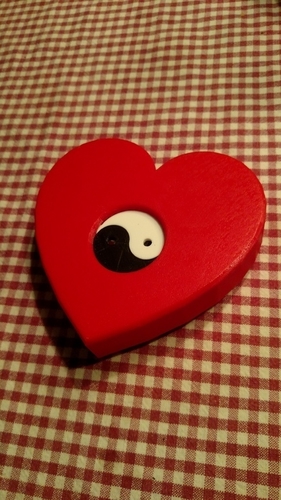
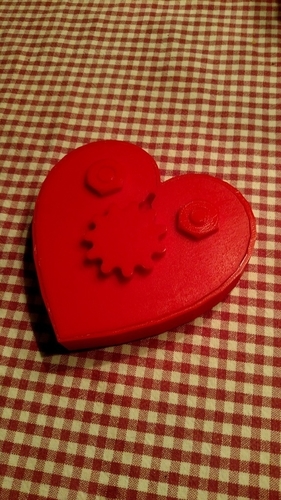
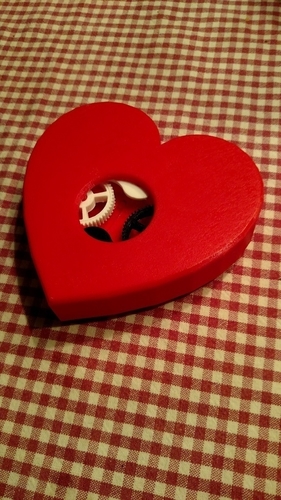
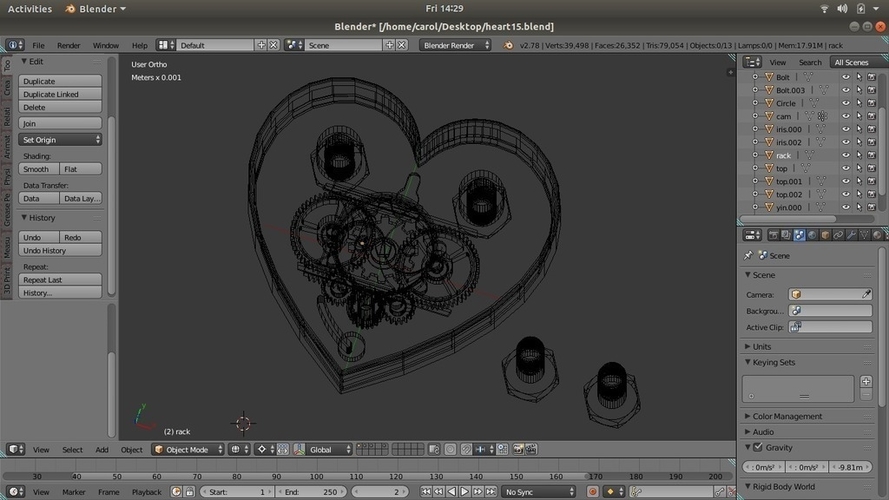
Summary Continuously turn the dial in the back, and the doors open and close exposing the mysterious inner workings. Watch it here: https://youtu.be/pKsV1MZJViw Instructions are in the list of files. My little sister needed open heart surgery to replace her mitral valve. Feeling otherwise helpless, I rather flippantly asked her if she needed anything 3D printed in plastic. She asked for a new heart valve, but I told her that if I made her a heart valve that she probably would not last very long. So she said how about a pendant, with a valve that opens and closes. Inspired by 507 Mechanical Movements, http://507movements.com , I wanted to make something mechanical. So this is what I came up with. She is a spiritual person, I love the Tao Te Ching, The mitral valve is a bivalve, I started all this around Valentine's day, So it all makes sense to me. Find your own meaning, as you turn the dial in the back continuously clockwise, or counter clockwise, and the yin and yang doors open and close as if they were immune to your directional whim. Gaze into the mysterious inner workings and ponder the mysteries of the Universe. It is easy to print. Easy to assemble, and looks really cool. Disclaimer: If you feel that the yin and yang are oriented wrong and are sideways, you may be holding the box wrong. Print Settings Printer Brand: FlashForge Printer: Creator Pro Rafts: No Supports: Yes Resolution: Medium Infill: 33% Notes: The only parts that require support are the left and right yin yang doors. On my printer, the center part underneath that sits on the axle is difficult to clean out. Use a tiny sharp tool and be careful. Sand, or file the underneath of the yin and yang that touched the support because these parts drag over other parts. I made the axles thick enough so that a lower infill is possible. There is very little strain on any of the parts, so feel free to go as low as 25% for the infill. I used Simplify3D, and all the prototypes were Medium resolution. Medium resolution was good enough. I printed the final version at High resolution with 67% infill because I was worried about my little sister. Go figure. How I Designed This I used Blender. For the bolt that is embedded in the top, I used the blender Bolt Add-in. The gears were from http://www.otvinta.com and I may have used something from http://geargenerator.com
Comments