Prints (0)
-
No Prints Yet
Be the first to upload a Print for this Design!
Description
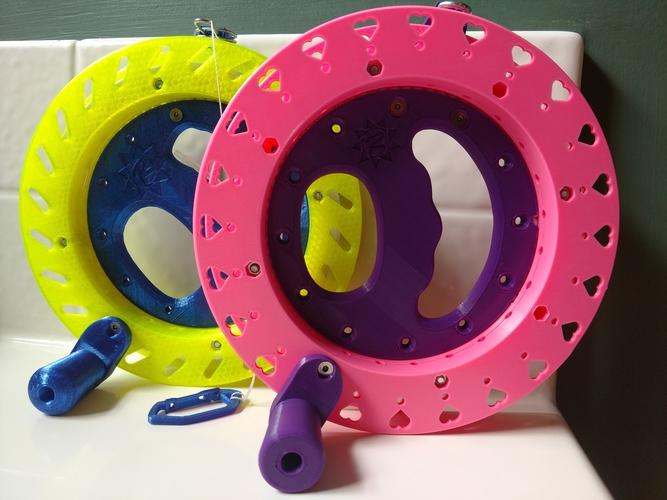
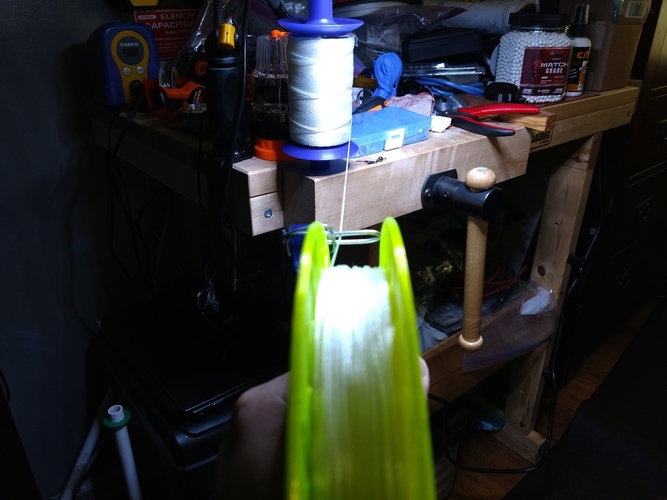
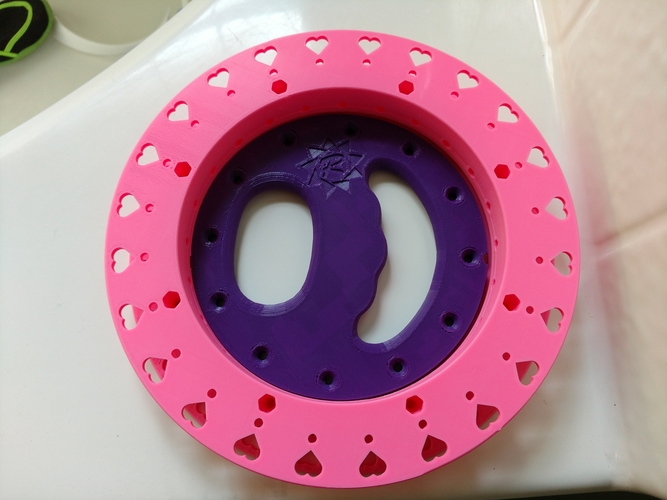
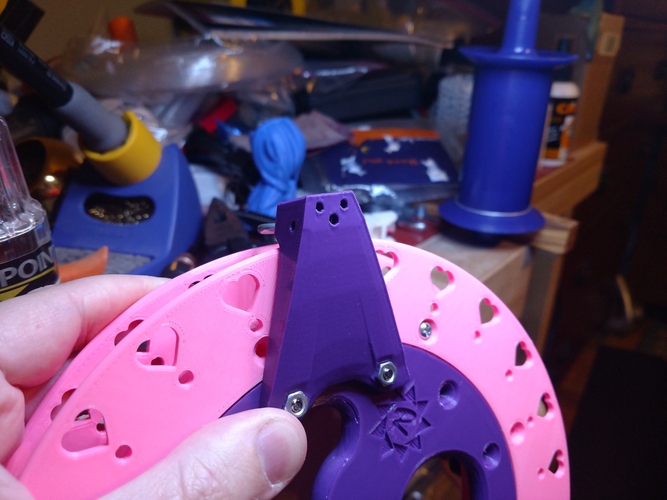
This kite reel/winder is awesome. It'll easily hold 1000 feet of 50lbs line (I have 500ft of it in some of the photos). It's also quite easy to print and assemble! It's also a bit of a fidget toy if you don't put any line on it... It's fun to just spin it around and around!
More importantly: IT IS COMPLETELY WATERPROOF. It cannot rust because the bearing uses Airsoft pellets which are plastic. Enjoy a rust-free kite flying experience!
There's two versions of the kite winder included:
- Hearts ("Airsoft Kite Winder-Bottom Outside Hearts.stl" and "Airsoft Kite Winder-Top Hearts")
- Lines ("Airsoft Kite Winder-Bottom Outside Lines.stl" and "Airsoft Kite Winder-Top Lines.stl").
The bottom middle section (the part you hold on to) is the same for both. Hence it is named, "Airsoft Kite Winder-Bottom Inside Universal.stl".
I've made some videos with some assembly instructions and tips but really, it's not rocket science (you'll figure it out):
- Demonstration: https://youtu.be/N0Ny52rMRNw
- Tip: Sand The Seams: https://youtu.be/5QSOxoE7Y3g
- Bearing Assembly: https://youtu.be/ueLuK6rByXs
- Tip: Nut Insersion: https://youtu.be/KfSNv67YVxw
- Tip: Locking the Reel: https://youtu.be/EKxS3LLyz3Y
UPDATE 20170926: Added "199mm" versions of the APB Kite Reel "top" and "bottom" parts for those with 200mm print beds. Enjoy!
Printing Notes
I recommend using 0.3mm (or thicker!) since there's nothing in these models that requires intricate details. Whatever infill type you want will probably be fine!
I also highly recommend sanding the seams to make it less noisy while spinning (as the pellets bump up against the seam they bounce a bit which makes a noise--it doesn't really impact how smoothly it turns).
Required parts
The things you will need:
- 74 Airsoft pellets for the main bearing
- 6 Airsoft pellets for the handle because it too has a built-in bearing.
- 4-7 25-35mm M4 screws. Countersunk preferred but not necessary. Not too picky though--if the screws are too long they'll just stick out and be ugly (no big deal).
- 4 12mm M4 screws for the handle, the handle extension, and the line guide.
- 6-12 M4 nuts because it's all M4s!
- Optional: For the line guide you'll need either a 12-14 gauge, reasonably smooth wire (no nicks that could fray the line) or a 1 3/8ths inch/35mm "screw eye". A sacrificial brass wire coat hanger would work too.
The screw holes are all tapered to accept countersunk screw heads but regular flat-head screws will work just fine. They just won't look as nice :)
Assembly
Note: Even if you don't read these instructions you'll probably put it together just fine. This is a lot of words to describe a pretty straightforward assembly 😸
Bearing Assembly: Place the shiny side (the part that touched the printer's bed) of the "bottom inside" and "bottom outside" parts facing down somewhere you can easily insert 74 Airsoft pellets. It should take about 5 minutes if you don't spill over your giant bin of pellets and spend like 20 minutes re-collecting them all (not that I've done that 🤐).
Once the bearings are in the reel should spin freely and nothing should fall out. If pellets are falling out your extruder assembly is probably loose or something else is wrong with your printer and as as result you're not printing perfect circles (I had that happen a while back, ugh). Go fix that then re-print 🤗
Now it's time to assemble the handle: Stick the tiny little bearing center piece in the middle then cram six Airsoft pellets in there. It can be a bit tricky but you'll get them in eventually. If you're having trouble just stick the small, inner ring on a screw and shove it up in there.
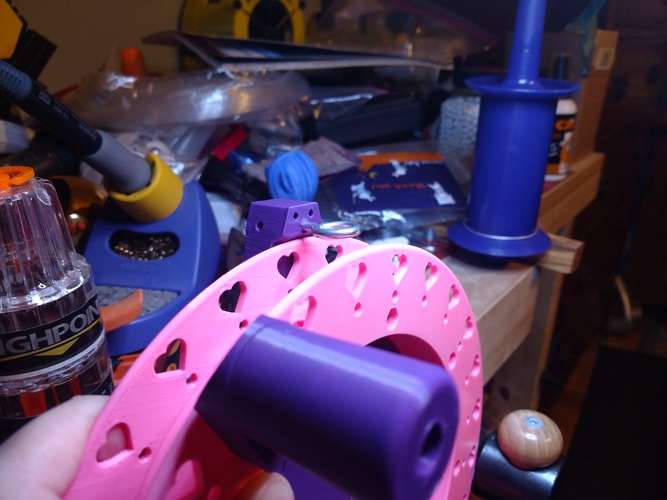
Handle: If you look at the inside of the "top" ring you'll see there's one hole that has a hexagon cutout for a nut (on the side that will join with the bottom). That's where the handle goes and you'll want to use one of the shorter (12mm) M4 screws for that. Optionally, you can use the handle extension to push the handle out a bit further towards the perimeter (I recommend it).
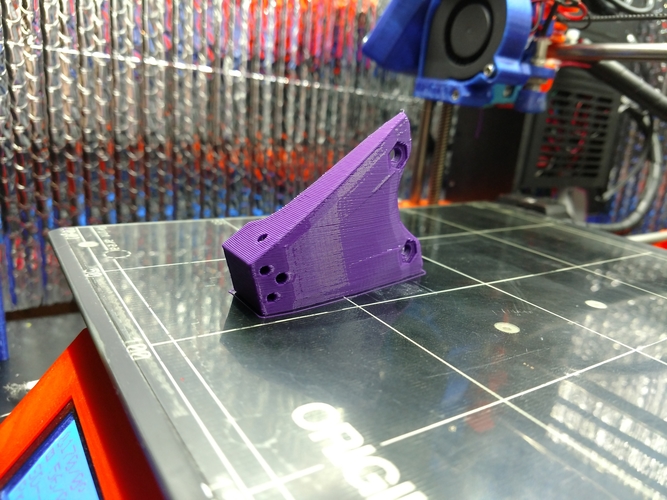
The handle extension consists of two parts: The extension and a cutout piece that matches the ring hole type of your kite reel. E.g. If you printed the "hearts" version print "*Handle Extension Hearts.stl" It should be fairly intuitive. Hard to describe but I'm sure you'll figure it out 🤓.
Tip: You might want to put a drop of CA glue on the cutout before inserting it if it isn't tight in the hole. Don't use glue on the reel--just the handle extension cutout.
At this point you should have the bottom half put together with bearings and a working/spinning handle attached to the top of the reel.
Screwing It Together: Now it's time to screw the top and bottom halves together. Stick some M4 nuts in the holes that look like hexagons and screw in 25-30mm M4 screws from the other side. You really only need four (symmetric) screws to hold it together but if you want you can put screws in all the holes.
You should now have a working kite reel! Time for the optional accessories...
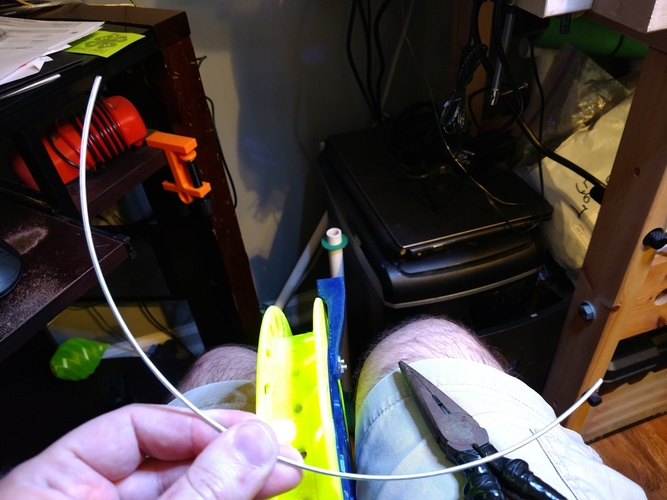
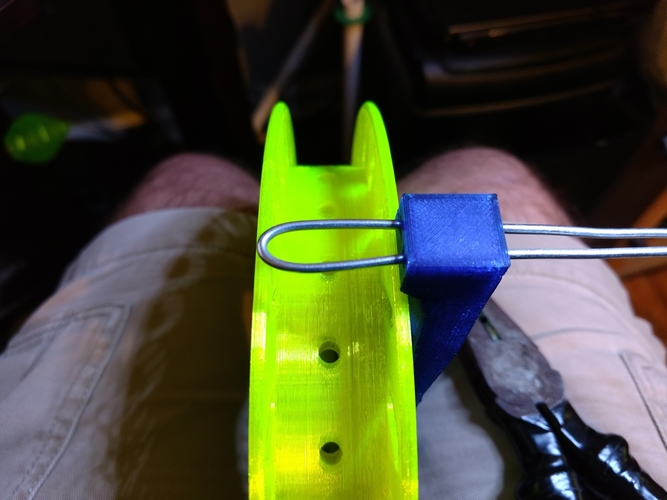
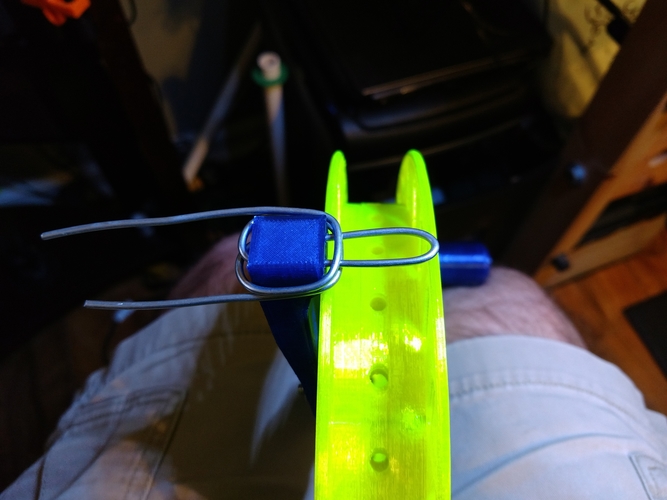
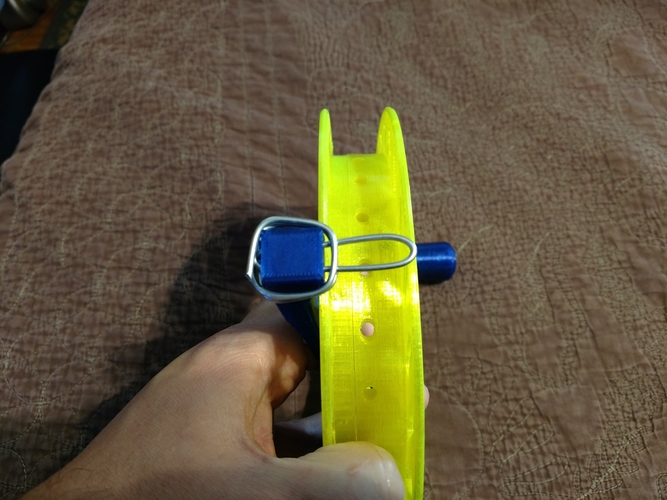
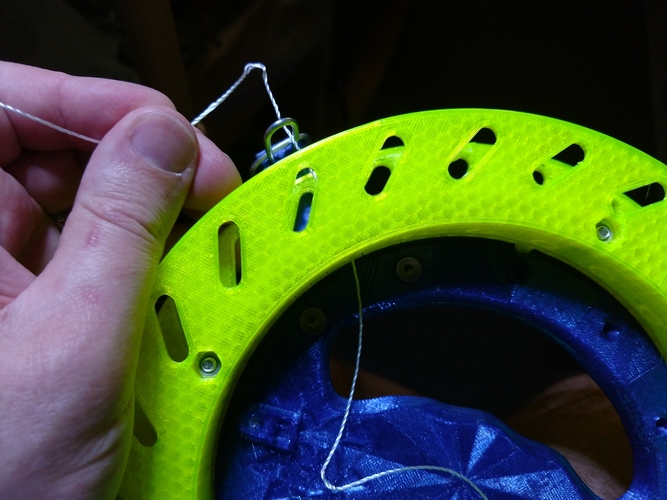
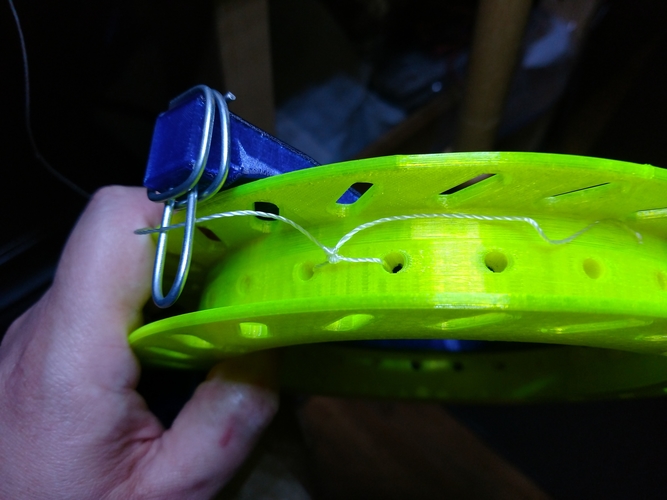
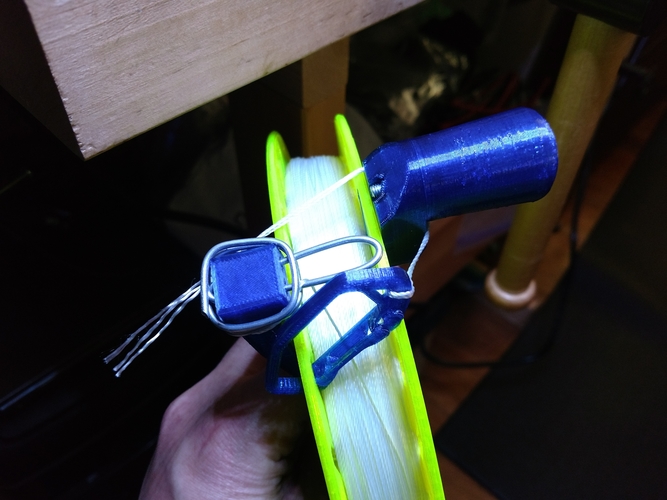
Line Guide: My first version of the line guide was 100% plastic. The kite string cut through it like butter! Bad idea. It must be metal. This means you'll need either a "screw eye" of an appropriate size (~1 3/8ths inch / ~35mm) or some 12-14 gauge wire which you can bend (according to the pictures) into an appropriate shape.
Screw eye method: Just screw it in to the middle hole on the side hanging over the reel. Stop screwing when it's about centered 💆
Wire bend method: Bend a sufficiently long piece into a U shape and insert it into the two holes on the reel-facing side of the guide then wrap it all the way around to the front (so that the line can't touch the plastic) and tuck the ends of the wire into either side of the guide. You'll probably need pliers to do that but it'll be slightly nicer than a mere screw eye since the line will be able to move back and forth the full width of the reel (using a screw eye results in the line piling up in the center forming a hill shape).
Snap-Lock Carabiner: This is a remix of "Strong flex door carabiner" by Charlie1982 (ddf3d): https://www.thingiverse.com/thing:1008943 . It has been modified to snap shut and resized to be more appropriate for attaching kites. It works great for "casual"/toy kites but if you're using a kite that could carry away a small child I recommend using something more beefy 💪
Lubrication
Use this: SlipIt Sliding Compound: Awesome! Ridiculously messy application though. Super duper smooth and does an excellent job dampening the sound. Use it: https://www.woodcraft.com/products/slipit-sliding-compound-pint
Comments