Prints (0)
-
No Prints Yet
Be the first to upload a Print for this Design!
Description
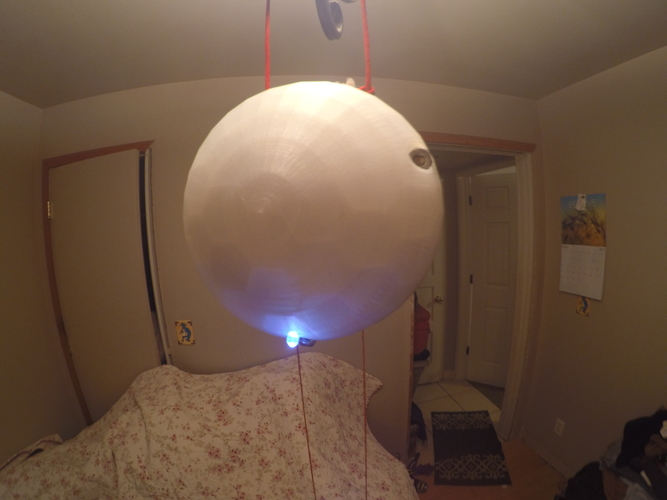
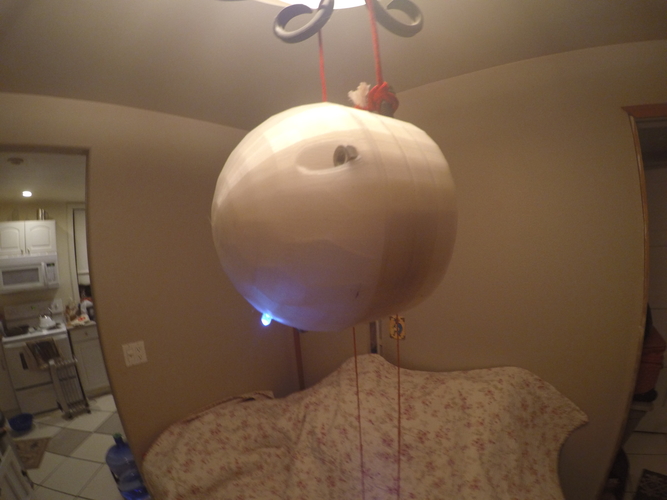
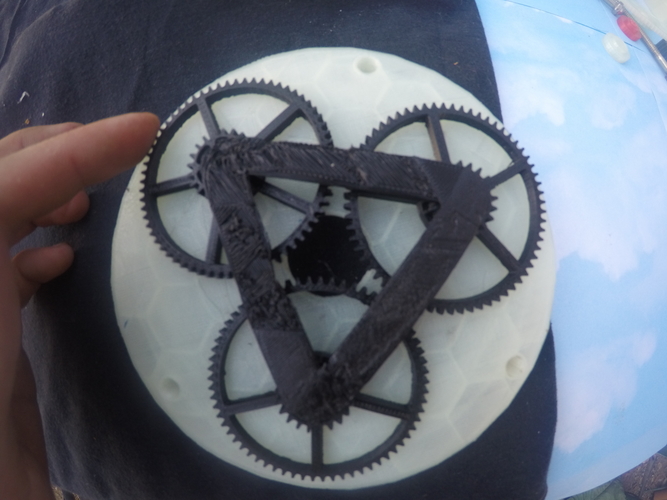
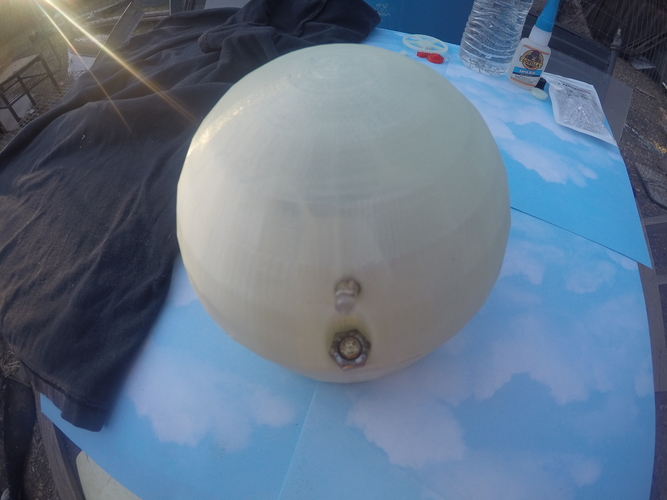
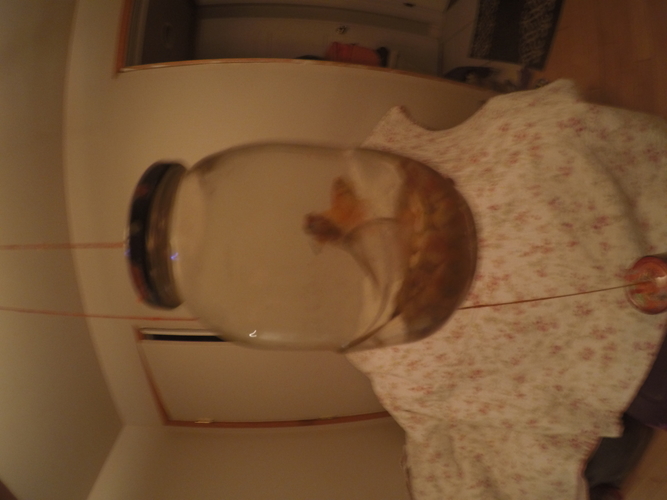
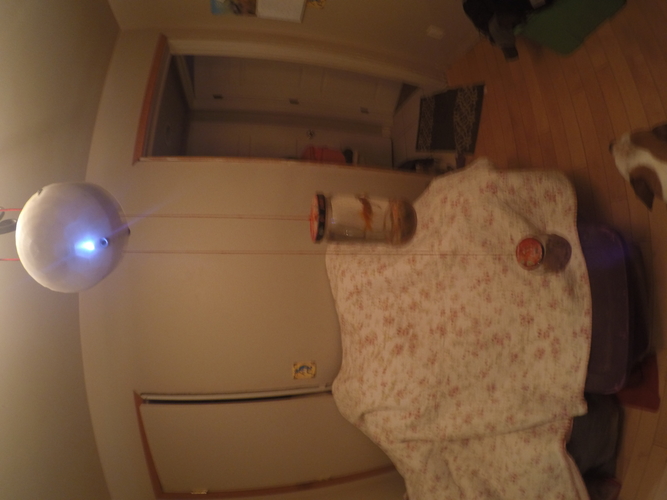
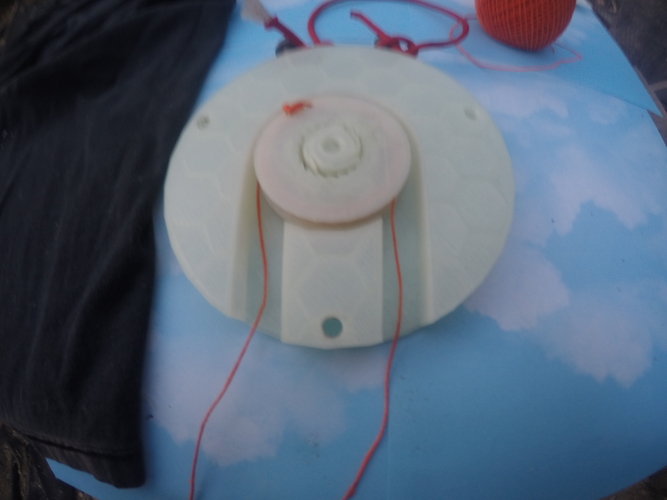
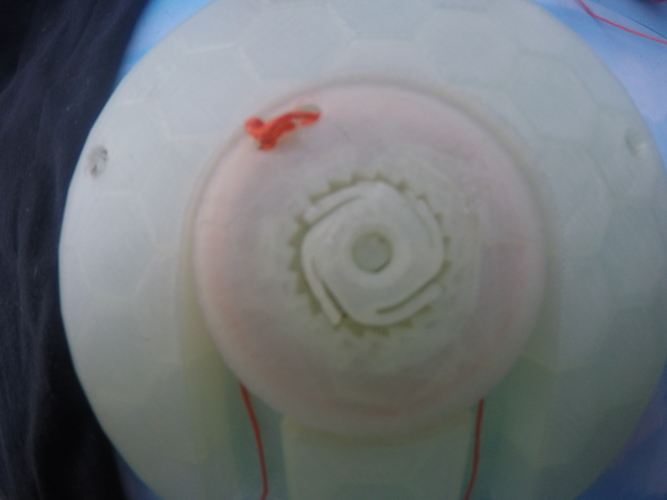
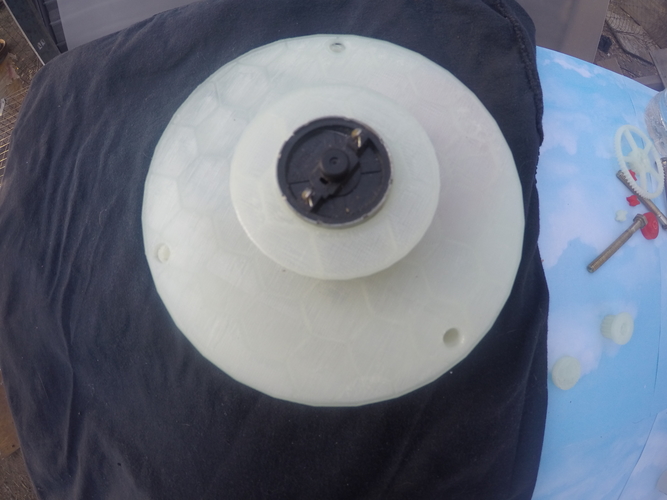
GravBright is a gravity powered light that uses Kinetic Energy in the form of a falling weight to power an LED, can also use it to charge your phone or tablet or for other energy needs. I took pictures of the assembly process but ill edit this and explain how to put it together soon. Will need to print 6 of the 3gear1 file. will finish instructions soon im running out of time to submit this in the contest and thats the whole reason i made this to begin with haha . I printed my gears at 20% infill, but you can do more if you want, will probly be better if it has more infill and will last longer. Everything else i printed with only 5% infill. Use a slow print speed for the gears, you can speed it up for everything else if you want to. Will probably take about 12 hours to print everything. I am going to try and get that time down by changing a few things in the near future. Will need to salvage a small dc motor out of an old printer or something. They can be found in many different electronics. Will also need an LED, a few bolts and nuts. super glue, some hemp or other tough string or paracord & a 2 weights, I used 2 jars, the main jar that slowly falls toward the ground should be heavier than the counterweight, I used a Jar full of rocks and water, and as the counter weight I used a jar with water and gold fish. The gold fish are not optional. Lol jk. The light will stay lit for about 20-30 mins before the weight hits the ground. then all you gotta do is re lift the weight (I used a ratchet to make this more simple to do) than you will have another 30 mins of light. Great in case of emergencies, SHTF, camping etc. Oh and I used glow in the dark filament so that the GravBright can be found in the dark.
Okay so, time for the assembly instructions-
Print out all the parts, here's a list of how many of each part you will need to print;
1x- housing1
1x-housing2
1x-housing3
1×-housing4
1x-housing5
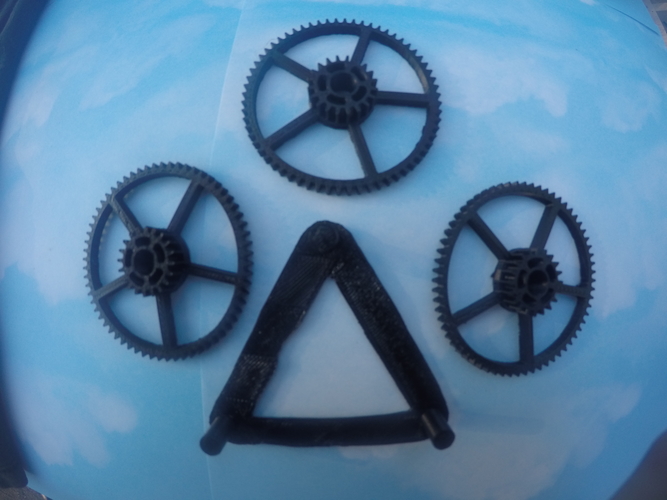
2x- tripgearframe
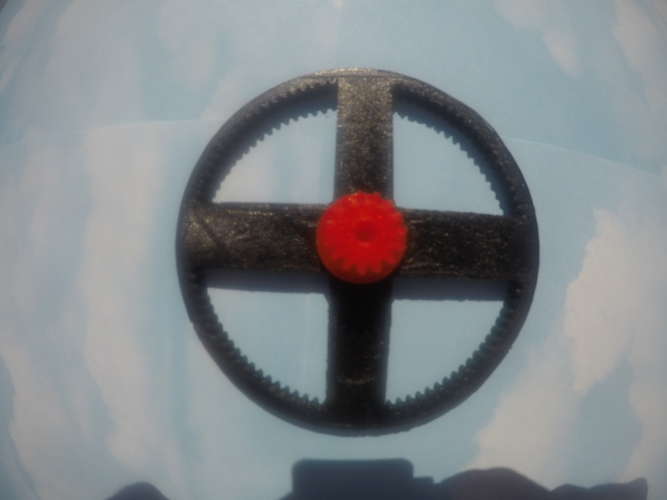
6x- 3gear1
1x- weightpulleybottom
1x- weightpulleyring
1x-weightpulleytop
2x- ratchetbigger
1×- pin
2x- innergearmed
1x-gearplugmotorstl
2x- GEARPLUG2FIXEDSMALLER
2x- flatplug( looks like I missed this one when uploading my files, will upload it in a second, it's just a tiny plug type thing)
2x 2+/- feet of hemp, tough fishing line or other durable small string like material (possibly paracord?) Hemp works best(IMO) as it is strong and thin enough to wrap around the weightpulley wheel a good amount of times.
1-2x- super glue
3x- skinny bolts+ 3x-nuts
2×- fatter bolts for the handle holes+ paracord for handle
1x-small dc motor salvaged from old electronic junk
1x- LED (Can also be salvaged from old electronic junk)
1x Weight
1× Counterweight
Other things that could be useful to have-
-soldering iron+ solder
- thin gauge wire
-electric tape
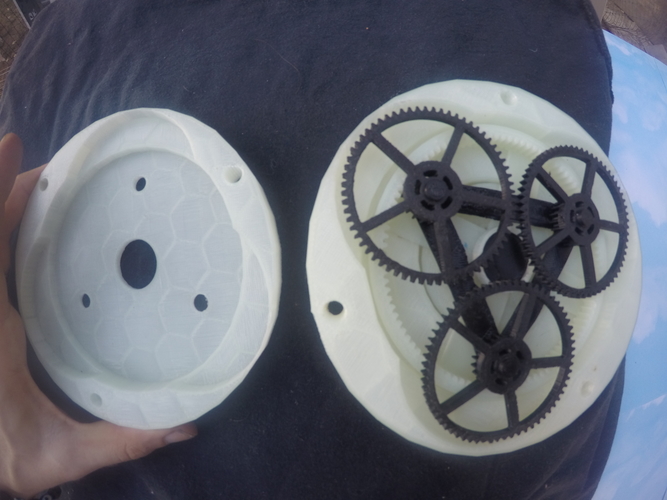
Now that you got everything printed lay everything out in this order, housing1, weightpulleybottom, weightpulleyring, ratchet, pin, weightpulleytop, ratchet, housing2, innergear, flatplug, tripframe, 3x 3gear1, housing3, gearplug, innergear, flatplug, tripframe, 3x- 3gear1, motorgear, housing4, dc motor/generator, LED , housing5, 3 skinny bolts with nuts and 2 fat bolts with nuts ( wait till printed so you can just see which bolts fit in the housing holes and what size fits in the handle holes cause I'm not sure what sizes I used) & that is the order it will be assembled.
1- Set housing1 in front of you, insert weightpulleybottom inside housing1, with the flat side that contains the 2 holes facing down,
2- super glue weightpulleyring onto weightpulleybottom
3- then insert ratchet1 inside of the weight pulley part that you just glued together, make sure the ratchet is facing the correct direction, then glue the pin in the center of the ratchet, add some glue on top of the pin you just glued down
4- Glue weightpulleytop onto the rest of the part that you just finished gluing together, make sure ratchet1 stays in the center while doing this,
5- Glue ratchet 2 facing same direction as ratchet1 with the pin in between both ratchet parts inside weightpulley assembly.
6- once glue has dried remove weightpulley assembly from housing1 , add the hemp string to the pulley wheel you just put together, tie one piece of hemp to each side of the wheel using the holes in the wheel to tie to, wrap one of the pieces around the wheel most of the way, leaving some unwrapped,maybe 6 inches so you can tie the weight to it later, wrap the other piece of hemp in the opposite direction that you wrapped the first piece on the opposite side of wheel, only wrap around once though, this will be for the counterweight, and make sure that you wrap the piece of hemp which will be connected to the weight in the same direction that the ratchet is facing so that the ratchet catches while the weight is falling.
7- add the 3 bolts to housing1 now, will make things easier in the long run
8-add housing2 on top of housing1.
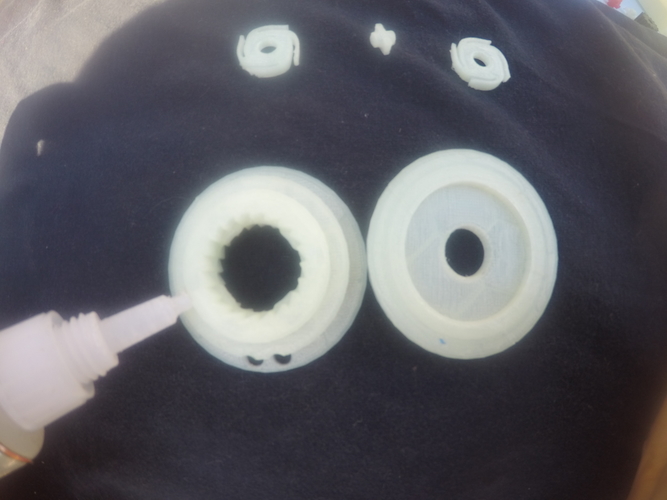
9- take inner gear, and flat plug and glue them together
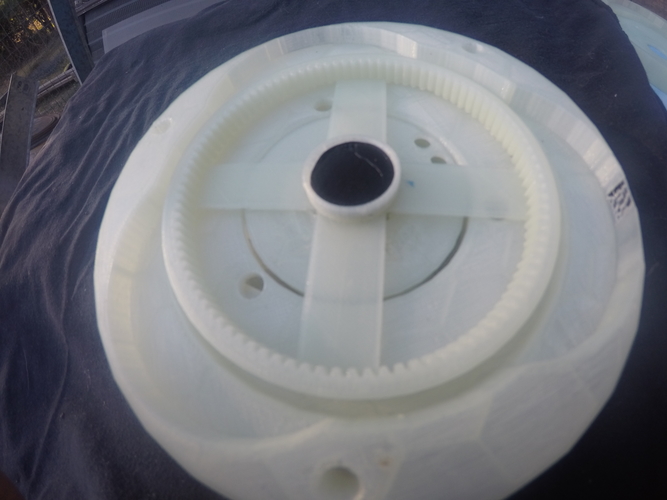
10- add glue inside ratchet2 and insert the innergear that you just assembled into housing 2, gluing innergear to ratchet2 via flatplug
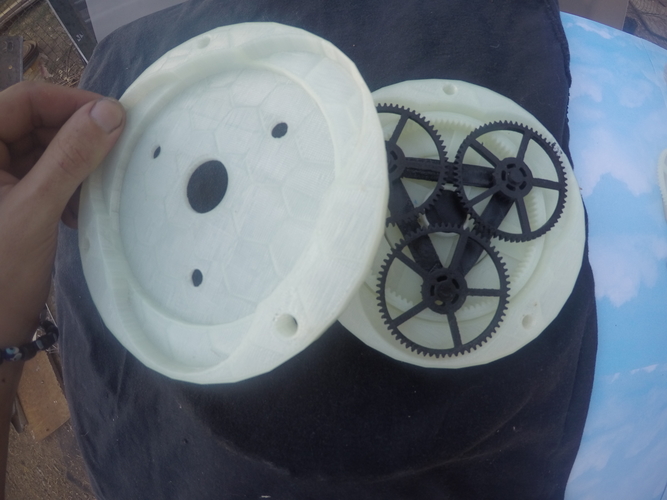
11- put 3 of the 6 3gear1 gears onto the tripgearframe then set the 3gear assembly inside innergear.
12- add housing 3 on top of housing2, making sure to align both the gear holes & the tripgearframe posts to the other 3holes that are inside of housing3, this will create a frame for the 3 gears that won't allow the frame to move, but the gears will be able to spin still.
13- Glue together gearplug, innergear & flat plug then insert into housing 3 with the gearplug going through that he center of the 3gears.
14- put the final 3 3gear1 gears to the 2nd tripgearframe, insert inside of innergear, then add housing4 on top of housing 3 making sure to align all 6 holes with the posts of tripgearframe and the bolts.
15- connect motorgear to motor, there isn't a hole in motor gear so you will have to make one by heating up the gear shaftand melting it into the center of gearplug, insert motor into center of housing4 then glue motor in place.
16- the motor should already have wires connected to it but if not then solder some on it, then insert LED into housing5 LED hole, and either solder the LED to the motor wires or connect with electric take or both, add housing 5 to housing 4 and secure in place with nuts, add your paracord and bolt handle to the assembly, connect weight and counter weight and your finally done. Enjoy some free lighting or electricity for charging your devices. :)
Let me know if you have any issues in comments and I'll try and address them asap. Thanks.
-Kaya Man
Comments