Prints (1)
Description
EDIT 04.10.2017 - Two optimized belts are added which support a better transmission. "Riemen 125 Optimiert" and "Riemen 200er Optimiert".
EDIT 09.07.2017 - Add 124a, 126a and 126b for small printers. Therefor now you need 3x 124a for an normal 124 and 126a + 126b for an normal 126.
EDIT 20.06.2017 - I've named the wrong ball joints. Uploaded new instructions.
Videos:
Maiden:
2nd Maiden:
SnowPlow:
Some Fun:
Current Version:
Deutsch:
Bitte unbedingt vor Druckbeginn das PDF ansehen in den Daten oder unter folgendem Link: https://www.dropbox.com/s/7pzm...
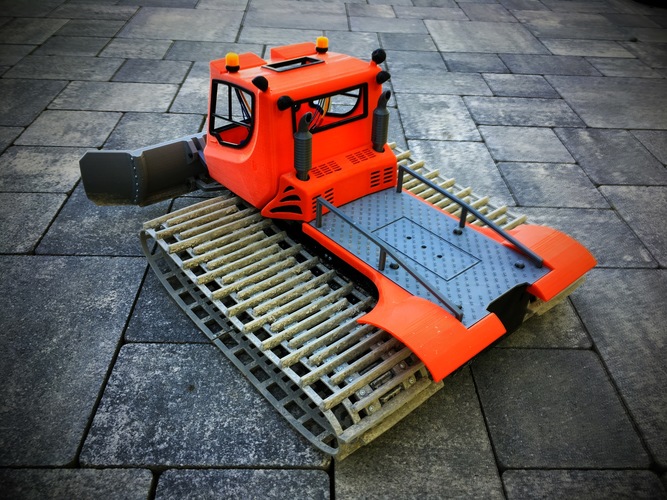
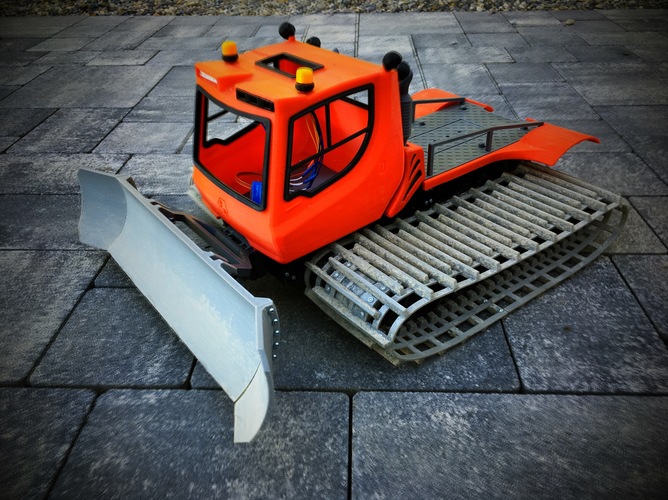
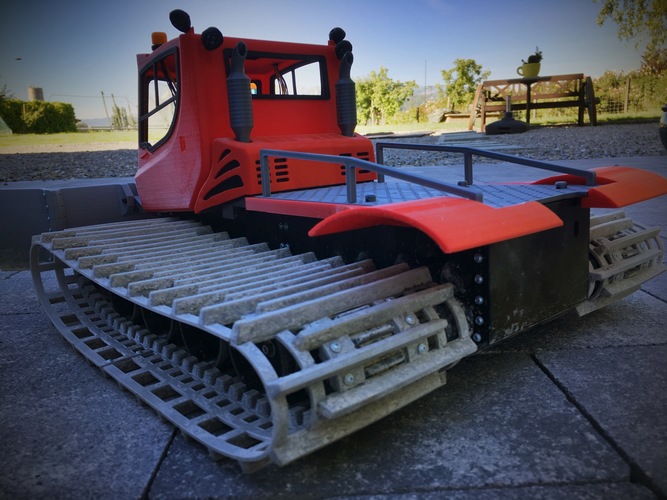
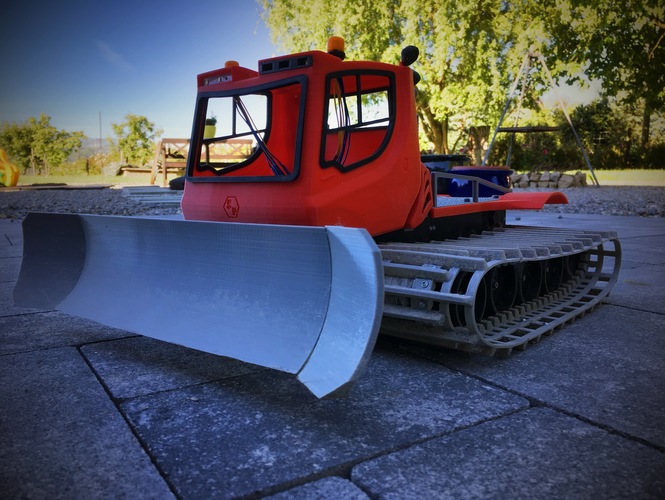
Das Projekt PistenBully entstand an Weihnachten 2016, als wir so einem Monster bei der Arbeit zugeschaut haben. Die Idee ist eigentlich, dass der Bully irgendwann noch eine Schneefräse und Anbauteile bekommt.
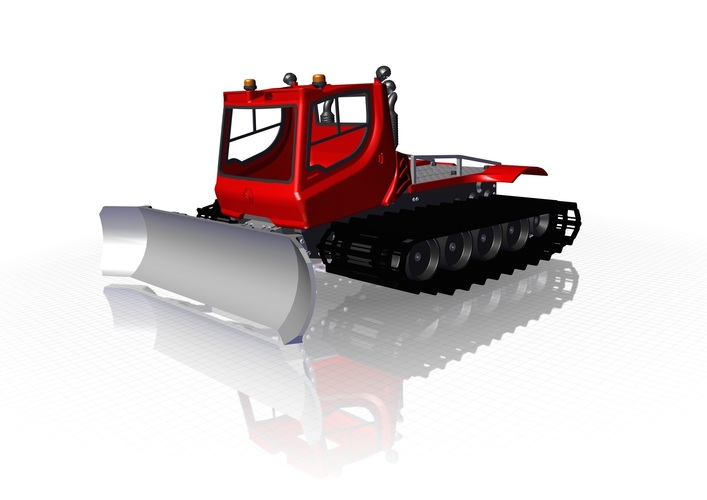
Das Design ist angelehnt an den PistenBully 300 und 600 der Firma Kässbohrer – ich hoffe die sind mir jetzt nicht zu böse dafür.
Das Design ist simpel, alle Komponenten können in PLA und TPU selber gedruckt werden. Stützmaterialien: entweder selber machen oder meine Designs entsprechend verwenden. Spezialfall ist die Kabine. Hierbei habe ich bereits einen Druckkeil für den oberen Kabinenbereich modelliert, welcher nach dem Druck entfernt werden kann. Somit ist nur noch Stützmaterial für den unteren Teil notwendig. Alles weitere inkl. der für die entsprechenden Bauetappe notwendigen Komponenten werden in der Montageanleitung aufgezeigt.
Das notwendige Equipment habe ich inklusive der Lager von Banggood geordert. Gibt’s aber auch bequem beim Händler vor Ort…
Viel Spass beim bauen und truxen…
English:
Please take a look to the PDF "Montageanleitung" before you start the print. English version is cooming soon. https://www.dropbox.com/s/7pzm...
The project PistenBully was started at Christmas 2016 while we watched a monster at work. The idea actually is to get also some snowmill and attachments for it.
My design is based on the PistenBully 300 and 600 Kässbohrer - I hope they are not too angry on me therefor. But they’re really cool!!
The construction is simple, all components can be printed in PLA and TPU. You can choose to do the support by yourself or use the one I’ve done in the designs. Except for the cabin. However, I have already modeled a part for the upper cabin area, which can be removed after printing. So support only for the lower part is necessary. All further details are shown in the assembly instructions (please check the PDF "Montageanleitung PistenBully.pdf"! English version is following).
I’ve ordered my equipment including the bearings at Banggood. But it is also available at your local dealer...
Have fun and I hope you'll enjoy!

Comments