

Prints (0)
-
No Prints Yet
Be the first to upload a Print for this Design!
Description
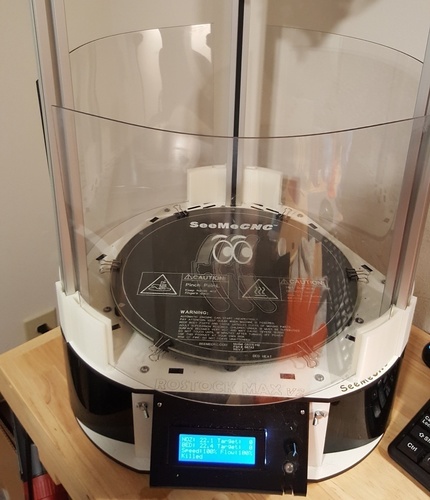
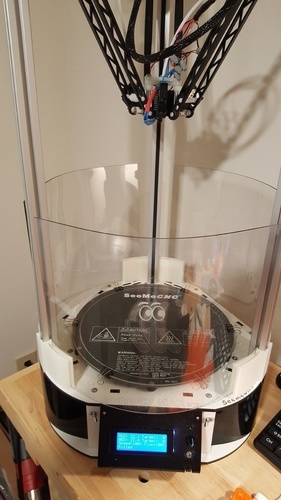
Are you thinking it's time for some shields to protect that temperamental ABS print you've tried several times without success?? Or, do you want to keep that cat away from batting at the hot end? Either way, here's a low-cost solution I baked up (literally) for your SeeMeCNC Rostock Max.
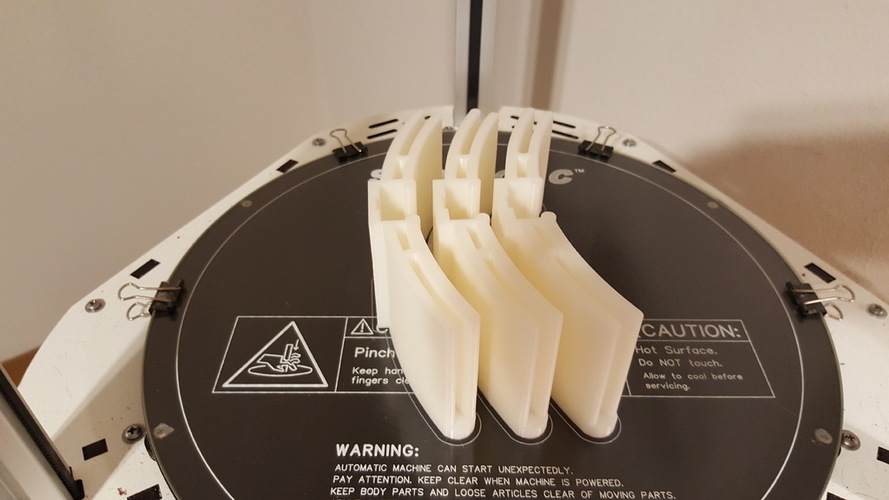
The brackets snap on and the shield sits in the groove. I didn't use any adhesive so I can remove the shields easily. If the effector bumps against the shield they will flex (by design).
Making Shields: Are you ready to bend some polycarbonate??
What's Needed
- (3) printed brackets
- (3) .093 11X14 sheets of polycarbonate (e.g. Lexan)
- (3) non-stick, oven safe baking sheets (I used these grill sheets)
- (1) 18x36 joint sheet used in hvac duct work
- (1) oven and various oven safe dishes
Some research reveals 300F for several hours (actually was little over an hour for me). Remove all the shelves of the oven leaving the bottom one and place the metal sheet in an arch supported by a stack of oven safe bowls. Create a poly sandwich separating each sheet of poly with non-stick sheet. Balance the sandwich on the arched duct piece in the oven so when the poly is softened by the heat it will shape accordingly. I checked on the poly every 30 min until I was happy with the form (when the center begins to rise, you are done)
What I thought was going to take several hours finished between 1 hour and 1 hour, 30 min. Your results may vary. Turn the oven off, leave the door open and let it cool for at least 30 min before removing.
Something to consider: The grill sheets worked great; unfortunately, they left a slight imprint on the poly so if you look close enough you can see the fiber weave. Since the shields are seldom clean from the hairspray it doesn't bother me.
Comments