

Prints (0)
-
No Prints Yet
Be the first to upload a Print for this Design!
Description
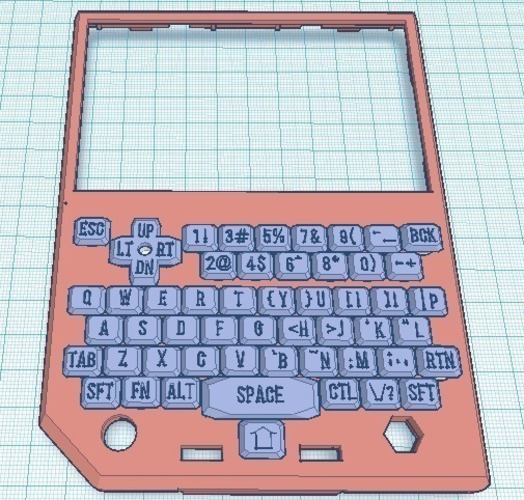
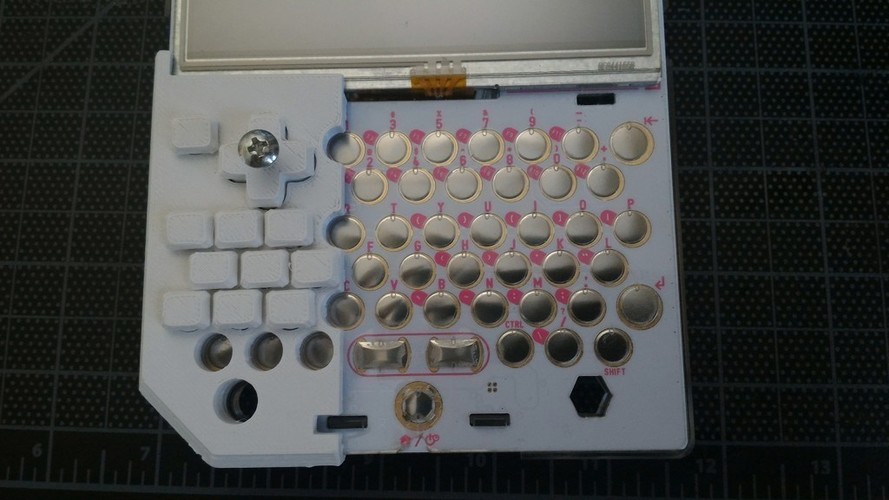
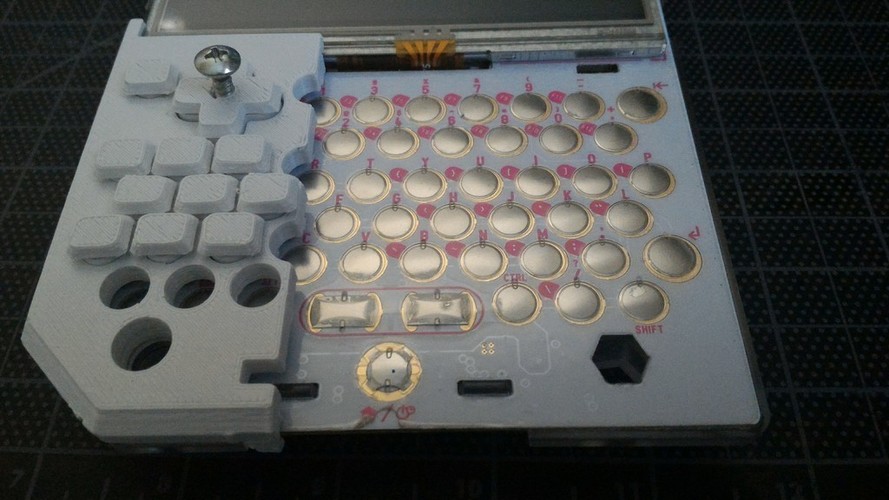
Summary This is the redesigned pocketchip cover. It is untested, but from the 1/4th test it looks to be in order. Make sure you follow the printing instructions below and keep a close eye on your printer. Print this at your risk, there are a lot of small, and detailed, parts. I would suggest having the lettered keys printed on a high end printer like a Stratasys printer, or by a profession printing company. A lot of people wanted a half cover case, however I feel @Paratyphi has already made a great one the link is below. With that being said I have made a similar button design to accompany his cover, here http://www.thingiverse.com/thing:1790510, http://www.thingiverse.com/thing:1686723. If you like what you print. Please consider Tipping as have gone through a lot of trouble, hours, and resources to make this design possible. Thanks again to the supporters. If there is any problems please pm with pictures and your concerns and I will do my best to correct them . To remove the cover stand Pocketchip on end, on a desk, with the front facing you. Put your fingers on the top clips and grip them both slightly pulling outward while giving it a little pull toward you, and it should pop right off. Print Settings Printer Brand: Printrbot Printer: Simple White Rafts: Doesn't Matter Supports: No Resolution: .2mm Infill: 100% Notes: Print the cover at .1 or 0.2mm layer height .8 mm shell thickness 25% infill is nice If you still have a tight fit with the buttons in the case. I suggest reprinting the cover at .4mm shell thickness at 100%infill. Print the Buttons and keys at .1 or .2mm layer height .4 mm shell thickness 100% infill The slower the better A raft may or may not be required , you know your printer best. I used a raft. Keep a close eye on your printer. There are a lot of small part, with detail. Print at your own risk. This is untested I will not be held responsible for printer problems, or broken Pocketchips. Post-Printing You may want to glue your keys into place. Put the case on from the bottom to the top The Keys follow a simple layout. Any key with 3 symbols on the left side of the key is a FN symbol and the right side is the shift symbol. Keys with 2 symbol the left is FN and the right is Primary character Also, if you write anything on the unlettered keys. I found using pencil to write it on and then spraying a coat of clear spray paint over it works well to keep what you have written from bleeding and wiping off
Comments