Prints (0)
-
No Prints Yet
Be the first to upload a Print for this Design!
Description
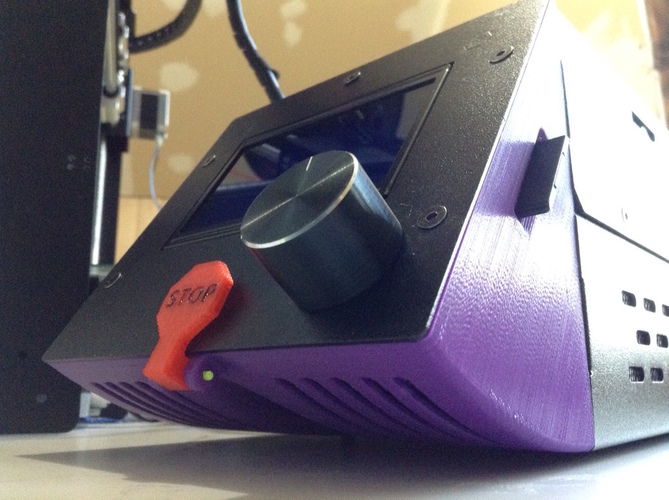
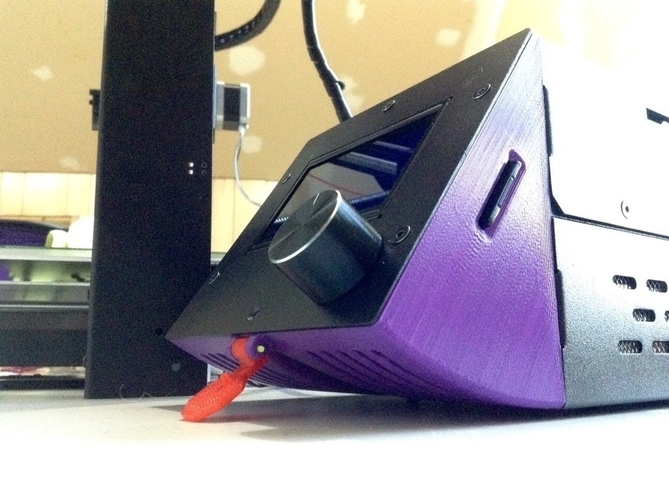
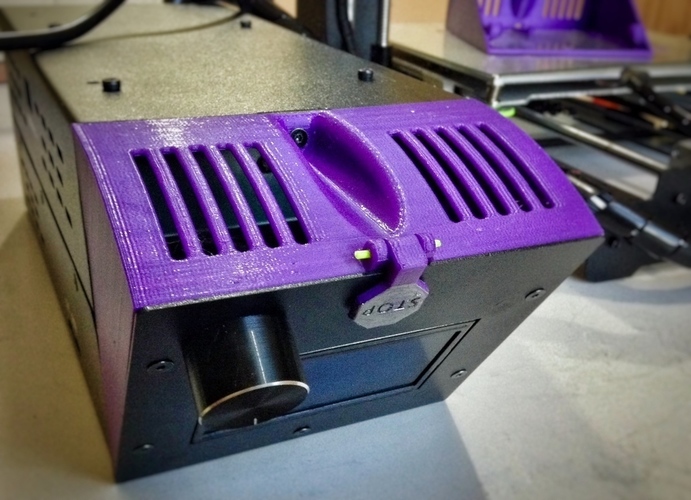
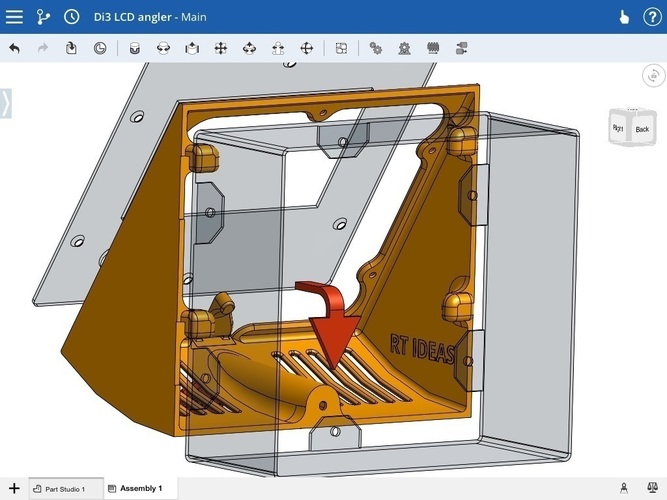
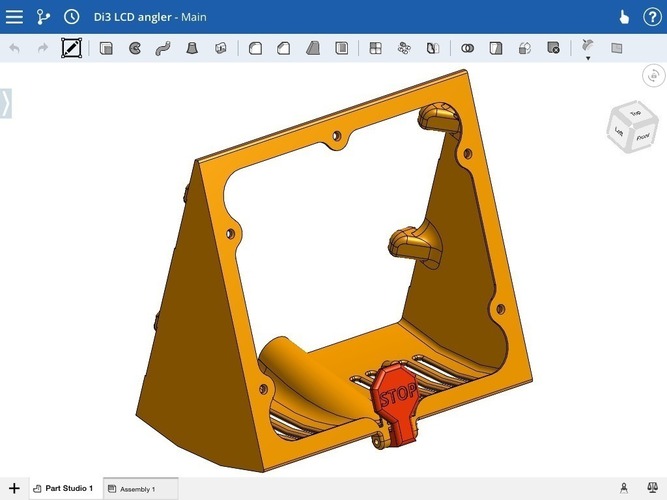
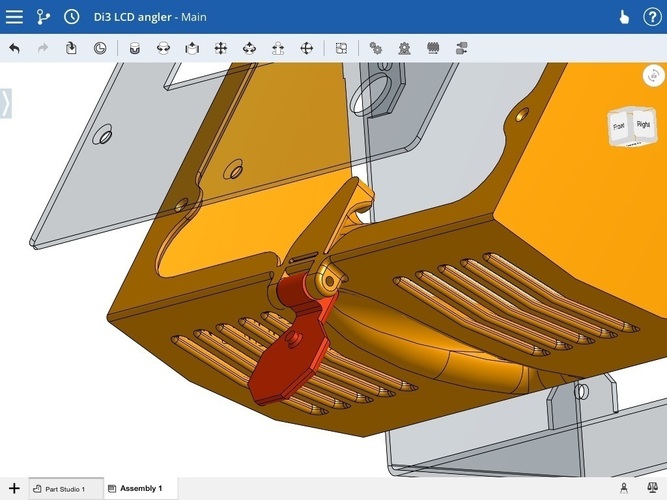
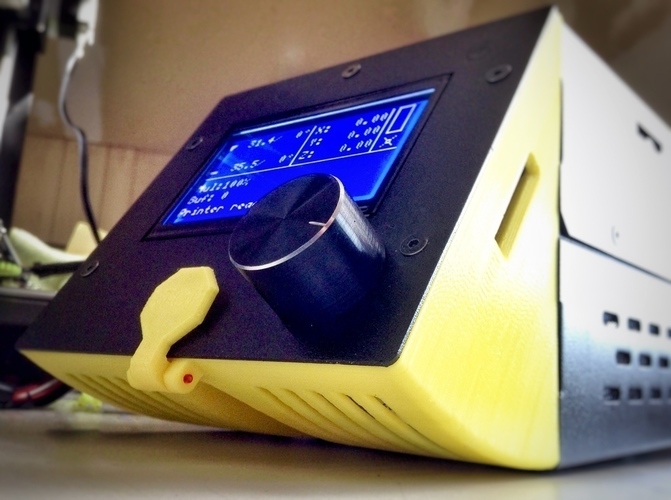
SummaryMaking to easier to read, tilts the flat LCD faceplate of the version 1 Wanhao Duplicator i i3 and its rebrands at 35º. Adds an emergency stop button without drilling that adds a small arm that pushes a button covered by the faceplate. Optional slot for a Micro SD to SD extension. Reuses existing screws, and then attaches to base with one screw. Warning: If you mount your spool holder on the power supply box, use the use the Melzi highrise file. The screws are too long and will hit the board if you use the Melzi offset one. Thanks for the headsup Azza. New set of files. Di3 LCD angler SD-no vents.stl is without vents. Di3 LCD angler SD-left.stl moved the SD slot on left side. Di3 LCD angler 2b.stl is without SD slot. Di3 LCD angler SD.stl has SD slot. Di3 LCD Angler with SD set.stl is a full SD set with circuit board offsets and stop button. InstructionsPrinted at .25mm layer height in PLA with supports. I used S3D with fast honeycomb at 15% fill, 3 shells and 3 layers. Removed all supports except for the little ones on the upper tab and the supports for the SD slot and recessed screw hole. Total print time for a set was about 4 hour. The faceplate mounting side should be face down on the bed. Make sure you clean out the supports well under the tabs.
Remove front 6 LCD faceplate screws. Remove the LCD connector. Wiggle the face plate with the attached LCD over the stop button lever in first, then the angle the rest on. Not tight, jut a bit of finagling. Replace all the screws in the faceplate except of the bottom one. Slowly tighten the screws so they tap the angler as you tighten them. May help to ream them out a bit with a 2.5 mm hex wrench. reattach the cable. put the new assembly over the opening and slide down. check the bottom hole alignment, and then screw in the remaining screw.
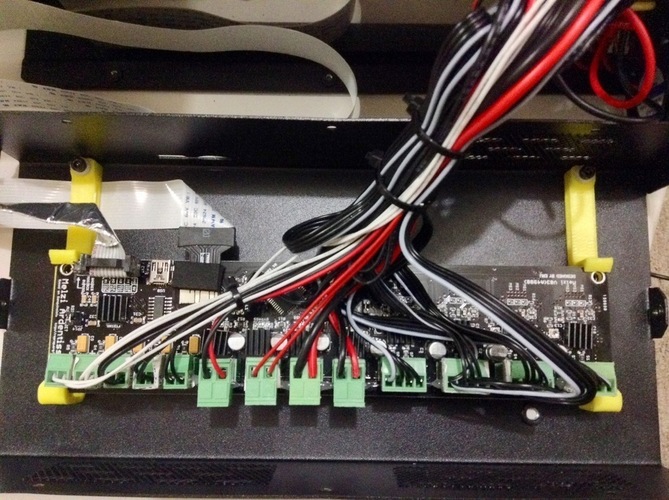
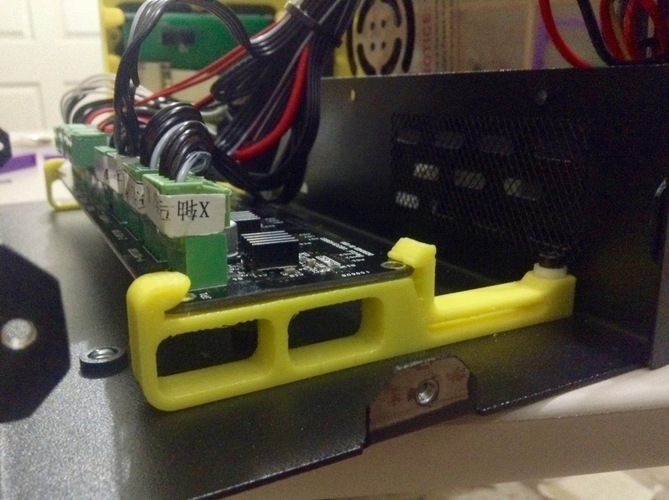
For the SD set up at your own risk. YMMV. You need a MicroSD to SD extension. Mine had a case around the SD side. I was able to easily pop it off. You also need a small strip of heavy duty double stick tape. If you mount the spool holder on the power supply case, print two of the Melzi highrise parts. If you use the mounting holes for the spool holder on the top of printer, print two melzi offsets.
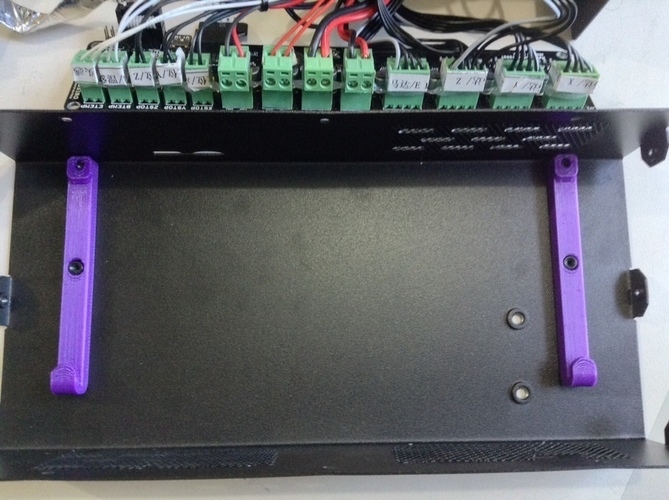
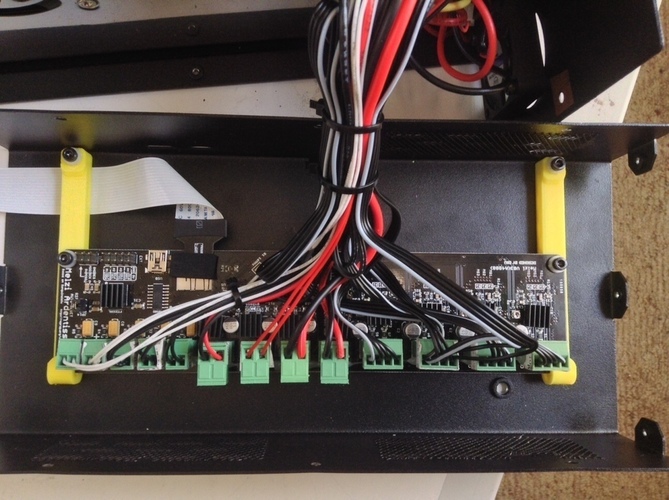
unplug the power cord. unscrew remove the top of the case with the base on it side and the top on its top, move the 4 screws and nylon washers mounting the circuit board insert the micro SD extension drop in the printed highrises or the offsets over the raised screw bosses if using the offset ones, put the circuit board over the offsets making sure you hook it under the offset ends, and replace the 4 screws and nylon washers and tighten on the highrise version, replace the 4 screws and use nylon washers on the top two, and tighten. Snap in the circuit board. Make sure it hooks in the the pins, at the bottom, then snap it down. doublecheck the MicroSD extension is properly seated. Tape if necessary.
Make sure the SD slot is cleared out of support material and do a test fit of the SD card holder. See above if you haven't attached the faceplate. If a decent fit:
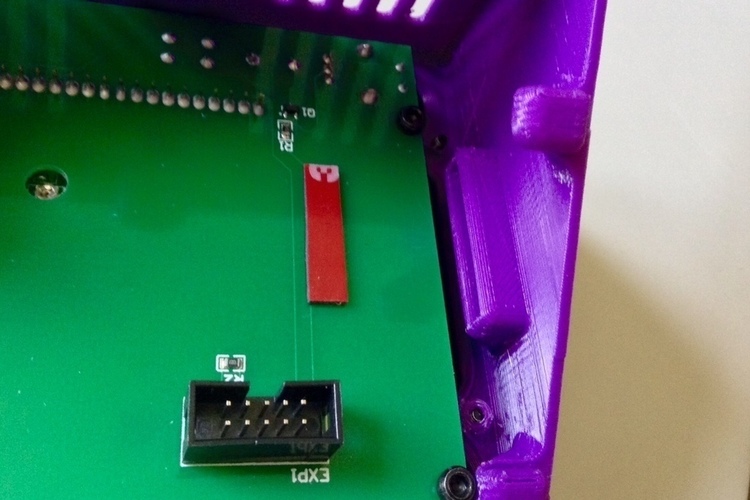
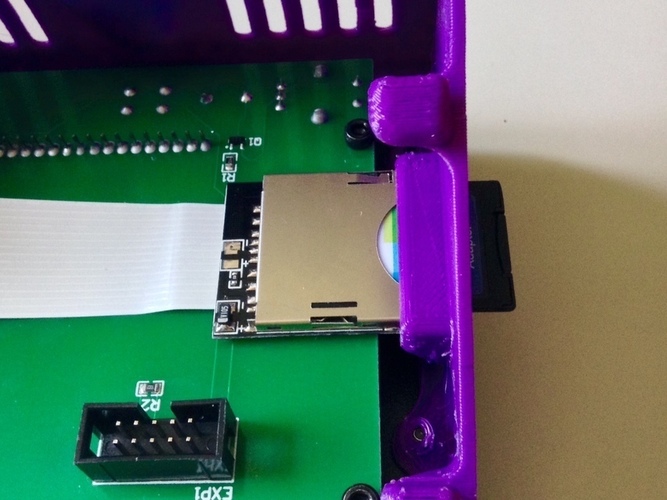
add a slim strip of double stick tape to back of the LCD circuit board (see pics) remove the protective backing of the tape insert the SD reader angling it in check to see that it is fully seat insert an SD card and then then press down adhering to the tape
Comments