Prints (0)
-
No Prints Yet
Be the first to upload a Print for this Design!
Description
This is my entry for the Pinshape Bike Accessory Design Contest!
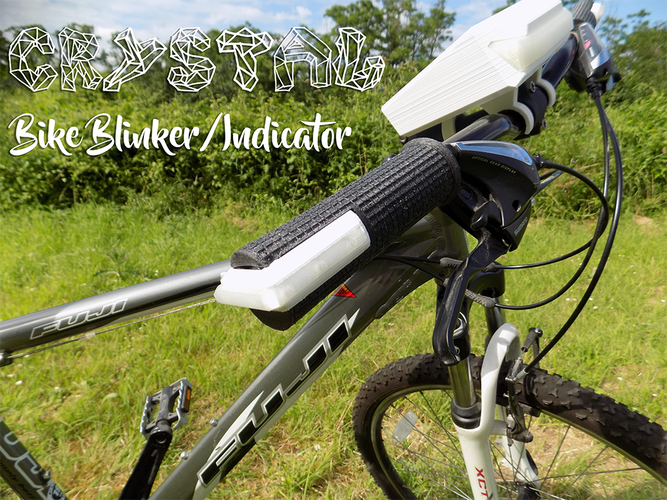
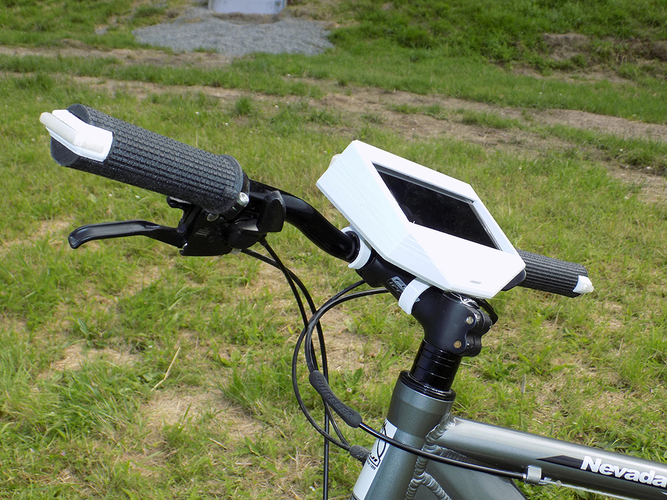
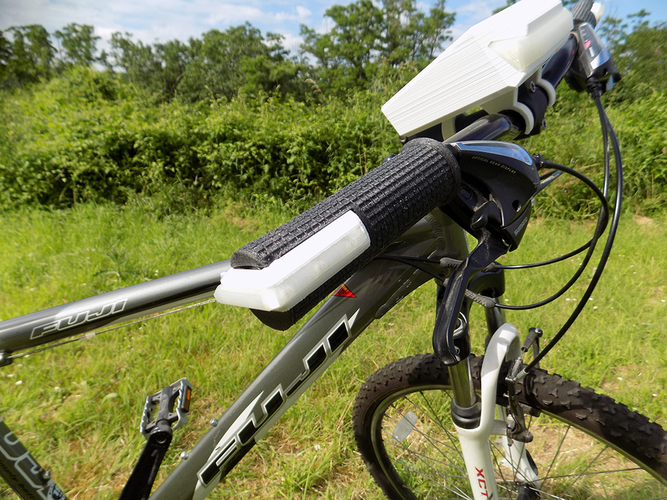
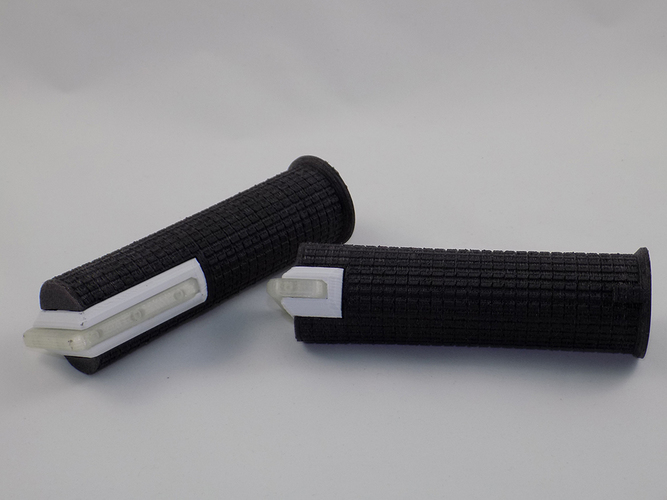
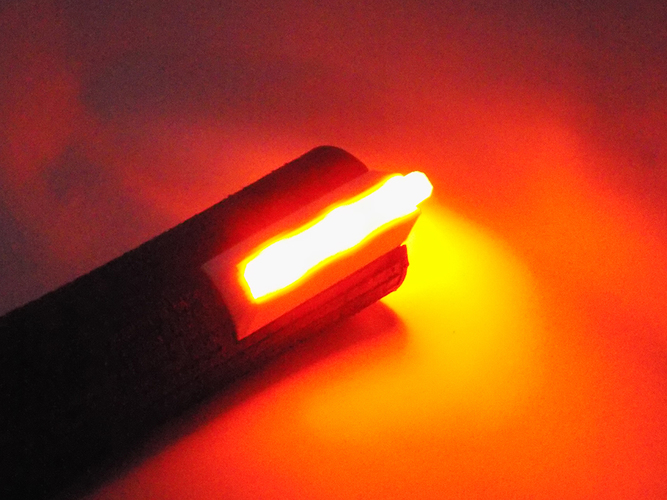
I designed a handle with integrated blinker/indicator for your bike. This makes driving in the dark a lot safer! In the dark nobody sees when you use your arm to show in which direction you want. The blinker/indicator has a running light to show in which direction you want. A push-button is integrated in the handle itself to make it easy to reach with your thumbs.
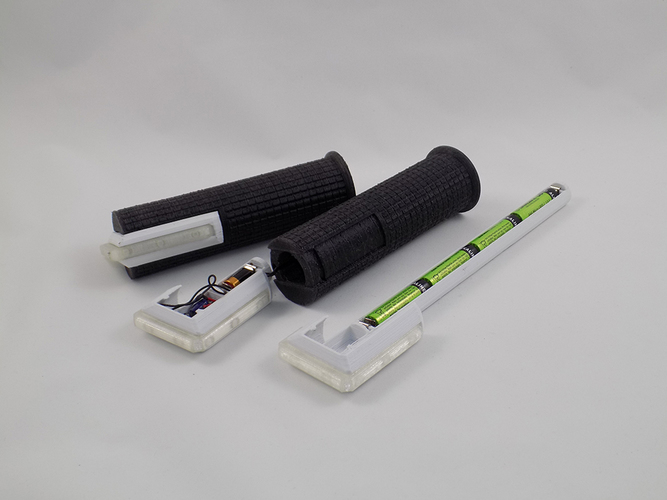
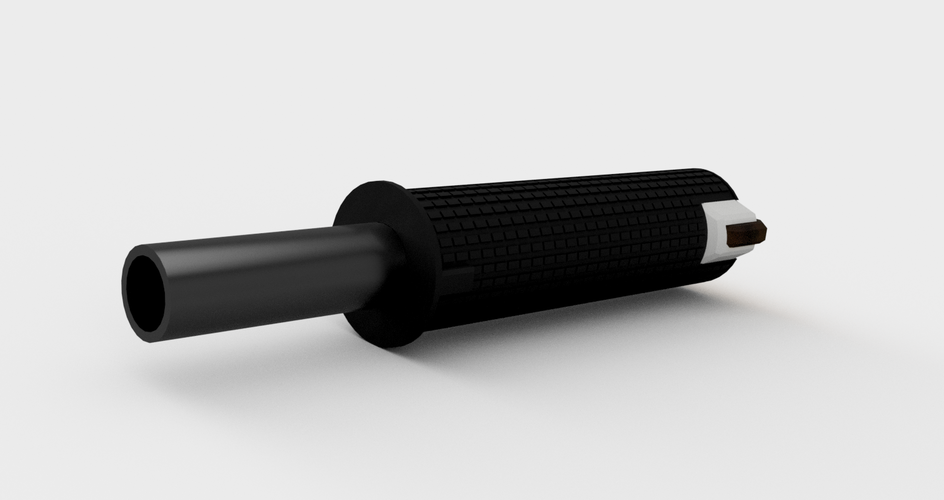
The handle is easy to assemble and the electronics and battery holder fits perfect inside the handlebar tube. I made two different versions. One for longer tubes for four normal AAA batteries and a compact version for one special MN11 battery.
-----------------------------------------------------------------------------------
I made a short demonstration video on YouTube: Crystal BikeLights Demonstration Video
You can find the matching CrystalBikelights here: Crystal BikeLights plus Smartphone Navigation
------------------------------------------------------------------------------------
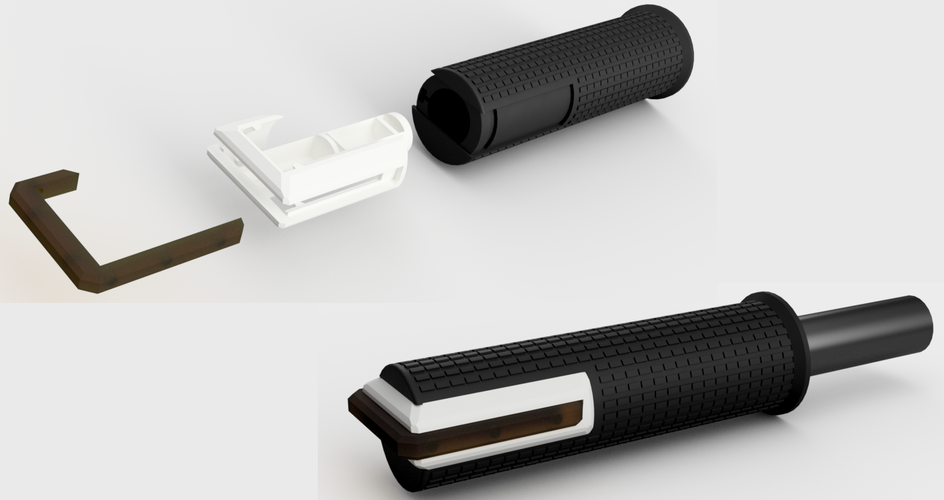
The IndicatorRubberLeft.stl and IndicatorRubberRight.stl should be printed in flexible rubber-material.
The IndicatorLightRight.stl and IndicatorLightLeft.stl should be printed in transparent material.
The parts are oriented the best way to print them. The IndicatorBody... files need a little bit of support, but the other parts are support-free.
------------------------------------------------------------------------------------
You need the following non-printed parts:
- 2x Running Light DIY Kit (https://www.conrad.de/de/laufl...)
- 12x orange 3mm led
- 2x micro push buttons (http://www.ebay.com/itm/100PCS...)
- thin cables (0.14 mm²)
- 4x battery-contacts (https://www.conrad.de/de/einze...)
- 2x battery MN11 (https://www.amazon.com/ENERGIZ...) OR 4x AAA batteries
------------------------------------------------------------------------------------
You connect the leds with the kit like in the enclosed instructions for 6 leds. Then connect the kit to the battery connectors and make the push button with enough cable between. You can hotglue the leds in place. The push button should be glued in place as well. You can see the assembly of the handle and indicator at one of the pictures.
------------------------------------------------------------------------------------
I hope you like my design! When you print it, please upload some pictures! Thank You!
Comments