
Prints (0)
-
No Prints Yet
Be the first to upload a Print for this Design!
Description
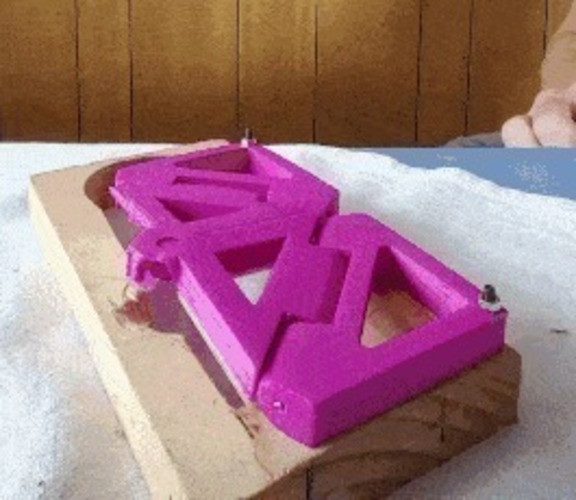
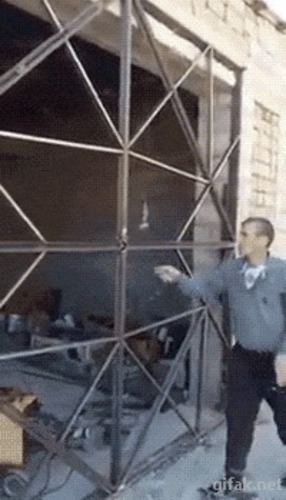
SummaryMy implementation of the "Evolution Door" (Drehplattentür, which translates as the "flip panel door") designed by Klemens Torggler. I first encountered this as the "folding gate" animated GIF. I loved it, so I figured out how it worked, and designed my own 3D printable version. Subsequently, I found that it was designed by Austrian kinetic artist Klemens Torggler, and can be found at http://www.dezeen.com/2014/02/11/door-reinvented-with-folding-mechanism-by-klemens-torggler/ My design can be found at https://cad.onshape.com/documents/56aa9d70e4b05aaf9b8ae389/w/179c3d1482a1f59f6f3a3ffa or search Public documents at OnShape.com for "Evolution Door". Movie is at https://www.dropbox.com/s/55ulfiac9z6l4uy/20160130_133552.mp4?dl=0Print SettingsPrinter Brand: PrintrbotPrinter: Simple BlackRafts: NoSupports: NoResolution: 0.2Infill: 15% is fineNotes: In Slic3r, make sure the "Only infill where needed" box is not checked... that makes for weak parts. Increase the number of perimeters and top and bottom shells to make it stronger. Smaller layer height would probably also make for a smoother ball and socket. I've included both the print-in-place "Ball Joint" file and the separate "ball" and "socket" files. If you print the "Ball Joint", you don't need the separate ones. If you print separately, you'll somehow need to get them together. If your print is sufficiently sloppy, there shouldn't be a problem. Or you could try pausing the "socket" print when it's nearly finished and put the ball in place before completing. NB: The ball triangle is assymetric and must be put in the right way up. You'll need to print 2 of the "Triangle1" parts... both can be printed at once, even on a 100x100 printer Post-PrintingIf you've printed with PLA and you find the socket is too loose and the ball falls out, you could try pouring a little boiling water on the socket and bend it into place. You could probably also use this trick to get the two parts together if you've printed them separately. You'll probably also need to drill through the holes. The outer corner holes in the Triangle1 pieces are 3mm, and the hinge axle holes are 2mm. I designed it to use 1.75mm filament as the axles, but wire or whatever of the right diameter will do. You will also need a door frame to mount it on... 2 x 3mm holes, 132mm apart, and a couple of M3 bolts as the hinges.How I Designed ThisA design goal for me was to keep the outside of the door as flat as possible, so that (a) the mechanism would be hidden (and make it more magical), and (b) it would be more door-like. But then I decided to save filament by having cut-outs in the panels. :roll-eyes: The biggest difficulty I had was with the ball joint. As a personal challenge, I had decided to make that a print-in-place mechanism. My printer is getting a bit loose and inaccurate, so I continually either wound up with everything welded into one piece, or the parts would be so weak they would break. In this current design the back of the socket is still quite weak. The hole in the top of the socket is a key thing for print-in-place to work, so that the ball can start printing from the bed. Because my printer is a bit sloppy, I have deliberately left a gap of 1.75mm between parts. If you have a well-behaved printer, you could reduce this for a much nicer product. Each side is 66mm long, just so it will fit on my 100mmx100mm printer. Anyone wanting to scale it up will need to go back to my source design. You can't scale it up in your slicer unless you scale uniformly in all 3 dimensions (otherwise you won't get a round ball and socket) in which case it would become very thick. For ease of printing, the parts are the same thickness as the ball diameter (12mm). Thinner would be nicer, but the smaller the ball, the harder it is to print, and the weaker the axle attaching the ball to its triangle. Another aesthetic improvement would be to hide the ball and socket completely inside the triangles, like Torggler's door. In mine, I was careful to keep all the hinges and ball on the same plane and inline because I figured that would keep the geometry simple. I don't know what the effect of putting the ball and socket inside the triangle instead of at the corner of the triangle might be. So there's lots more for people to experiment with here, if they feel so inclined. You can find my design at https://cad.onshape.com/documents/56aa9d70e4b05aaf9b8ae389/w/179c3d1482a1f59f6f3a3ffa/e/dbbc208f93b85709c29d29c2
Comments