Prints (0)
-
No Prints Yet
Be the first to upload a Print for this Design!
Description
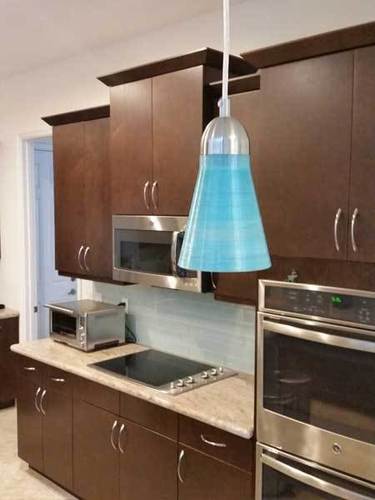
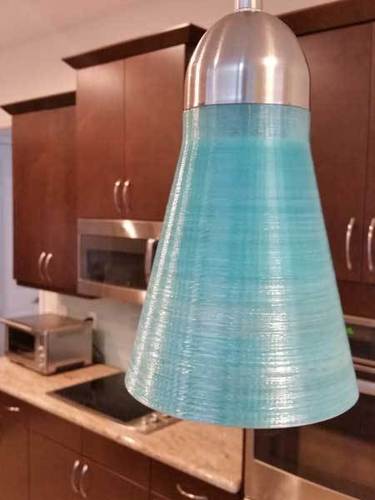
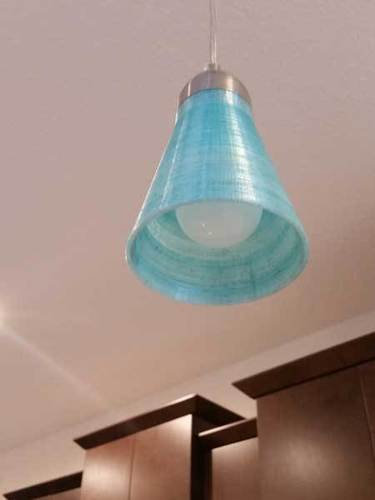
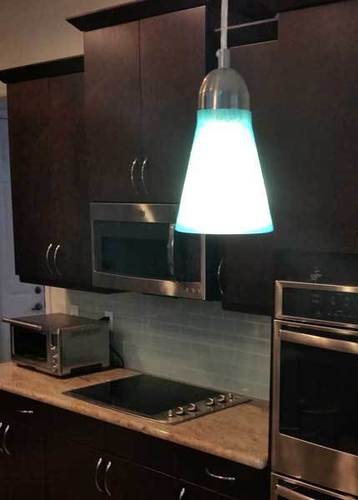
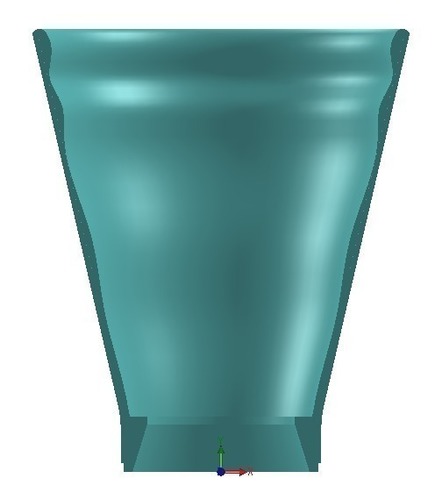
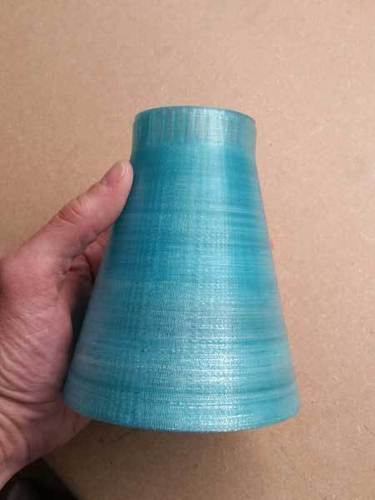
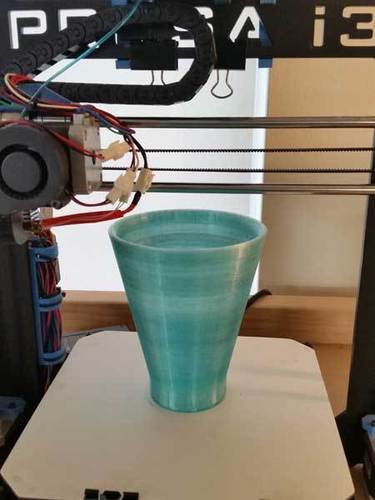
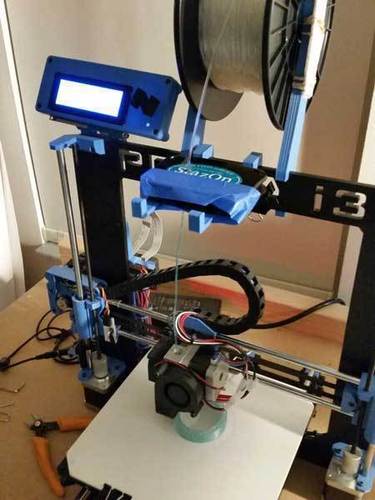
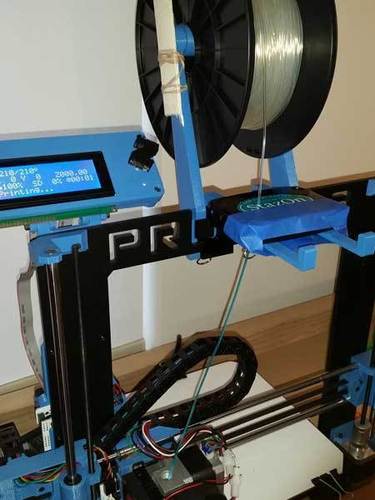
SummaryThis is a shade printed to fit a particular Westinghouse Mini-Pendant light commonly available in home improvement stores and Amazon (link below). You can put a smallish LED bulb in the fixture. Don't use an incandescent bulb because it will be too hot, of course. It was printed with clear PLA on a BQ Hephestos Prusa i3 using a PRINTinZ Zebra Plate. The blue color comes from running the filament through a Staz-on Teal Blue ink pad (link below). I drilled a 1/8" hole through the pad and it's plastic case. The filament wicks the ink along with it and dries before it gets to the extruder. (I printed some little struts to hold the pad in place on my Prusa.) I got this idea from Dovid Teitelbaum on the Facebook 3D Printing Group, who did something similar with a sharpie. http://www.printinz.com/zebra-plates/ http://www.amazon.com/gp/product/B002YEPRI0?psc=1&redirect=true&ref_=oh_aui_search_detailpage http://www.amazon.com/gp/product/B000S14ZTI?psc=1&redirect=true&ref_=oh_aui_detailpage_o00_s00 The outer wall of the shade is a straight cone, but the inner wall has some waves to it to create some variation in the opacity. It took 11 hours to print at 0.2mm layer height, and guess what, my wife wants me to change it so the inner wall is straight too. eleven....hours....later....ugh ;-)Print SettingsPrinter: BQ Hephestos Prusa i3Rafts: NoSupports: NoResolution: 0.2mmInfill: 10%Notes: I tried a 1/16" hole in the ink pad at first thinking it would need full contact to get the ink, but that created too much drag and the first couple prints failed. So I opened it up to an eighth and it worked great. No clogs or funny smells or anything.Post-PrintingYou'll need to file the very bottom corner to take off the sharp edge to get it to fit into the light housing.How I Designed ThisDesigned in Solidworks.
Comments