Prints (0)
-
No Prints Yet
Be the first to upload a Print for this Design!
Description
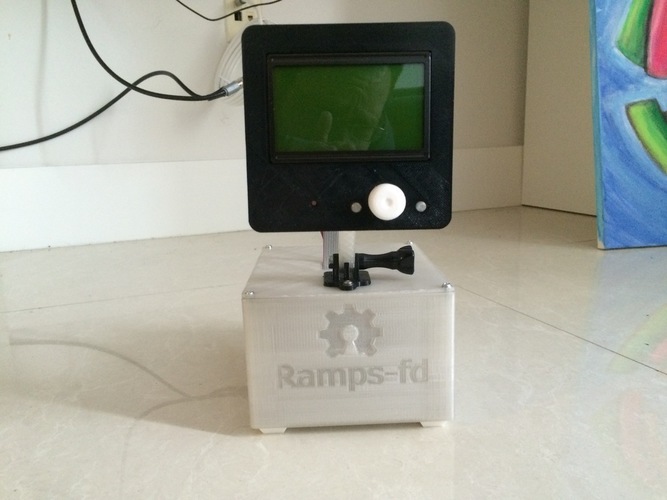
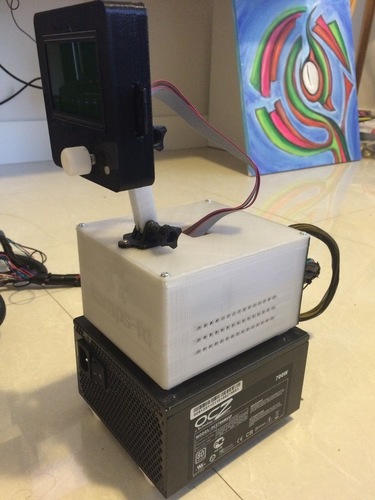
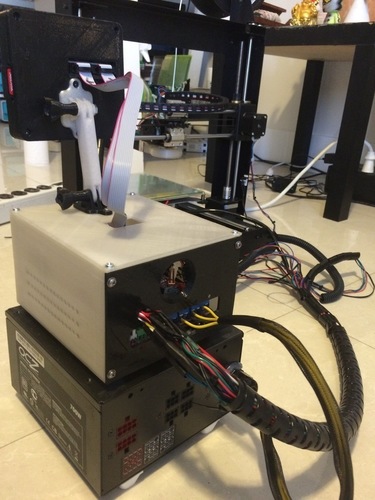
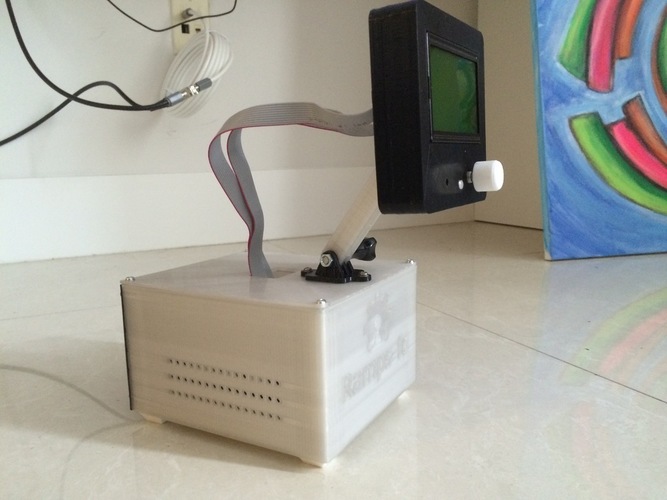
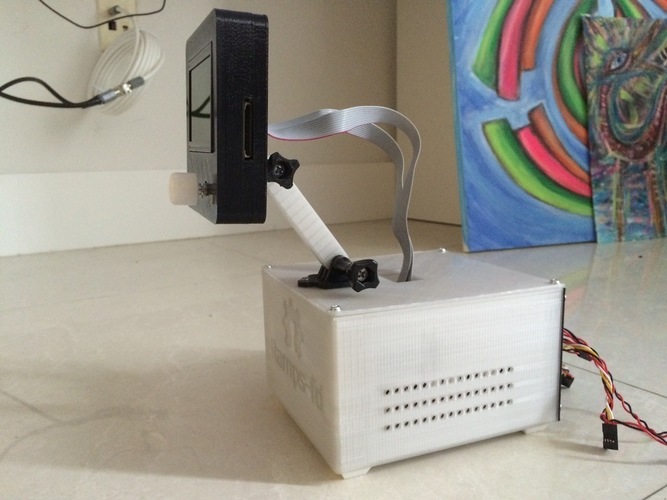
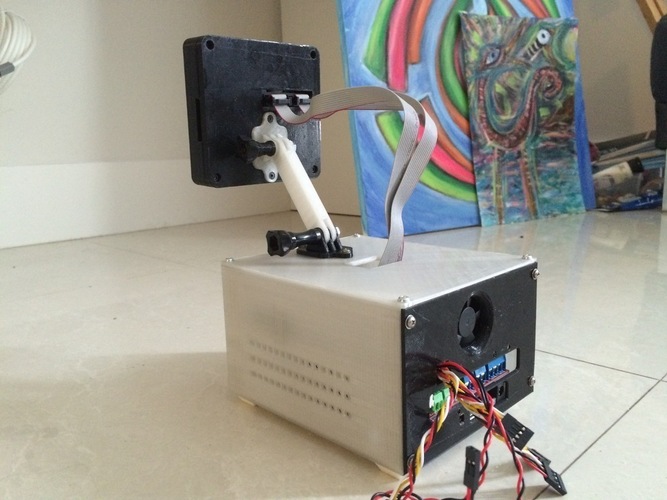
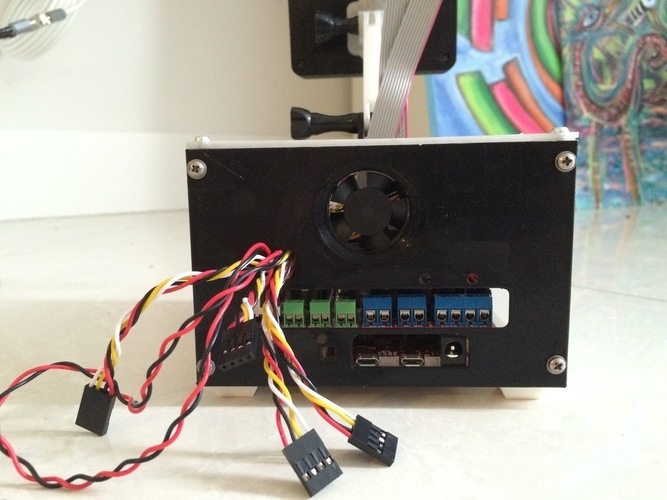
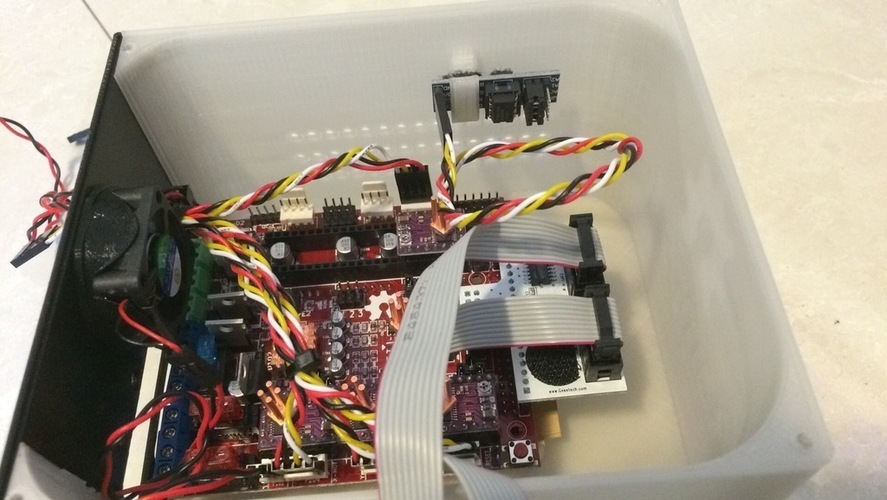
SummaryUPDATE. ((uploaded a v2 of the 40mm fan back plate . now easier to install . first plug in all cables then slide new cover over wires. )) (( i added a v2 of the radds display back.(v2 has a display bracket mount on both sides instead of one. to choose what side you like best )) (( i added a display back for the radds display. i remixed from and you can download the rest of the display case here-- http://www.thingiverse.com/thing:860709 )) (( i added a new lcd back plate (for reprap controller) remixed from and you can download the rest of the display case here-- http://www.thingiverse.com/thing:87250 )) (i added a ramps-fd box backplate with a 40mm fan for people that have 40mm fans.) (i added a new thicker walled ramps-fd box for those that are having trouble printing out the original one)---(ramps-fd box thick.) this is v1 of my ramps-fd enclosure with 30mm fan and eeprom hanger . i am upgrading my duplicator i3 with ramps-fd and am no longer using the stock psu. updated with a spare 700w computer psu i had laying around. that's why the box is just for the ramps-fd and display. the display case is for a geetech Smart controller With LED turn on control 12864 Version. the display and the box both have pivot points and uses gopro nuts and bolts. for people with different smart controllers. the display bracket is the same as a gopro base bracket. so you can also use a real gopro base with stickypad on the back of any display case you already have. (NEED TO KNOW) i designed this box for my ramps-fd that i slightly modified. originally all the connectors are facing away from the board .and this is just annoying because the box needs to be really wide to plug in the connectors. 1. you can either bend the connectors upward very carefully and slowly with a plug attached to keep all the pins lined up. 2. if your good at soldering . you can de-solder the connectors cut the pins at the bend. keep enough to re solder into the holes on the board so all white connectors are facing upward. and also created a Radds v1 enclosure for people that have Radds . the Radds box has a mounting area on the back plate for a 30mm fan and a micro usb to usb-b adapter and the on off switch that comes with the duplicator i3 . but it still does not house the psu .. i might make a different version to acomidate the psu. but not for now..
Comments