Prints (0)
-
No Prints Yet
Be the first to upload a Print for this Design!
Description
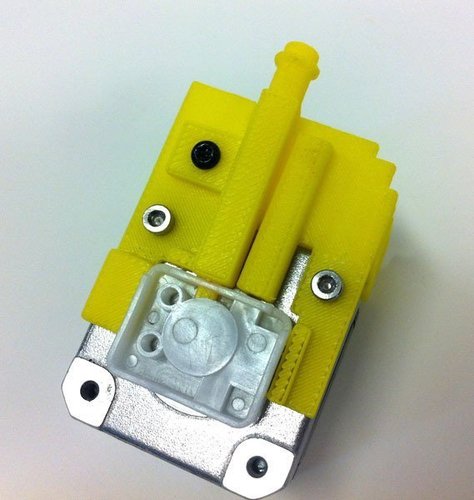
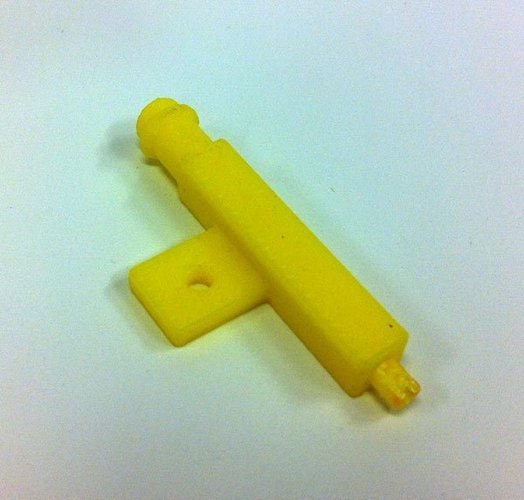
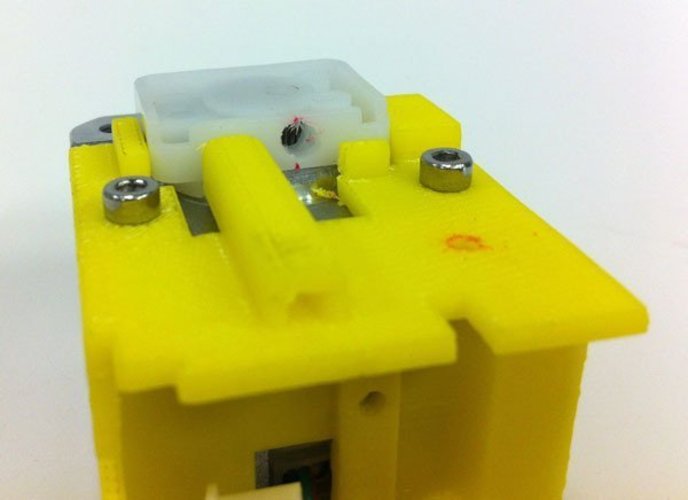
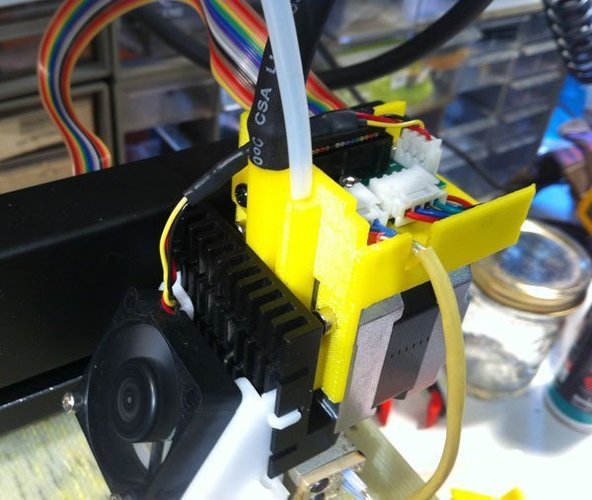
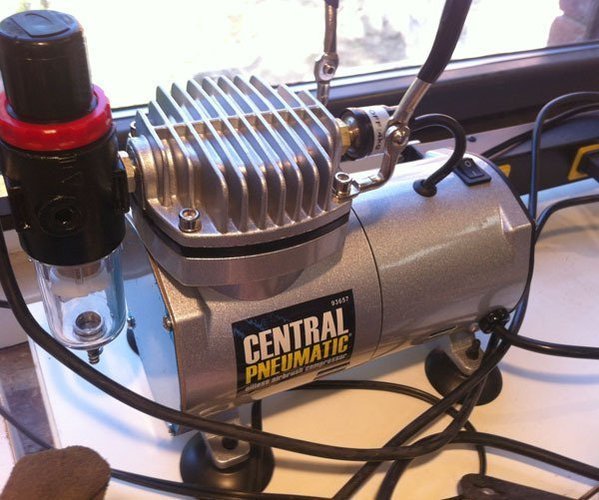
SummaryThe filament feed mechanism in the Up! tends to run hot, which can lead to feed failure when printing PLA, due to "pre-melt" and stripping of the filament. This Thing conducts a jet of cooling air from a compressed air source such as an airbrush compressor into the feed gear chamber, making PLA printing possible. While I've found the cooler to be essential for PLA, I use it all the time now even with ABS because I figure it can't hurt. There are two other Up! feed mechanisms on Thingiverse involving forced air cooling: Drew Peticlerc's http://www.thingiverse.com/thing:16712 and Eurisko84's http://www.thingiverse.com/thing:18010 Unlike those alternative feed mechanisms which are intended primarily to accommodate variations in filament diameter, this Thing simply adds cooling to the stock feed mechanism. This Thing was created with TinkerCAD; you can edit it yourself here: https://tinkercad.com/things/2Y4tHjY0eE1-bolt-on-feed-gear-cooler-for-up-start-plusInstructions1) Print the Cooler Tube. 2) Withdraw any filament in the printer and lower the platform to the bottom, turn off the printer, and let the feed motor cool down a while. 3) Remove the feed motor decorative snap-on cover. Unplug the fan and feed motor connectors from the little PCB. 4) Remove the fan mount/duct assembly by pulling it off the heatsink. 5) Unscrew the outer two machine screws that hold the feed motor to the heatsink. Don't unscrew the center screw - that hold the hot end, which doesn't need to be removed. 6) Lay the feed motor / cable tray assembly down so that the filament feed tube is facing up. Lay the cooler tube down next to the filament feed tube and make a mark on the nylon feed gear cover where the cooling tube will enter. 7) Remove the nylon feed gear cover and drill a 3/32" hole at the mark you just made, on the centerline of the cover's narrow (thickness) dimension. Clear any debris from the part. 8) Put the gear cover back onto the motor assembly. 9) Poke the cooler tube into the hole you just drilled and get everything straight and lined up nicely. Mark the center of the cooler mounting flange hole on the cable tray part. 10) Drill a pilot hole for an M3 self-tapping screw at your mark, then screw the cooler tube onto the cable tray. 11) Put everything back together and hook up an air supply. I use an airbrush compressor I bought at Harbor Freight for $60 - others sell the same compressor under different brands on Amazon and elsewhere. It's very small and very quiet and puts out just the right amount of air for this application. For hose I stripped off the outer insulation of some 16x3 rubber-jacketed electrical cable I bought at Home Depot. It's obviously not made for this application and won't take any pressure, but it's lightweight and very flexible and works great.
Comments