Prints (0)
-
No Prints Yet
Be the first to upload a Print for this Design!
Description
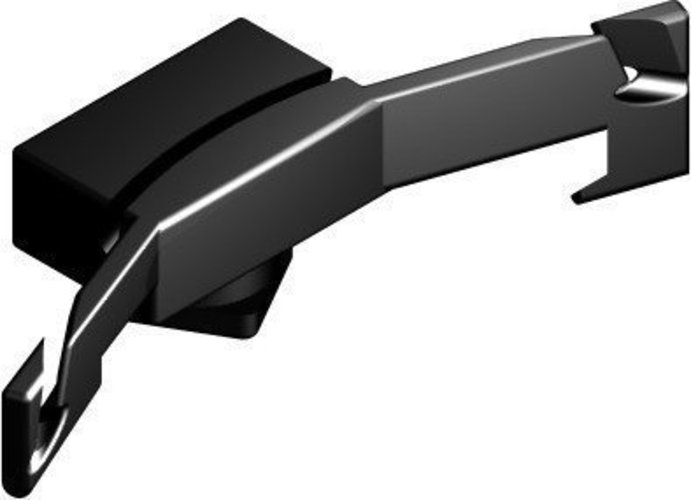
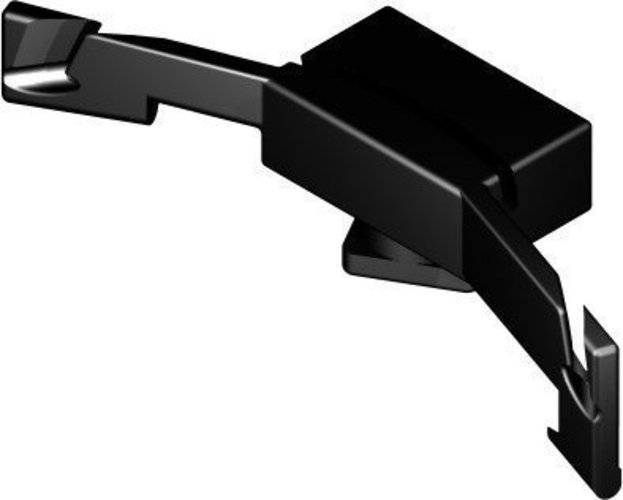
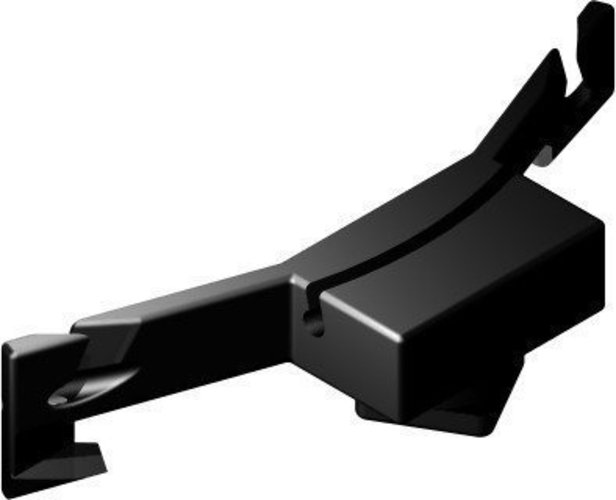
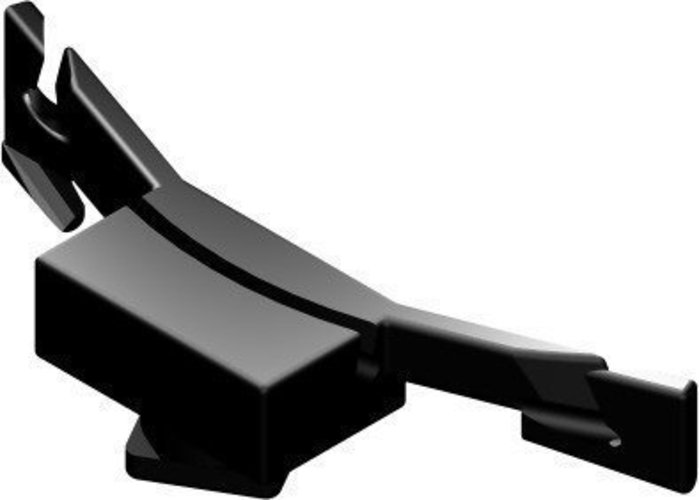
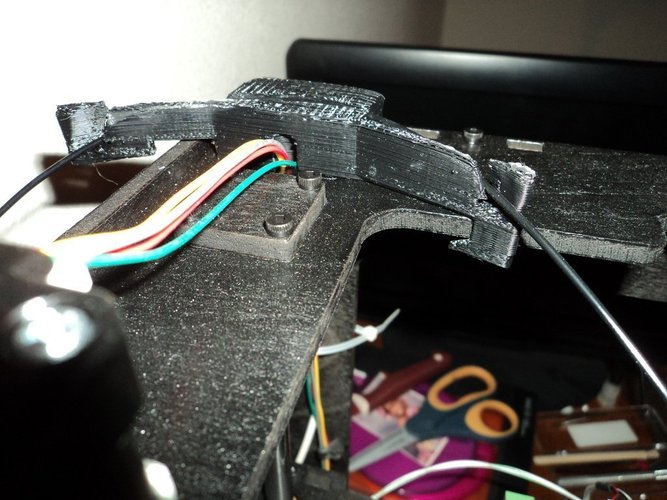
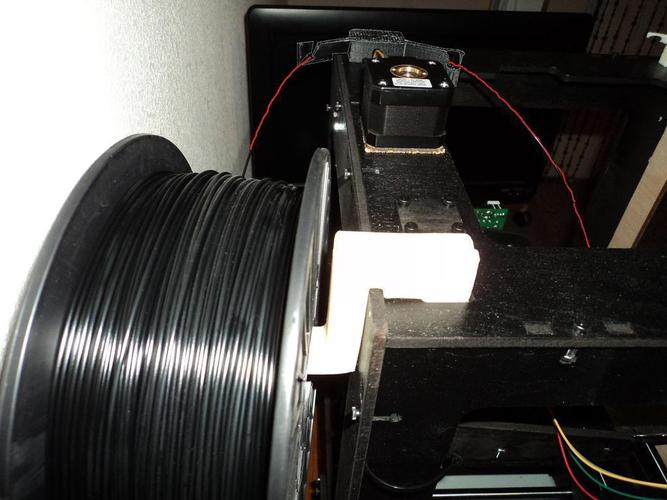
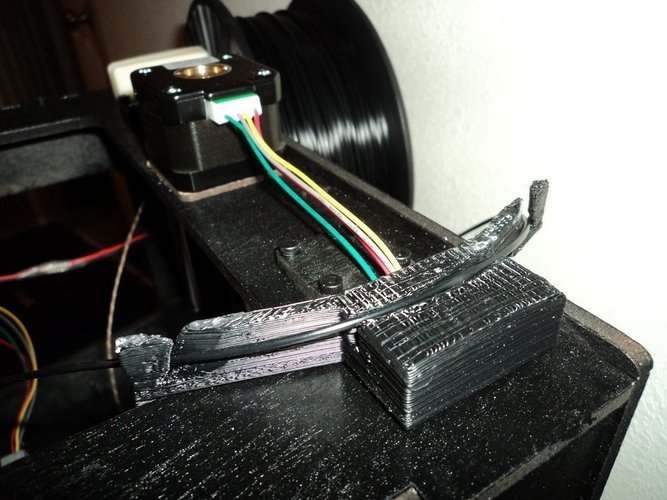
SummarySince I wasn't entirely happy with my first design (which works to guide my filament, but is not exactly to par) I designed a second version. I have printed this "thing" (black ABS w/ raft, no support, 130-degrees on the HBP (my HBP doesn't heat at all if I set it under this temp) 230-degrees on the nozzle), and it works. Filament slides right through the guide, with little to no effort. But please check out my filament spool holder in the photos. This setup may not work for your specific setup. (The filament spool holder shown in the photo is also my design (not posted on Thingiverse because it truly does need a bearing) and works OK. It needs a bearing... probably 2 bearings, to be honest. :( Goals of this design (from the start) have been: 1) To guide 1.75mm filament from a rear-mounted spool to the Mk7 extruder (my spool is mounted parallel to the rear surface of the body, on the left/rear corner, from my own spool mount design/print). Although I designed this guide for my ToM (which has an Mk7 extruder) the filament guide openings are approximately 4mm in DIA, and may also work with other filaments. 2) No filament binding... provide a smooth filament path (without ball bearings or any other external elements). 3) No need to pull the filament all the way through the guide when changing spool colors, etc. The filament just "snaps" into the guide. 4) A small profile, printable in 1 file, all on the ToM's HBP. 5) Install on a Thing-O-Matic with absolutely no modification to the machine's body. 6) To provide a "no-babysit" solution to my previously unmodified ToM, and eliminate my constant need to run upstairs to my office & check on the machine. The small spool of filament that came with my ToM made it approximately 1/4 of the way through the spool before it became so tangled that it's virtually unuseable now... too many cuts in the spool after multiple attempts to untangle it during long builds. Improvements from my first version include: 1) Better filament support arms, relocated/resized for proper guidance of filament. 2) Better locking geometry for the Thing-O-Matic. The first version's locking tabs were not of the right geometry, not to mention the thin features pretty much snapped off while removing the "thing" from the build platform. ("Learn by making mistakes", "trial by error"... a lot of good phrases for that one!) 3) Thicker filament support arms. The first version's arms were FAR too small, but I'm still using mine and they haven't broken yet! :) Comments on the design, revision ideas, and photos would all be appreciated! Have fun!InstructionsThis design has 2 pieces: 1) The main body with 2 integral support arms. 2) The locking mechanism, which is keyed to fit in the base at the proper angle. Print the object (both pieces are in 1 file, and are arranged so they should fit on the ToM's HBP. Fasten the locking mechanism to the body. For all of you non-mechanical types, the square peg fits into the square hole. :) The square peg and/or the square slot may need some filing and/or cutting in order to fit properly. Mine did... I've not learned the proper tolerances for great fits on my new machine, although I know tolerances on metal lathes and milling machines. This is "additive" processing, not "subtractive" processing... and an entirely different world. The slots on both pieces are for your Z axis stepper motor wires to run through, and they must line up during assembly. Use super-glue, or drill & countersink for a screw if you would rather. Or both. The locking mechanism (or block) is rotated 30-degrees in respect to the main body. Put this block through the appropriate corner opening on the top of your ToM, then twist counter-clockwise to lock it in place. The inside support arm should also "lock" onto the top piece of your ToM. THERE ARE 2 FILES POSTED FOR THIS "THING". One file has a slot for your Z-axis stepper motor wires to run through. The other file does not. The photos to the left show the version with the Z-axis stepper motor wires running through the slotted version that I printed. It works very well. Simply fit the square "locking tab" through the right/rear corner opening of your ToM and twist it 30-degrees counter-clockwise. The locking tab should grab hold of the square opening (mine fit perfectly), and the filament support arm facing you (if you're facing the front of your ToM) should also fit into the top of the body (again, mine fit perfectly). In the photos to the left, you're seeing a VERY crude version of my spool holder design (which works, but THANK GOD that the Z-axis stepper motor is strong enough to pull filament from the spool without a bearing... it's worked so far for prints lasting HOURS, without any supervision). And you're seeing my uncleaned version of this "thing", straight of the press, so-to-speak, just to see if it would work. AND IT DOES.
Comments