
Prints (0)
-
No Prints Yet
Be the first to upload a Print for this Design!
Description
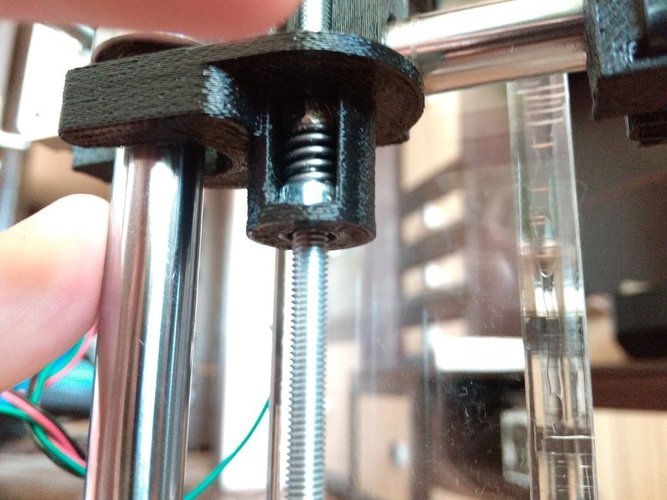
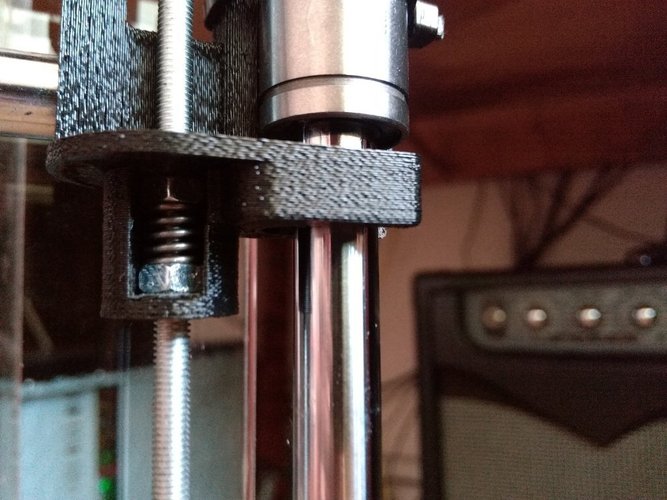
Summary Re update 26.07.2015: Modified with +5mm between M5 nuts for longer spring (original part was 15.5mm pocket, this is 20.5 pocket). Reinforced flanges with +1mm. More clearance on smooth rod mounting (+0.1) Print Z REG _plus 5.stl with 100% fill Update 26.07.2015: Added modified version for user smeric on request. The new version has: 5mm between M5 nuts for shorter spring added 1mm on the upper and lower flanges thickness to be more sturdy added more clearance (+0.1mm) on the 12mm opening for the smooth rod Print 100% fill Creation date: 09.06.2015 Installing the z threaded rod on the Mega Prusa, I felt that the clearance between the rod and the nut was too high. I modified this thing http://www.thingiverse.com/thing:141479 to fit the Mega Prusa project initiated by Aldric Negrier on http://www.instructables.com/id/Mega-Prusa-i3-Rework-8-x-Build-Volume/#step1. This thing is for M5 threaded rod and 12mm smooth rod. The difference between the original (thing:141479) and this is that this has longer inner hexnut pocket (15.5 mm) and higher contact lines between the part and the 12mm smooth rod. Is also a little longer to fit the distance between threaded rod and smooth rod Instructions You will need: 4x M5 nuts 2x ø8x10x1.1 springs 1x printed part left 1x printed part right (mirrored left) I printed this in black PLA sliced with Cura layer 0.3mm and shell 1.2mm (0.4 nozzle). Bottom and top thickness 2.4mm. It is important to have thick bottom and top because the springs are pretty strong and you will damage the printed part. Note: If you cannot make the rot to pass both nuts you have to stop a little bit before entering the second nut and push (tension the spring) and turn a little until the rod is catching the thread on the second nut. Find the best position between nuts unmounting and remounting one of the nuts keeping in mind that the thread in the nut/rod has only one beginning... This will give you bigger or smaller amount of tension in the spring depending in what position you catch the thread. !!!!!!! If the rod passes without tensions the two nuts, unmount the upper nut and rotate in other position. The idea behind this z antiwobble is that the mounting has to be tensioned so that the upper nut is making contact on the lower surface of the thread and the lower nut is making contact on the upper thread surface !!!!!!!! Find the smaller amount of tension in spring unmounting and remounting and rotating the nut. Tension too big will force the z motors to stop
Comments