

Prints (0)
-
No Prints Yet
Be the first to upload a Print for this Design!
Description
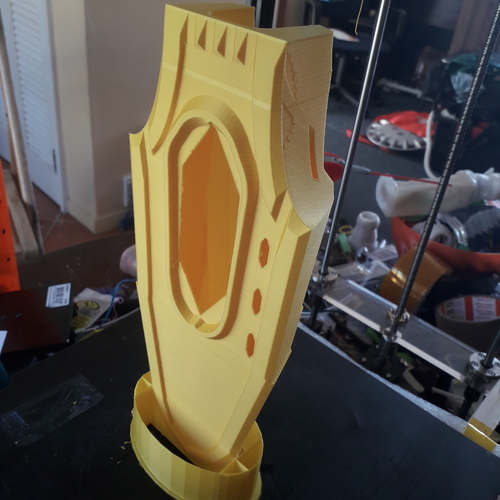
You need a large delta or cube to print this design scale, XL to print it design size.
There are a number of cool features:
1. all riding surfaces are flat so as to avoid the clinginess of the Coandä effect present with regular boats.
2.There is some concave curvature in stern side cutouts, this is for lower speed and on-edge operation. (On edge this reduces stern lift to reduce bow-diving)
3.I've revised all the steps to provide small internal bridging support fillets. You will still need a bridging fan though for tidiest printing, I'd recommend 0.1mm layers and 10 top layers.
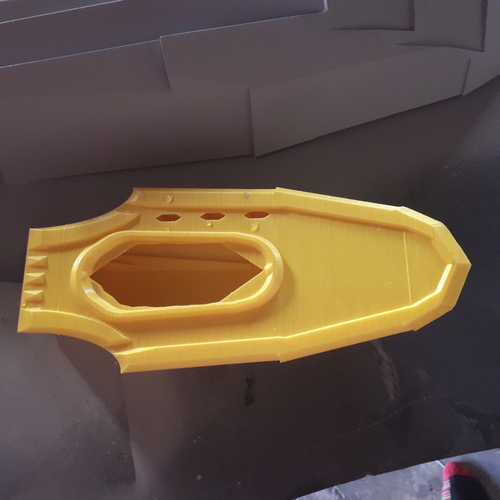
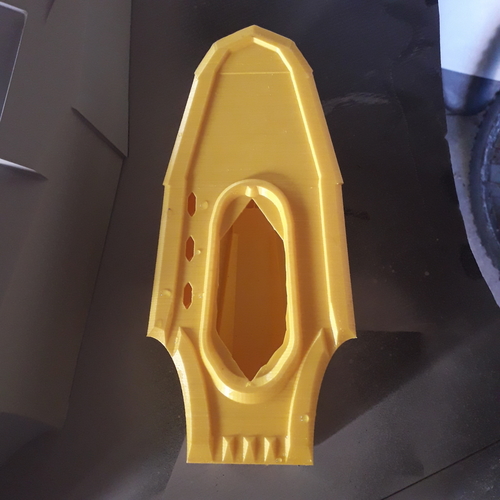
4. The deck prints with the boat including a hatch moulding and cutout.
5. There are side bouyancy chambers.
The boat is intended for printing with bow down to the build plate, I've added a custom support structure.
During printing add a bit of PVA glue where you see small gaps to the support structure, this will then hold during printing and break away perfectly after printing.
When slicing if you scale or print with an unusually large nozzle, be sure to review all the layers before starting the print. If you have non waterproof prints then your nozzle build width is probably set wrong. Many slicers have advanced settings that relate not to % of nozzle orifice width, but to layer height. Ensure you have an actual peremiter size of at least the actual nozzle orifice size. Slightly more will ensure a good solid perimeter and interlayer bonding. If you are using PETg which is a stronger filament for the job then I suggest you google recommended layer heights for PETg, it's got different characteristics and I've not used it much to be able to advise other than that thicker layers are recommended.
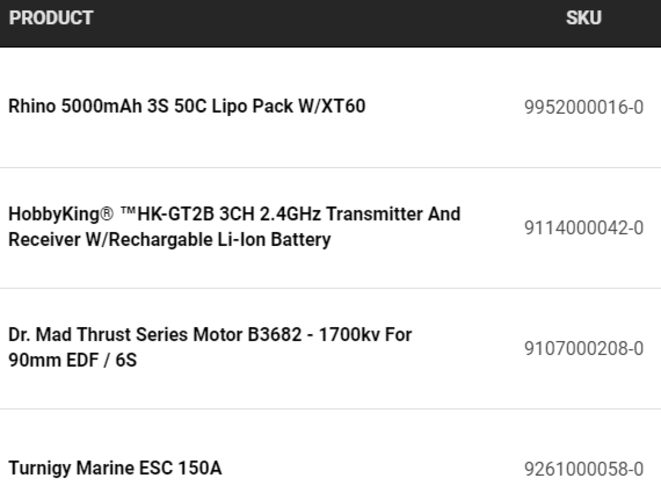
For full sized printing this boat suits a 35mm jet unit and a water cooled 36mm diameter inrunner motor. I've attached details of what I used from hobby king.
1/2 size: THE TORTURE TEST-
Initial photos are with a self righting flood chamber. I found the boat is too beamy so I've converted to all sealed chambers and a centre chamber with the hatch. The inside of the transom where the jet intake fits is the only tricky bit requiring good bridging. It prints fine on my machine which has a poor bridging fan though. Set lots of top layers and it won't be a problem. ( set 10 top layers for 0.1mm layer height. I do have supports around this area but not in the middle, I wanted to avoid a tricky inside piece removal where the intake has to go.
I recommend setting 0.45mm extrusion width for 1/2 scale printing if using a 0.4mm nozzle, this gives minimum double wall thickness which should be waterproof if your filament diameter, extruder motor calibration and extrude drive dog are all working reliably.
Be careful going too thick if 1/2 scale as several layers are needed to correctly form the hull steps tidily. For half scale I'd recommend a 3000kV x 24mm x 37mm long or similar inrunner for 3S and 4500kV for 2S.
Outrunners have a bigger torque effect spinning up to speed, enough that you are likely to flip the boat around it's long axis any time the boat is airborn as the unloaded motor accelerates. Placing the batteries wide also fights this but inrunners are recommended.
Quick note on pricing... this is just a little incentive to keep me productive ;-) The cost of filament for a 1/2 scale print is actually more than the price for the model download!
Favorite the design and check back for updates, I may do a variant with inbuilt intake and [stator, steering nozzle accessories].
Comments