Prints (0)
-
No Prints Yet
Be the first to upload a Print for this Design!
Description
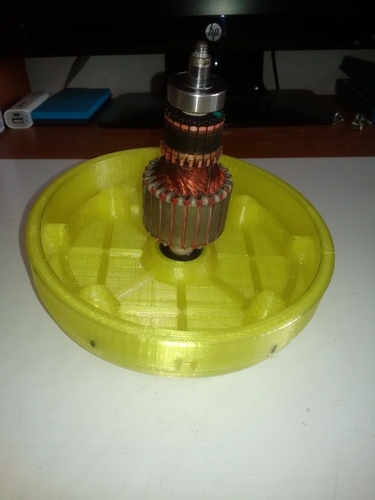
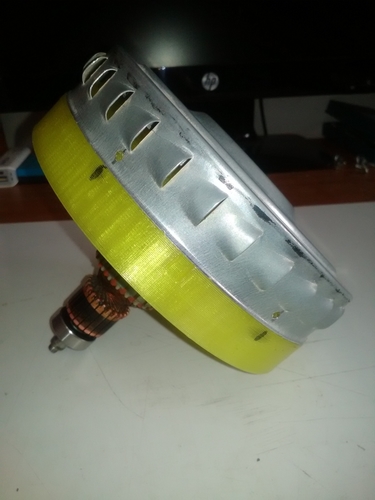
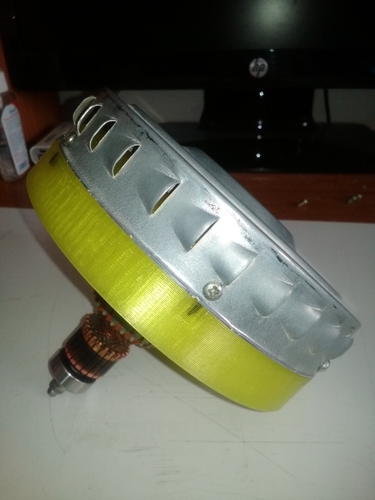
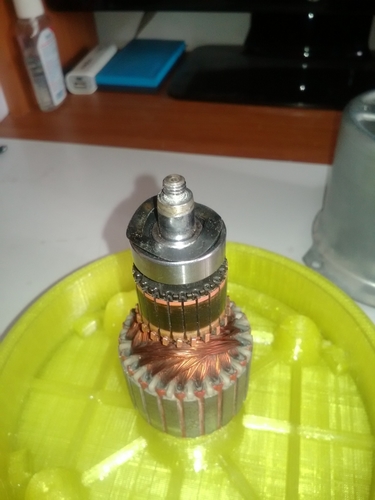
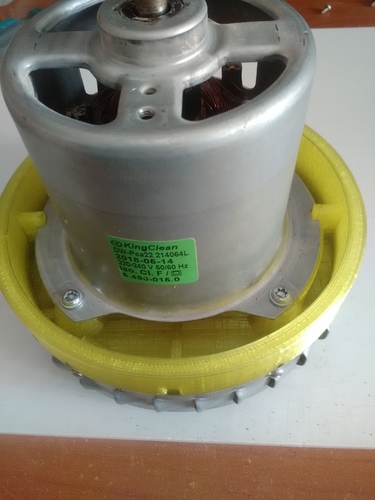
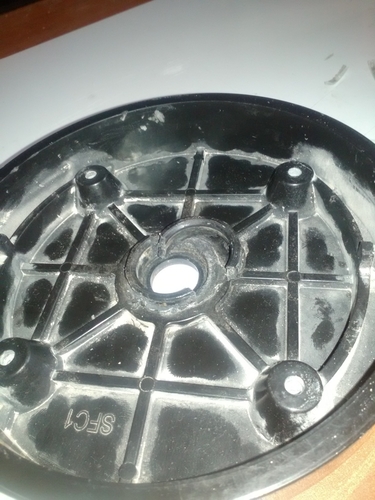
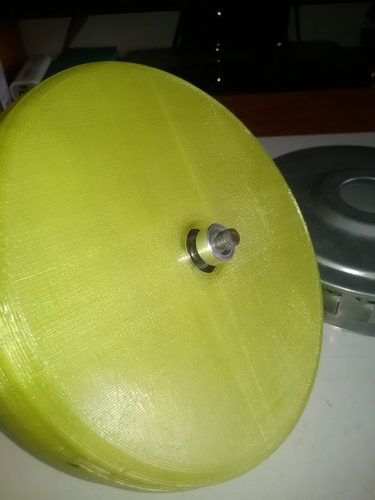
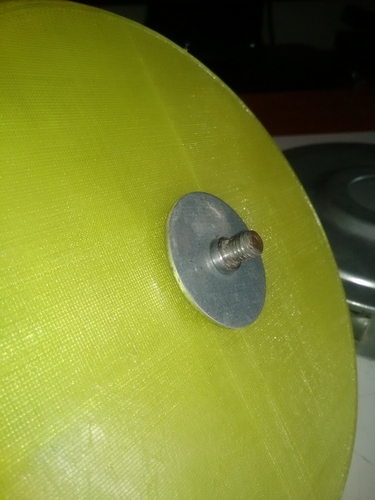
WD3 is a great vacuum cleaner, but its weak point is the place where the turbine bearing is located.
The bearing wall is thin and for more intense use, it will widen or break. If your vacuum cleaner makes a loud noise when you use it, this wall has widened and a major defect will soon follow. When I tried to replace the plate with a new one, I found only the engine with the turbine as the spare part. Cost about 75% from the value of the vacuum cleaner.
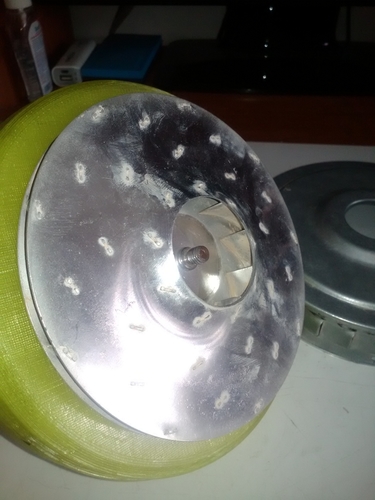
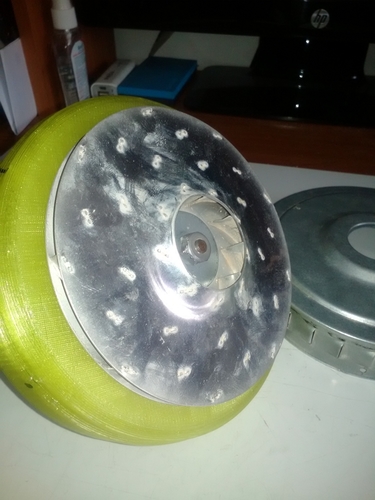
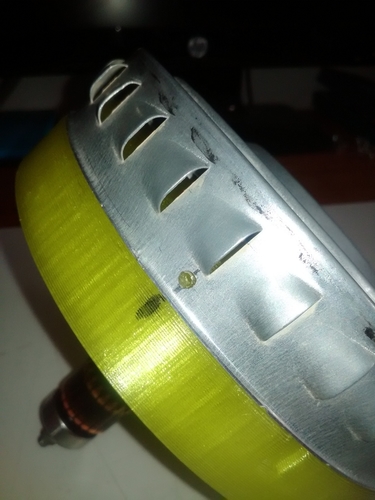
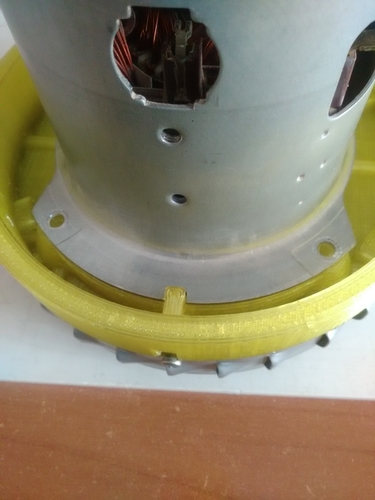
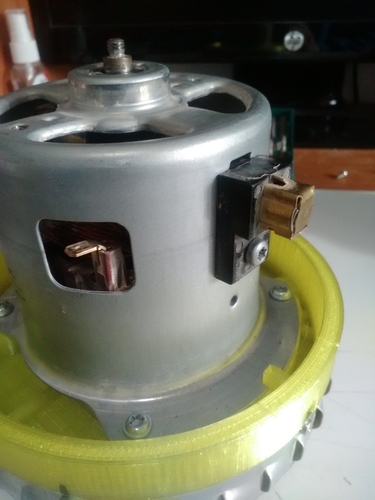
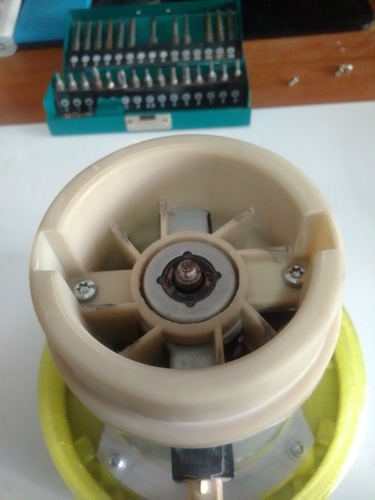
I designed and executed this board and saved the vacuum cleaner. The new part has 6 holes for joining with the turbine housing (by this it becomes removable). The original casing is combined with the plate by pressing, to disassemble it, the plate of the casing must be heated with a hot air gun. Using a flat screwdriver, alternatively in the 4 spaces located on the contour of the plate, you can remove the turbine housing safely, without destroying it.
In the 6 holes will enter 6 screws with the length of 4-5 mm, inner diameter 2.5mm, outer diameter 3mm. If these holes are not well shaped when printing, a drill can be used to clean them. The turbine casing should be slightly forced into the new part. On turbine casing wall, should be made with a drill, 6 through holes of 3 - 3.5 mm. In all the other holes, the original screws are kept.
The material used by me is PETG, because, it withstands heat up to 80 degrees Celsius, and when cooling, it retains its dimensions. Use 0.6 - 0.8 nozzle for faster printing, 0.45 - 0.6 layer height, printing speed: medium 40-60mm/sec, outer/inner shell speed: low 20-30 mm/sec. Watch out for under extrusion. If your printer is oozing, sand carefullyy the the contour of the plate and the place for bearing.
Good luck!
Comments