Prints (0)
-
No Prints Yet
Be the first to upload a Print for this Design!
Description
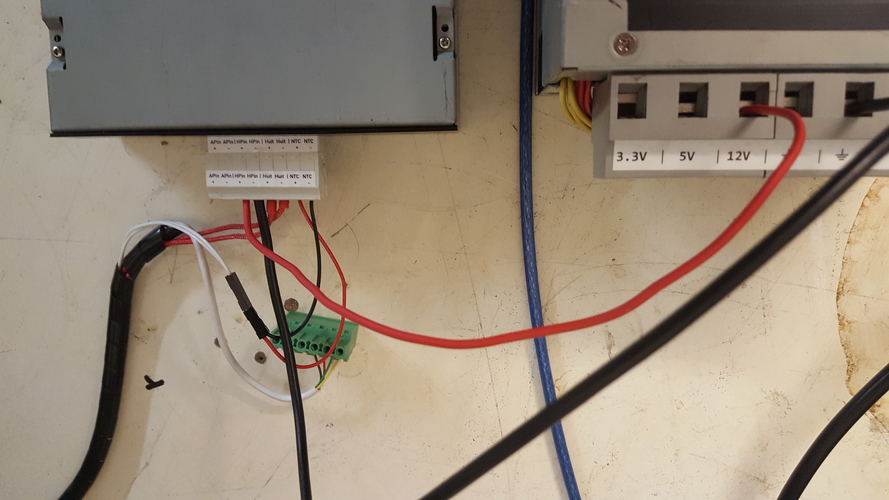
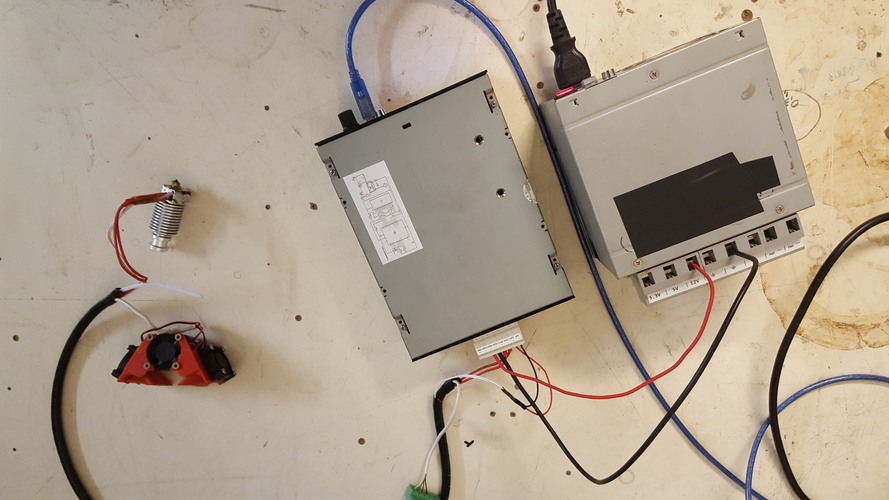
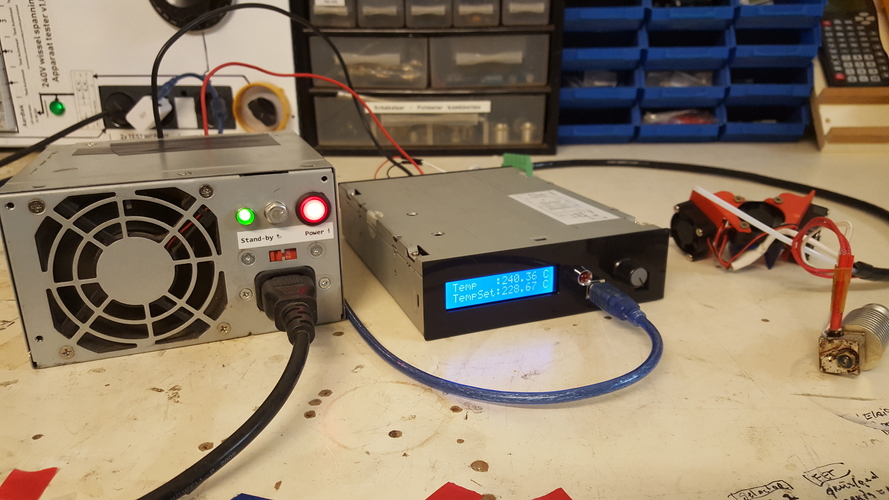
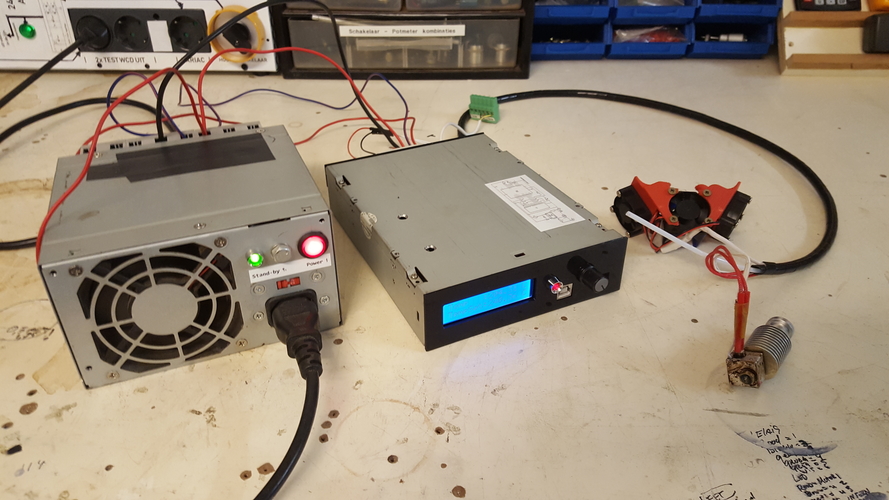
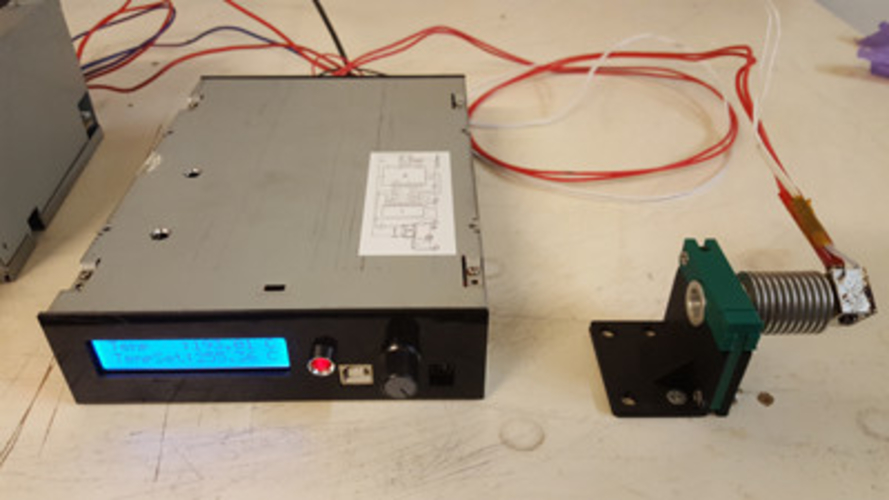
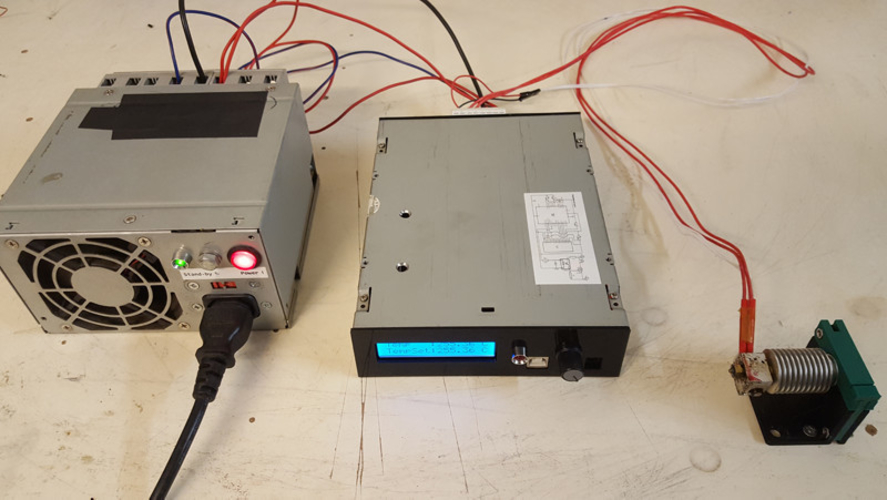
Connect a 100K NTC, a Heater and Power Supply. Then set the Temperature you need and this Thermostat will keep you heater at the set temperature.
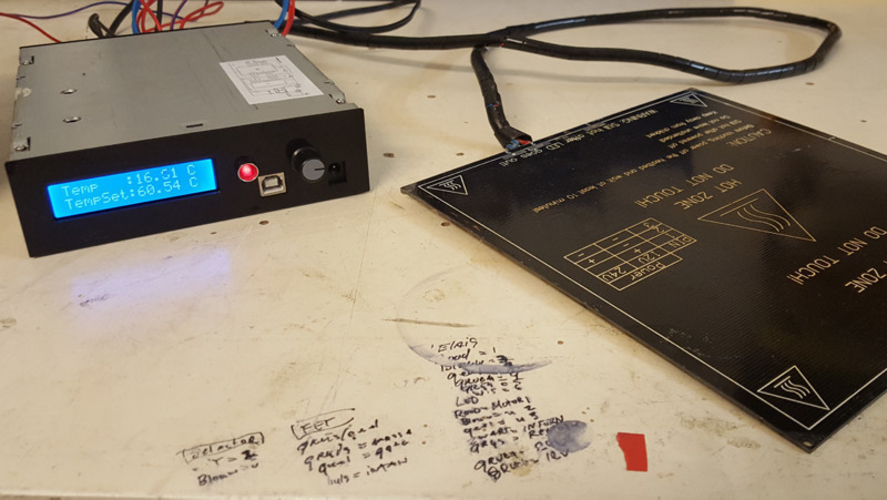
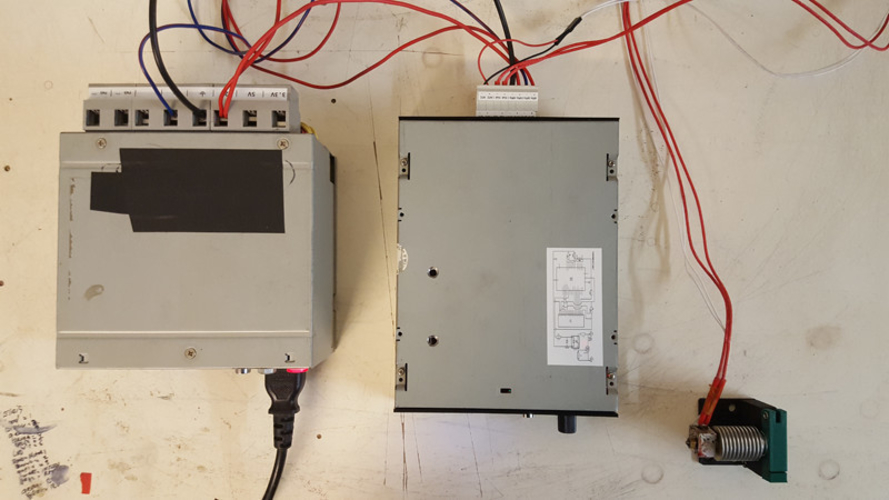
This DIY tool made off stuff lying around is used by me to heat up Heaters such as Hot End and Heat Beds from 3d printers. This way I can work on them on the bench.
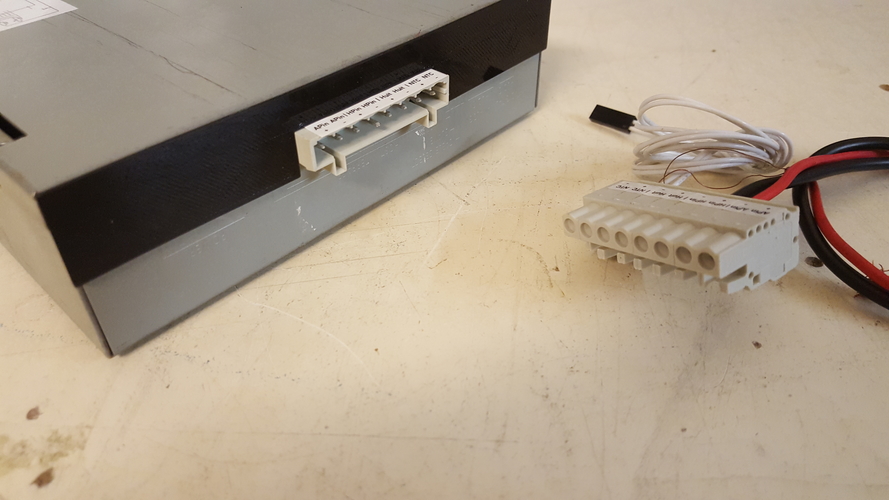
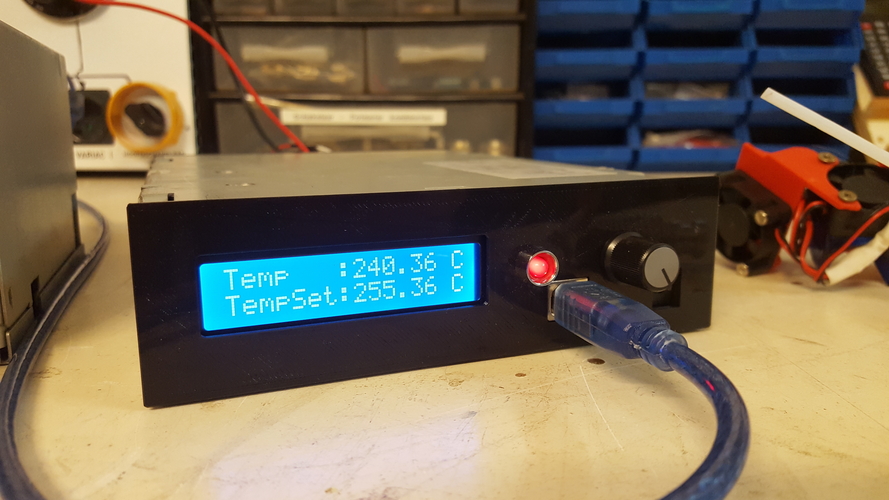
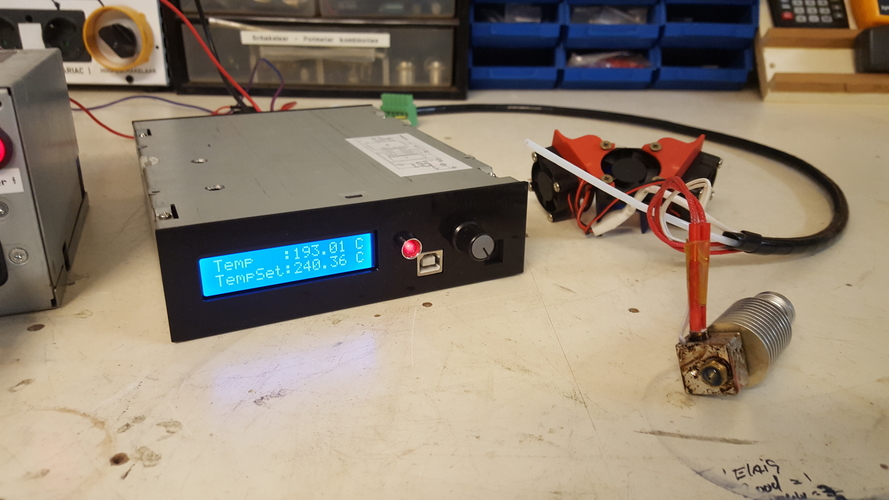
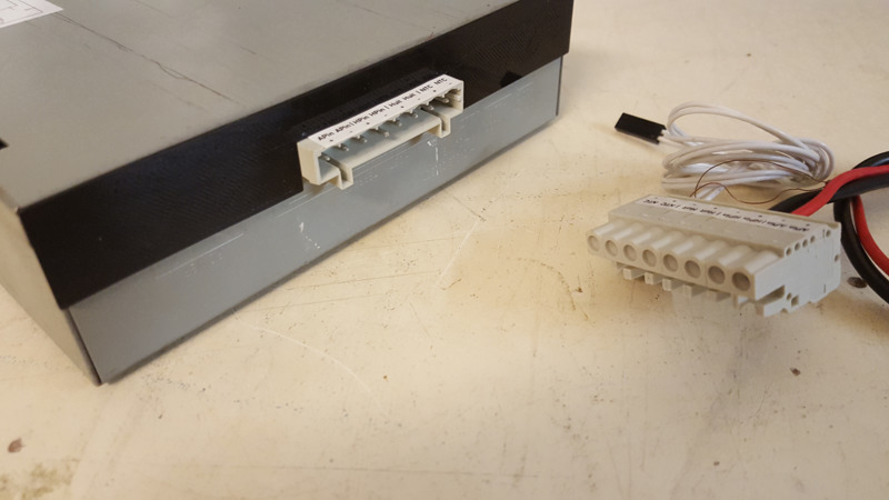
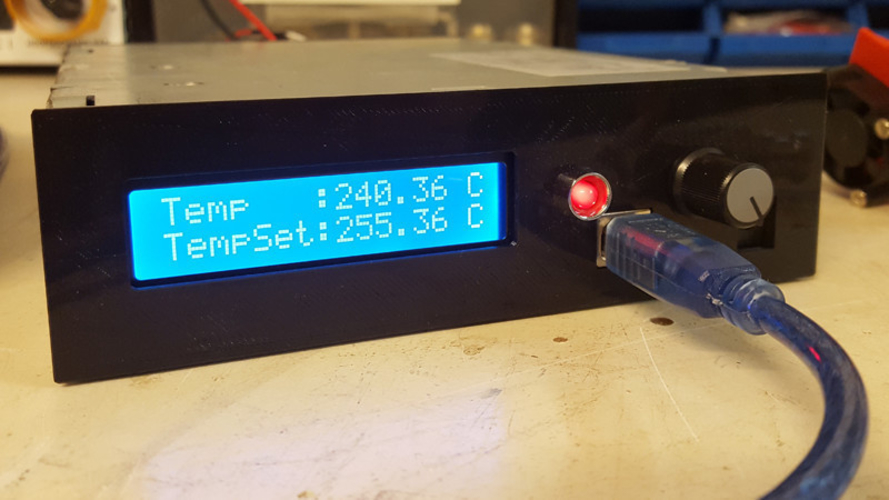
It also comes in handy with drying Filament or keeping any chamber at a specific temperature. The Top row in the display shows the Thermistor Temperature. The bottom row shows the Set Temperature. The Red LED Burns when the Heater is activated. The Arduino is powered separate from the FET and Heater part so I have free choice in Power Sup-plays. The Arduino can be powered from the front trough USB or wall adapter or via the back connector.
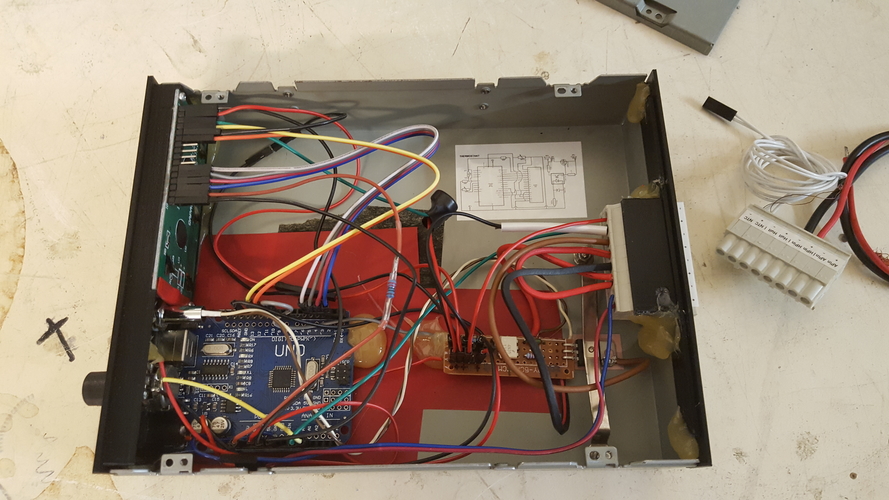
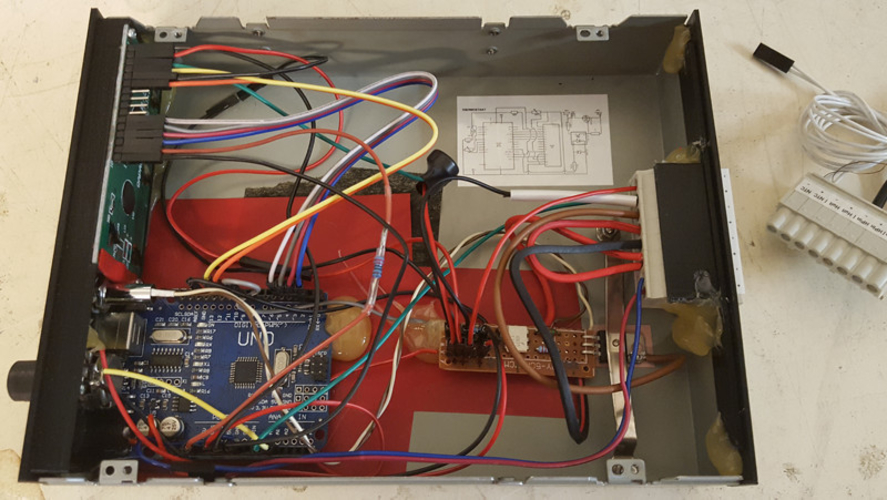
It is build in the housing of an old DVD Burner (meant for PC cases)
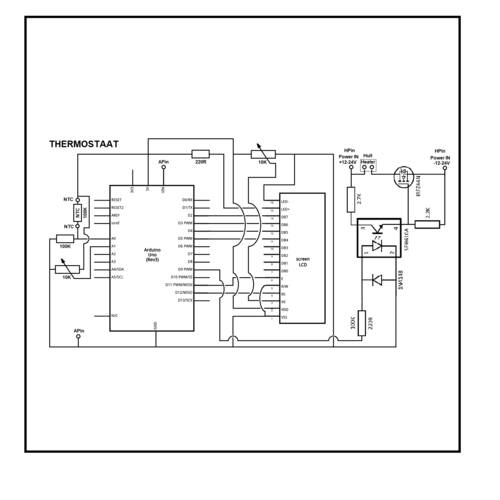
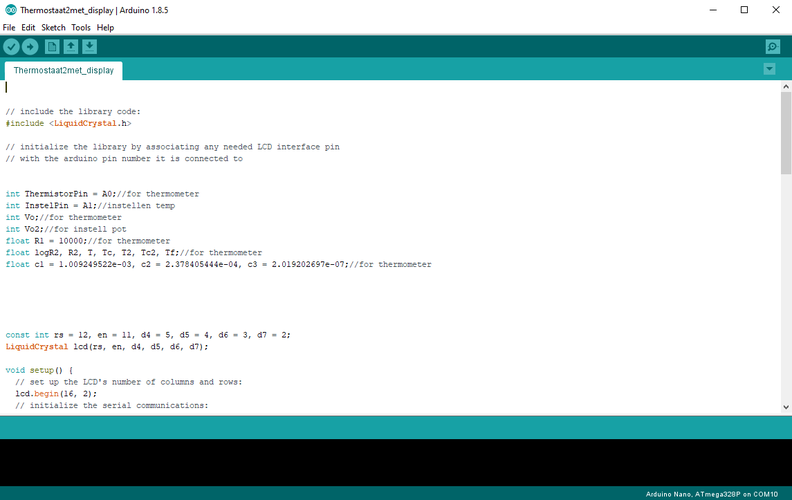
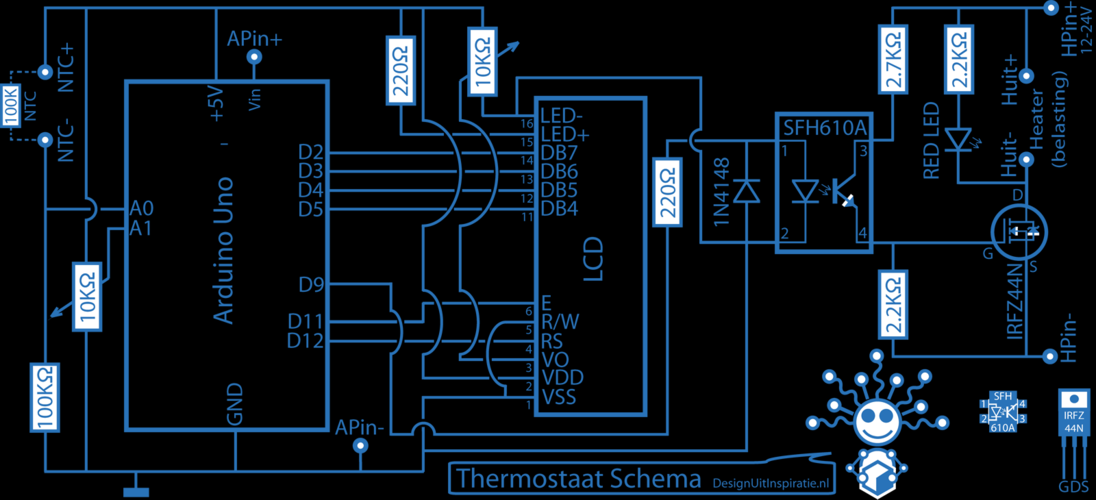
The basis is an Arduino Uno that measures the temperature and switches the FET for the heater. In the Photo Section I included a super simple schematic. Also for who is interested a Arduino sketch is included. I have set mine in C but the Fahrenheit option is still (disabled) in the sketch.
Note: I had to clip some leads of the Adruino short to make it slot into the (3d printed ) front.
Note2: the Red LED is not shown on the schematic
Note3: I used a Optacoupler but it also works without. You can skip it an just connect the gate of the FET (trough a resistor) direct to the Arduino. But I think that people who are interested in this will know:-)
Otherwise feel free to ask :-)
sketch--
// include the library code: #include <LiquidCrystal.h>
// initialize the library by associating any needed LCD interface pin // with the arduino pin number it is connected to
int ThermistorPin = A0;//for thermometer int InstelPin = A1;//instellen temp int Vo;//for thermometer int Vo2;//for instell pot float R1 = 10000;//for thermometer float logR2, R2, T, Tc, T2, Tc2, Tf;//for thermometer float c1 = 1.009249522e-03, c2 = 2.378405444e-04, c3 = 2.019202697e-07;//for thermometer
const int rs = 12, en = 11, d4 = 5, d5 = 4, d6 = 3, d7 = 2; LiquidCrystal lcd(rs, en, d4, d5, d6, d7);
void setup() { // set up the LCD's number of columns and rows: lcd.begin(16, 2); // initialize the serial communications: Serial.begin(9600); }
void loop() {
int heater = 9; //hotend heater swich Vo = analogRead(ThermistorPin); R2 = R1 * (1023.0 / (float)Vo - 1.0); logR2 = log(R2); T = (1.0 / (c1 + c2*logR2 + c3*logR2*logR2*logR2)); Tc = T - 273.15; Tf = (Tc * 9.0)/ 5.0 + 32.0;
Vo2 = analogRead(InstelPin); R2 = R1 * (1023.0 / (float)Vo2 - 1.0); logR2 = log(R2); T2 = (1.0 / (c1 + c2*logR2 + c3*logR2*logR2*logR2)); Tc2 = T2 - 273.15;
pinMode(heater,OUTPUT); //declare pin 9 output { lcd.setCursor(0, 0); Serial.print("Temp :"); lcd.write("Temp :"); //Serial.print(Tf); //lcd.write(Tf); //Serial.print(" F; "); //lcd.write(" F "); Serial.print(Tc); lcd.print(Tc); Serial.println(" C"); lcd.write(" C " ); //delay (4000); //lcd.clear(); } {
// set the cursor to column 0, line 1 // (note: line 1 is the second row, since counting begins with 0): lcd.setCursor(0, 1); Serial.print("TempSet:"); lcd.write("TempSet:"); Serial.print(Tc2); lcd.print(Tc2); Serial.println(" C"); lcd.write(" C " ); //delay(4000); //lcd.clear();
// Turn off the display: //lcd.noDisplay(); //delay(500); // Turn on the display: //lcd.display(); //delay(1000);
}
if(Tc2 > Tc)
digitalWrite(heater,HIGH);
else if(Tc > Tc2)
digitalWrite(heater,LOW);
delay(500);
}
Comments