Prints (0)
-
No Prints Yet
Be the first to upload a Print for this Design!
Description
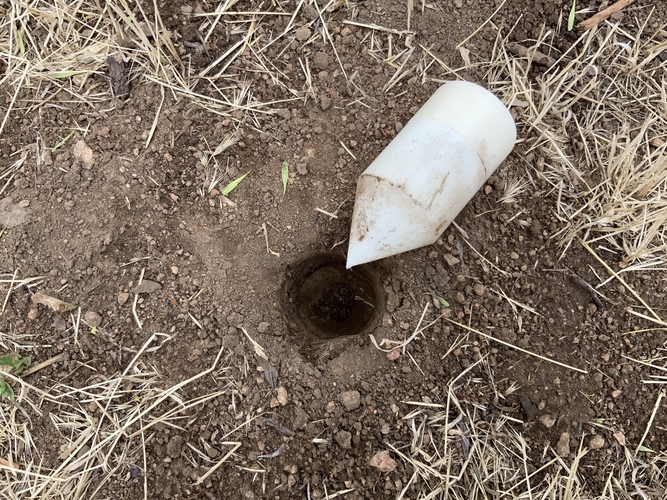
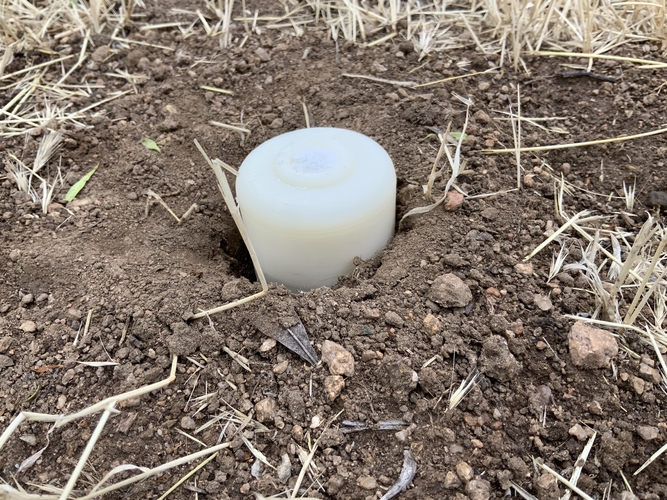
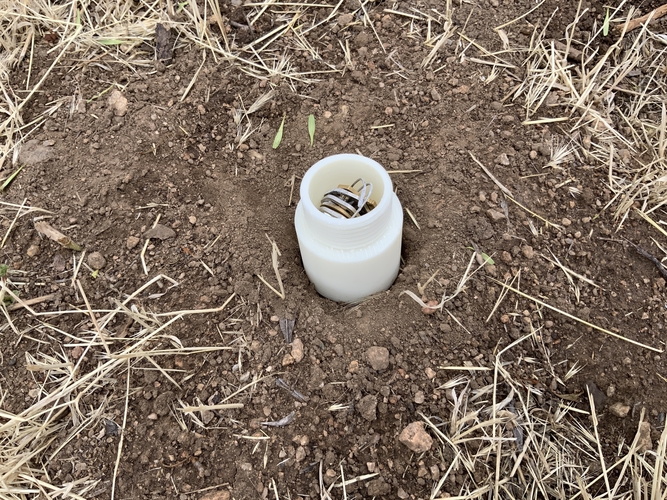
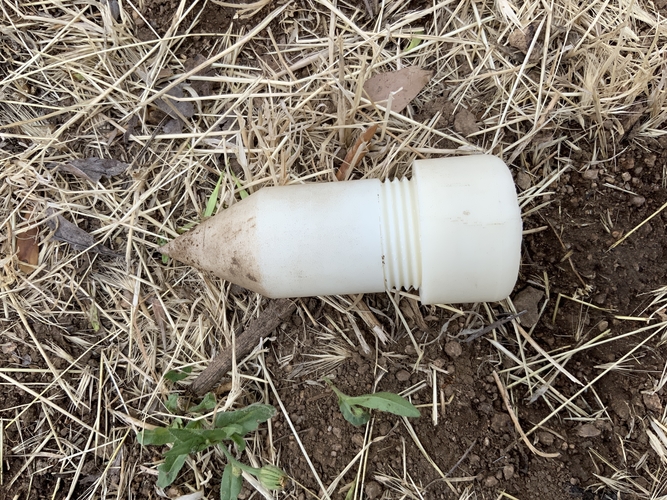
I initially designed this to resemble that of a sprinkler, which it still kind of is. The head has some extra pieces to it that can allow you to paint it to resemble that of a sprinkler. You can also choose to not go with this design and simply bury this in the ground as a standard hidden compartment.
But since designing it, I have since decided to just go with a typical storage for your keys.
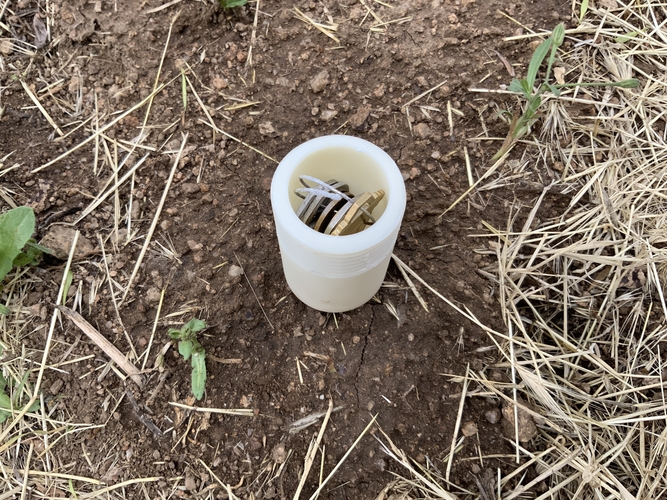
The idea here is that this is a much safer option than hiding your key under a mat, over a door, or anywhere else that someone might guess to look. You could hide your key in a planter as is, but it'll get ruined with soil over time. You could bury it in foil, but that seems like a waste of foil and could be noticeable if a piece of it is exposed and shines in the light.
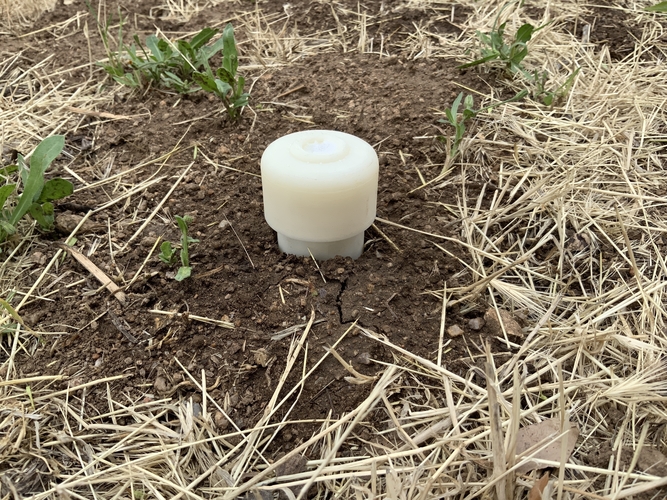
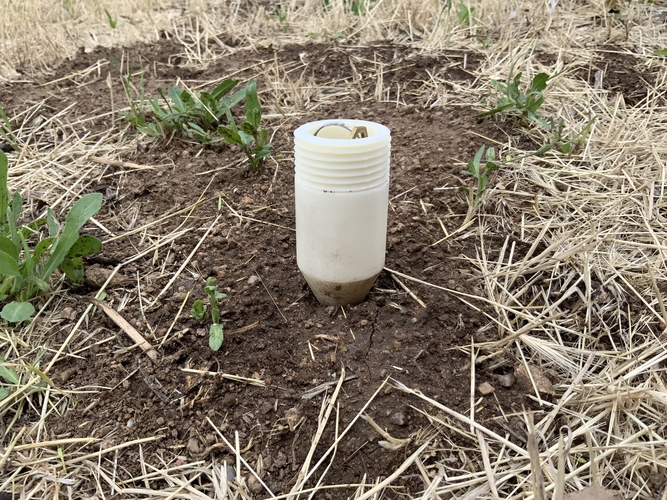
It is my intention with this design that you have a compartment that is safe and easily hidden in dirt, soil, mud, etc. but still easily accessible should you need it in the future.
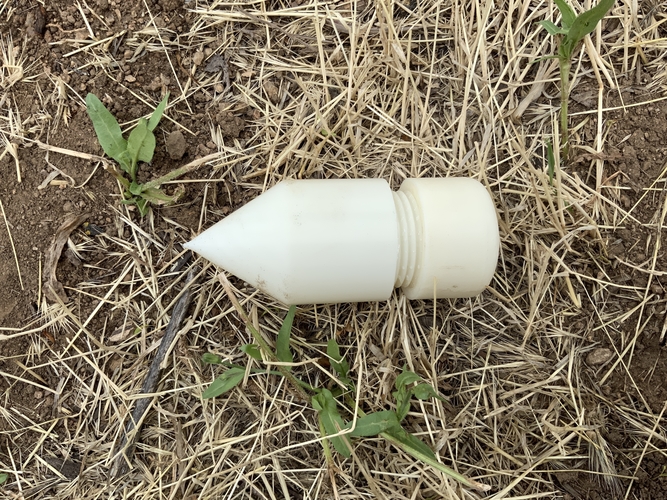
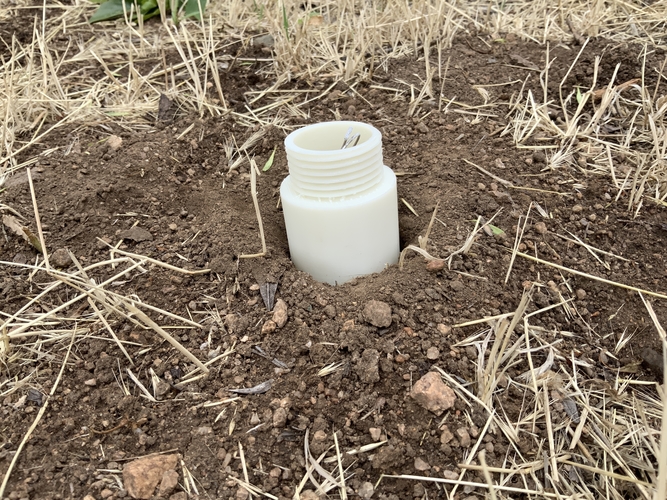
This design is water resistant, based on a series of tests I performed. When completely closed and submerged under water (a test that is not pictured here), the keys and inside of the compartment were not wet at all. The threaded design stretches over 20 mm, giving you lots of protection from the outer environment harms that could seep in over time.
This is primarily designed for keys; however, I am sure you could store other things that are similar to a key. What that could be, I'm unsure. I was able to safely store 7 keys on a keychain in here with room to spare. The default diameter measures 40 mm in length, so you should have reasonable space for keys.
Possible places you could and should bury this are using it as a decoy sprinkler (after painting it to look as such) or burying it at a plant's base or under a bush. You can also bury it completely under soil in an undisclosed area of your yard (just make sure you remember where you bury it!). Let your imagination run wild!
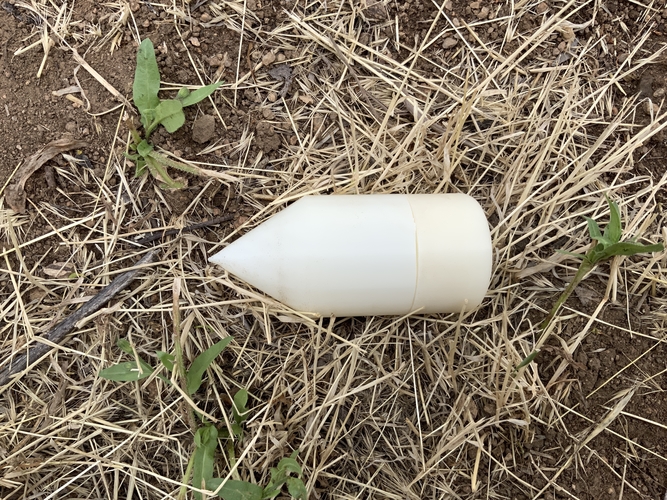
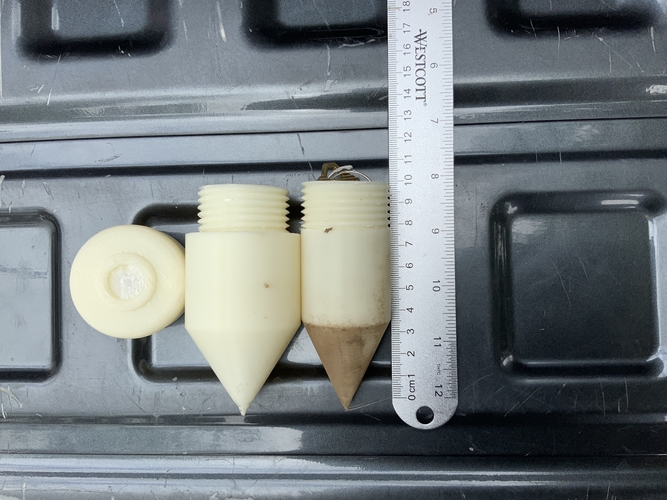
There are 3 files included in this.
- 1 is the standard head which has been designed to be used for either of the bodies.
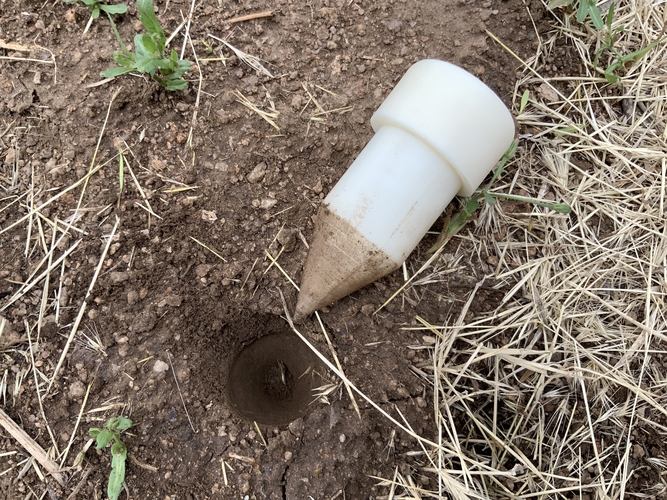
- The other 2 are bodies, one is slimmer than the other in appearance; however, both have the same capacity with a default 40 mm diameter. The slimmer design can give this a "mushroom" look, whereas the thicker design can give it more of a pill look.
Some tips for printing:
- Print the bodies with the cone facing upwards. Use supports. I went with standard supports.
- Print the head with supports. I went with standard supports. I printed the head upside down (hole facing upwards); however, I do not believe there will be much of a difference if printed downwards (hole facing the printing bed). Though I have not tested this so print this way at your own risk.
- Raft/brim is not necessary.
- For the absolute best quality, print only one object at a time.
If you do not print with supports, the threads will likely not be as refined as they should be, which happened to me during testing. When I did not print using supports, the threads collapsed and would not screw correctly with the head.
The models in my pictures were printed in beige ABS. The manufacturer is XYZ. This is standard 1.75 mm filament. I have not tested other filament materials with this design. If printing as a fake sprinkler, I would recommend choosing a black color. I would not recommend printing this in bright colors such as orange or beige as those will be more noticeable if exposed.
When done printing, place something like paper into the compartment, close the compartment, and submerge it under water. Running water may suffice as a test if your property is not prone to flooding.
When removed, if the paper is wet, you have a leak and should reprint or find the leak and seal it using glue or another adhesive. Feel around the inside of the compartment to ensure no water has gotten through during this test.
Some tips for use:
- Do not over tighten the cap. Over tightening can cause a crack in the plastic.
- Do not leave the cap slightly tightened. Under tightened can risk environmental harms seeping in quicker than expected.
- Do not hammer this into the ground using any type of hammer (metal or rubber) and do not use your foot to stomp it into the ground. Any of these methods will cause the plastic to crack and allow water, dirt, etc. to fill the compartment, possibly ruining keys or whatever is stored in the storage space.
- Do gently push it into the ground. You may even twist and turn just a little bit to get it deeper into the ground, but do be careful to not loosen or over tighten when twisting.
- Pour 1 cup or more of water over the area you want to bury this into the ground if the ground is dry. Depending on the weather, you may wait as little as 10 minutes before burying. This will help loosen the dirt so that you can easily push it into the ground.
Check the compartment 1 week after it has been buried to ensure there are no issues.
Comments