

Prints (0)
-
No Prints Yet
Be the first to upload a Print for this Design!
Description
Not quite a "print and play"
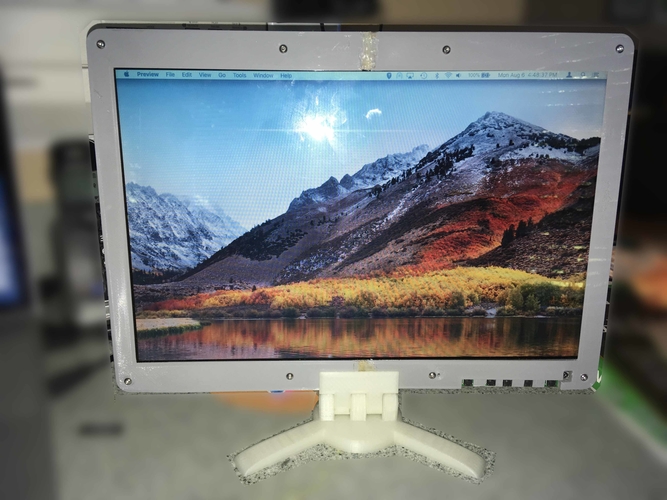
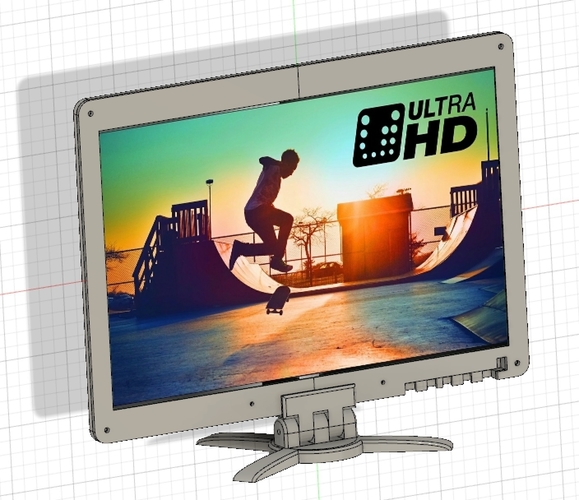
Take an old useless laptop and turn the display into a portable monitor. In this case, I had a LCD display, LTN154X3-L01, from a Dell Inspiron.
The controller board was found on amazon: VSDISPLAY HDMI LCD Controller Board work for 14.1" 15.4" LTN141AT01 LTN154X3 1280x800 1CCFL 30Pin LCD Panel and I found a 12V-2A power brick that wasn't being used.
----------------
Take care to orient the monitor assembly parts correctly and they will not need printed supports.
Recommend printing base WITH supports.
Hinge should be printed horizontally WITH supports. This should provide the maximum structural integrity and shear strength for this part; it takes the pivot load (torque).
--------------
Some Assembly Required
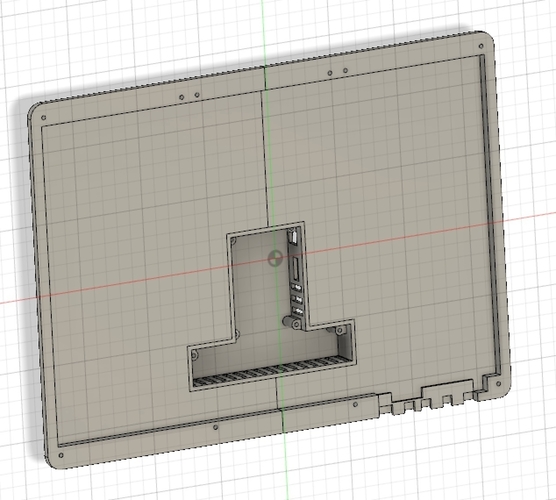
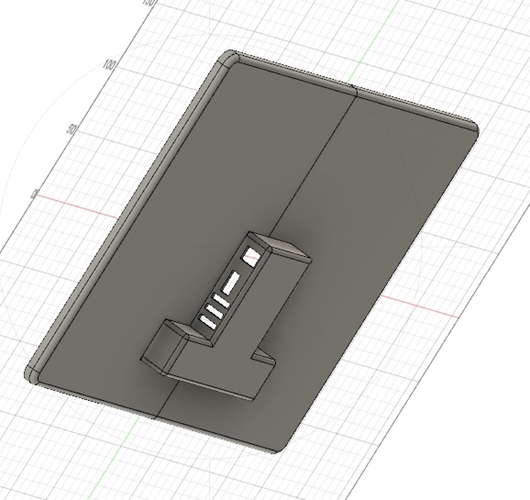
The front and back pieces are too big to print on the 300x300mm print bed of the CR-10 so they were split in half.
Using a soldering iron, weld the two halves together on both sides then the housing for the controller board.
A mismeasurement forced the need for some spacers to be printed and welded in both the front and back sections.
Mount the controller board and voltage converter (for the lamp) with M3 machine screws. Place the button board / IR sensor on the lower-right pegs and place the panel cover on top.
The LCD should be placed next and secured with M3 screws taking care to connect the LVDS and lamp-power cables and placing the button board ribbon cable neatly (flat) behind the LCD.
Secure the top cover with M3 screws.
Comments