Prints (-1)
Description
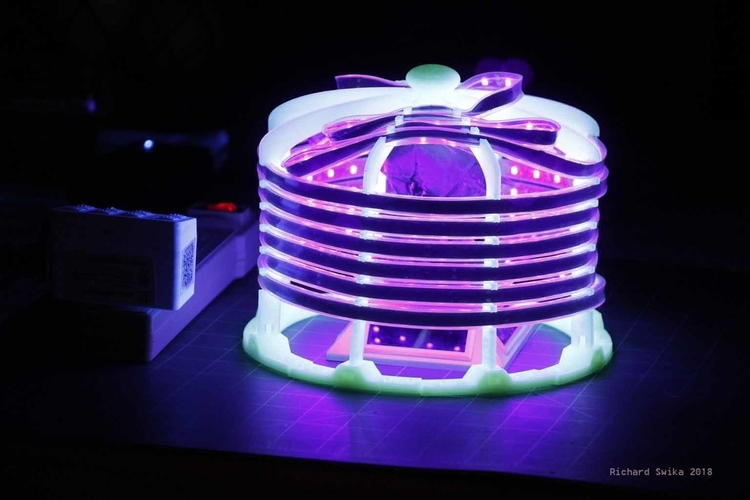
The $40 UV Cure Chamber
WARNING: UV Light can be dangerous. Do not stare at UV LEDs and consider using a cover over your chamber
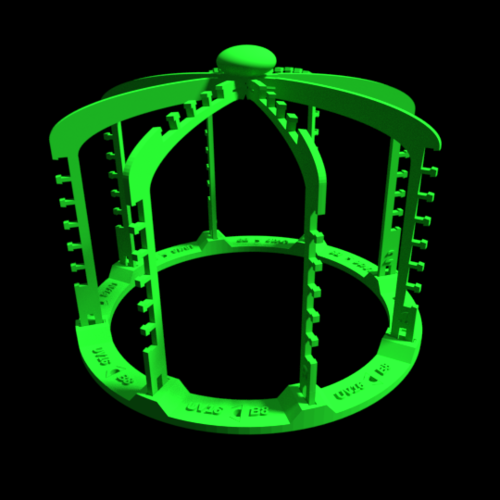
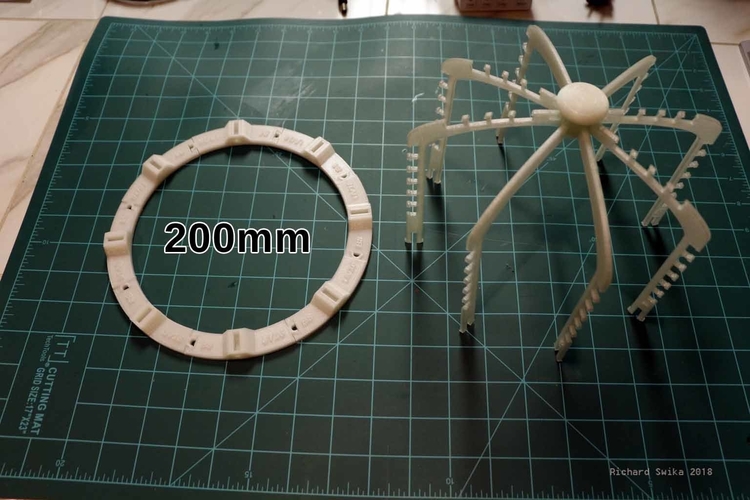
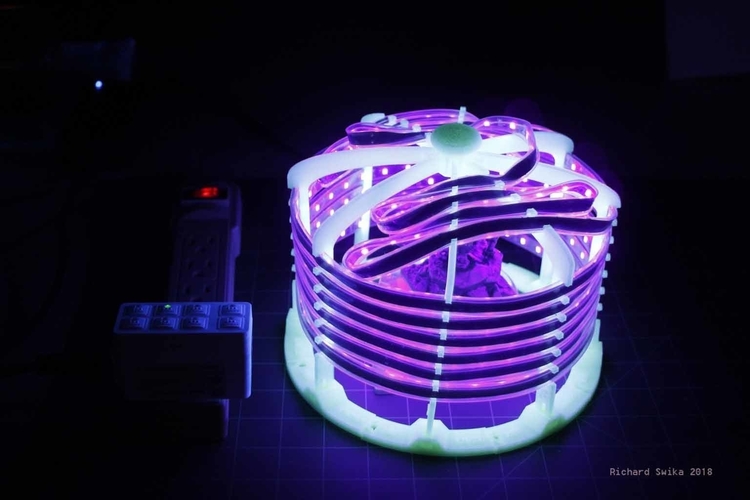
Provides even, predictable and repeatable post curing of DLP/SLA resin prints. You can buy all of the components for around $40! (possible links below) and FDM print the frame in about a night. The frame snaps together without glue and holds up to 5 meters (16.4ft) of flexible UV LED strip. Measures 200mm across and 150mm tall.
Just place your part on the turntable, place the $40 UV Cure Chamber over it, select a cure time on the push-button timer. and wait. Usually 15 to 30 minutes is just right, but it depends.
No amount of prep work can make up for a botched final cure. Here is a good inexpensive tool for dialing in your DLP/SAL workflow.
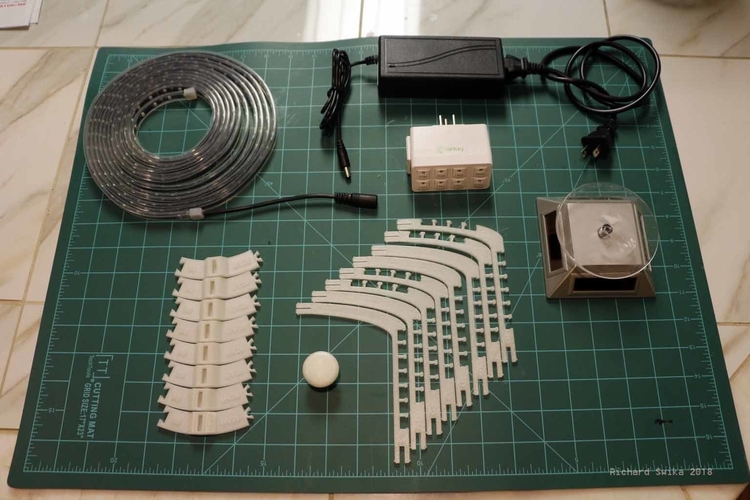
Components about $40:
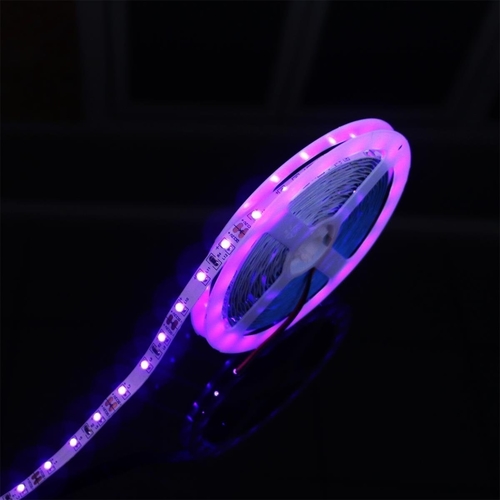
- UV Led Strip $15 (just one possibility, choose wisely)
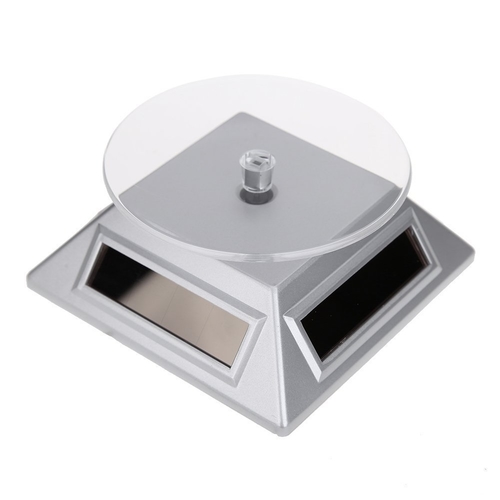
- Solar Rotating Display Stand $5
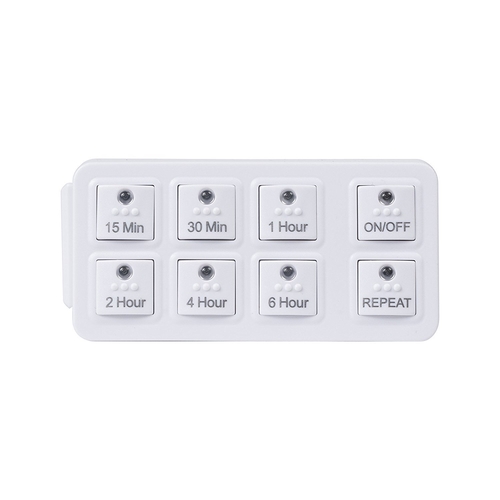
- Push Button Digital Countdown Timer $14 (this one is good)
- File Download FREE
- Filament $4
Print Instructions
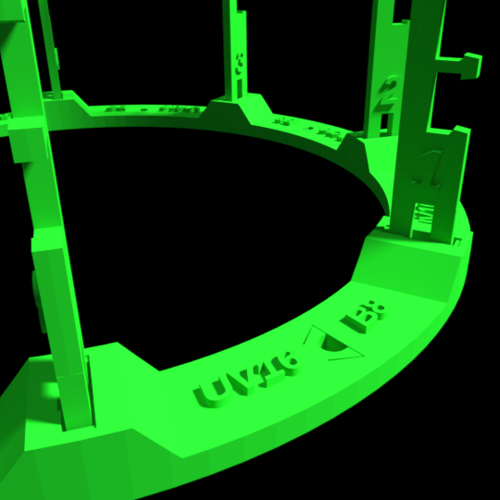
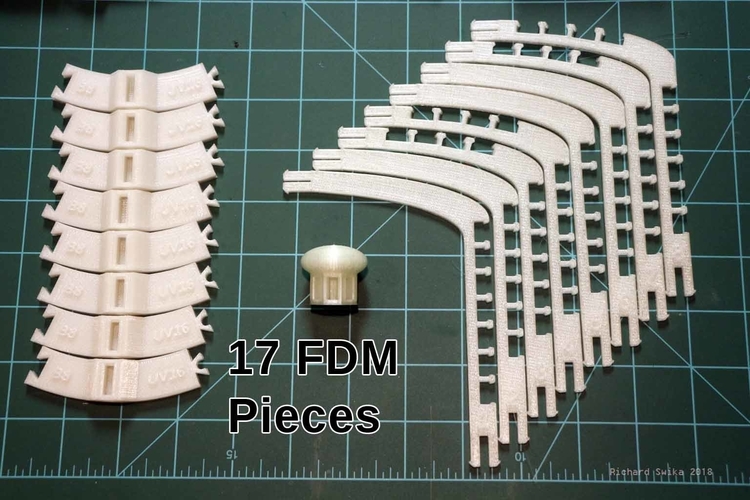
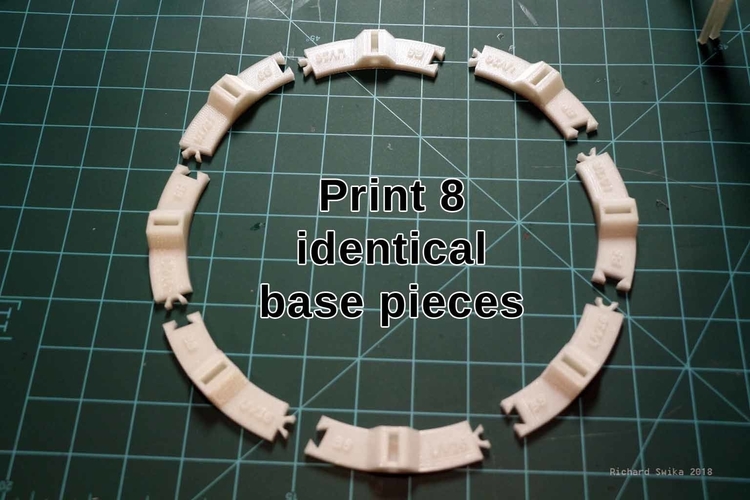
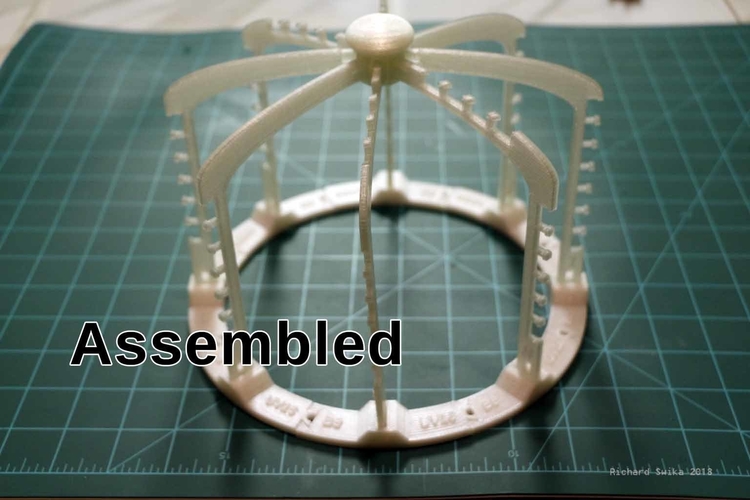
The frame is made using 8 spars, one center piece. and 8 identical base pieces. Print eight copies of the base, UV16chamber_Base.stl and one copy of all the other files. Works well in any material,but I highly recommend using 'glow-in-the-dark' filament if you have it. Looks great in the dark under UV light.
Assembly
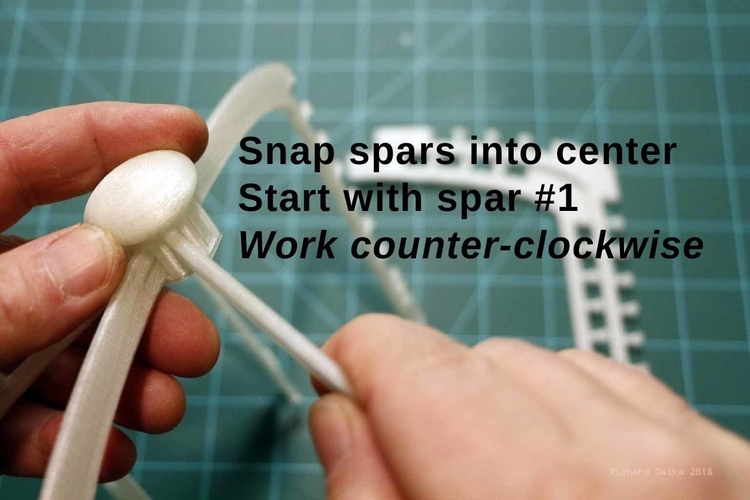
Each spar is numbered and must be assembled in sequence to properly form the spiral. Snap each spar into the center piece one-by-one, in order, starting with spar #1 and proceeding through spar #8. Make sure you work COUNTER-CLOCKWISE when viewed from top, necessary so the top guides line up properly.
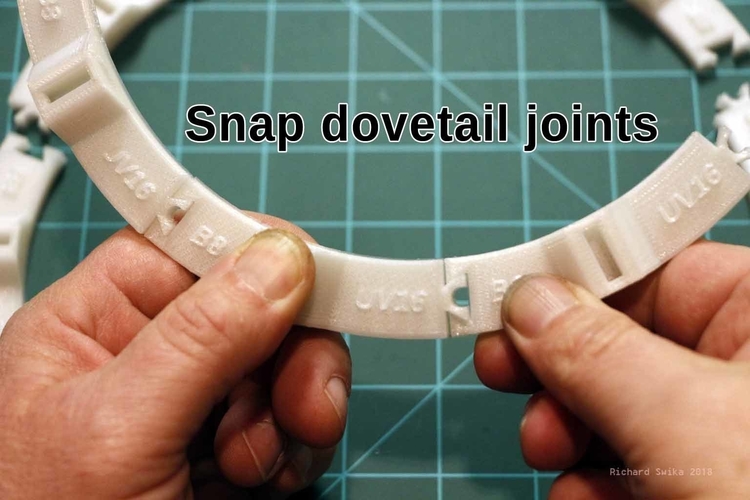
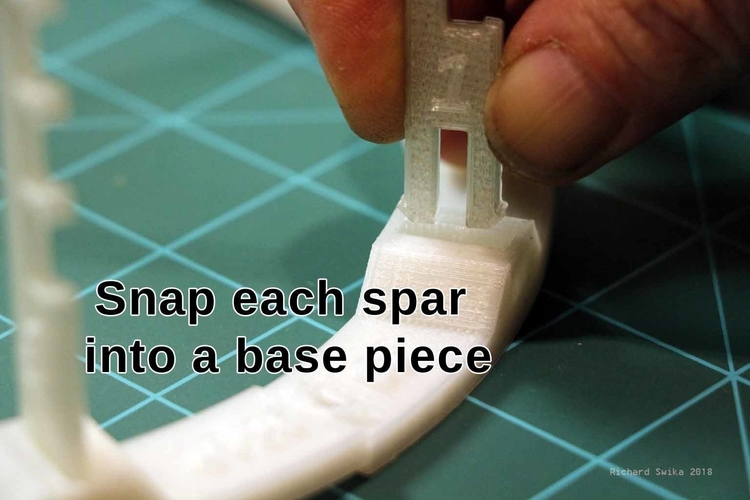
Form a circle using the base pieces . Snap all eight neighboring base pieces together . Snap one spar into each base piece. to complete the frame.
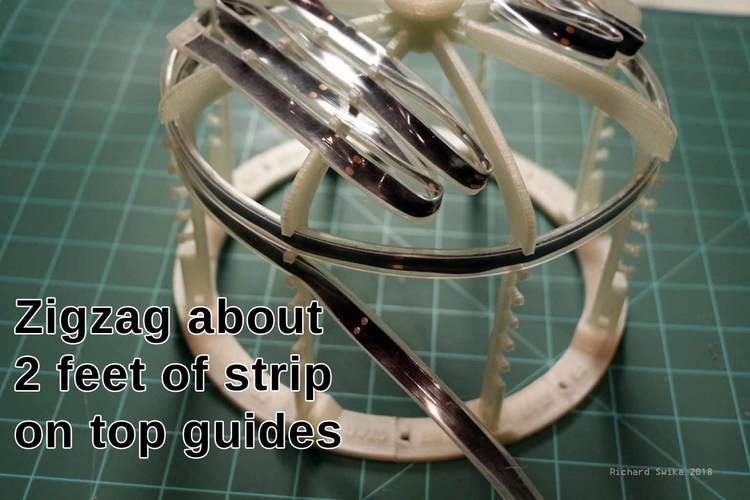
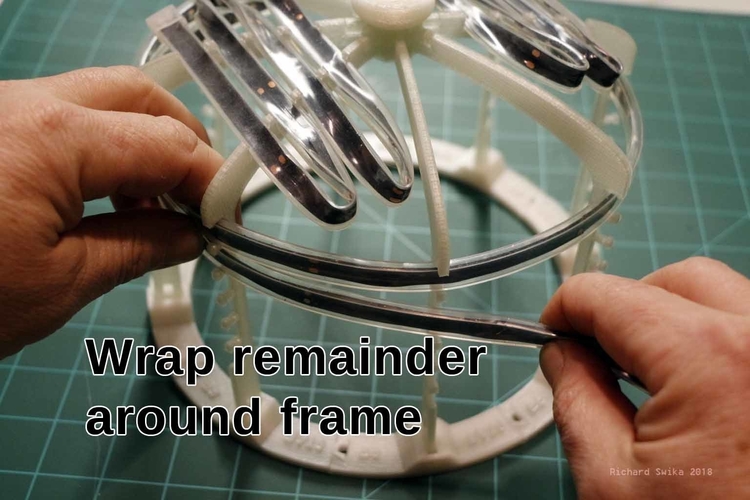
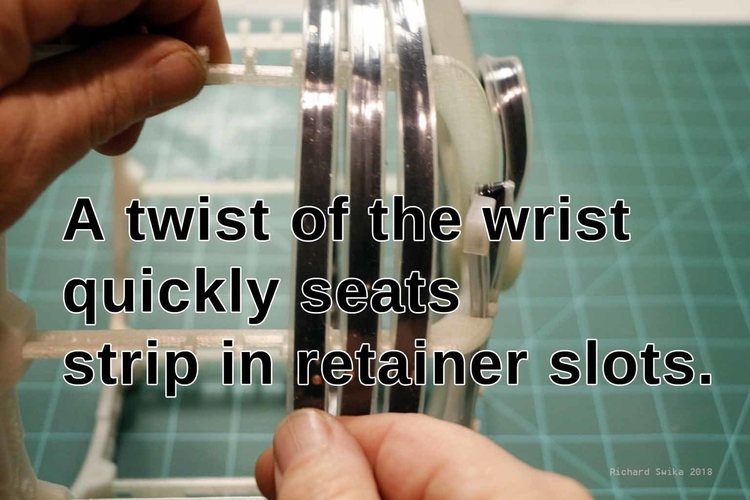
Start with the end of the UV strip away from the power jack and snap the strip into the top of the frame on spar #8. Zig zag across the top as shown in the pictures. Make sure the LEDs are pointing down. When you reach the sides, wrap around the frame following the spiral pattern around the frame.
Comments
I've been testing this for the past few weeks and find it works better than my previous UV cure rig, a turntable in a box under a flat 36 watt UV Led spot. With this new design I think I'm able to get a better post cure and I'm not getting as much “sun-burn” and “sticky spots” remaining afterwards. It provides a nice even UV cure field and is a lot more attractive and considerably easier to use than my old setup. You still have to dial in the amount of cure time in the chamber, and sometime position the part a few times for optimal results.
The recommended “push-button count down timer” is perfect for this application. I am finally able to get repeatable, predictable results. I look back in horror at some great prints that got ruined in post, after hours of prep and printing. I really can't see ever going back to my old rig. We'll have to see how well this contraption holds up. One disclaimer: I am using a 60 watt UV LED strip and power supply I already had, not the same one used in the links. I would recommend using the best UV LED strip you can afford, since that is the part that really does the real work. I'd like to hear how the economy LED strips perform.
Comments