Prints (0)
-
No Prints Yet
Be the first to upload a Print for this Design!
Description
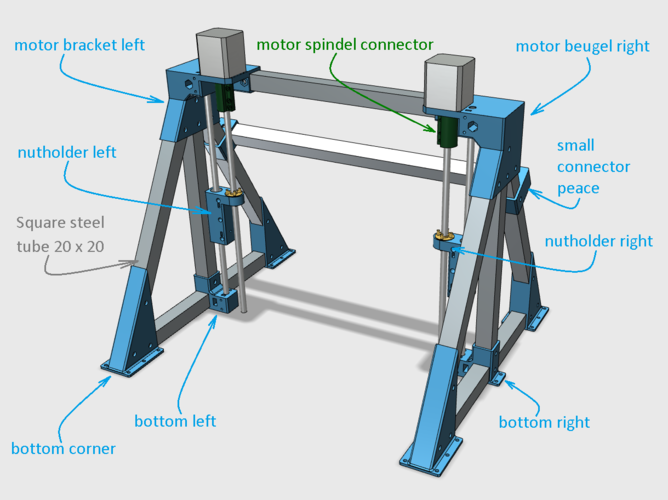
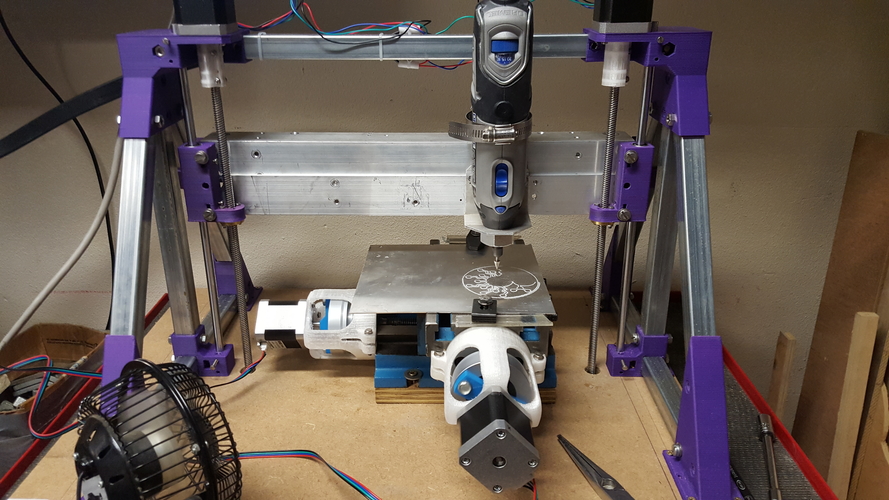
This is a model for making a Z axis for a CNC mini mill.
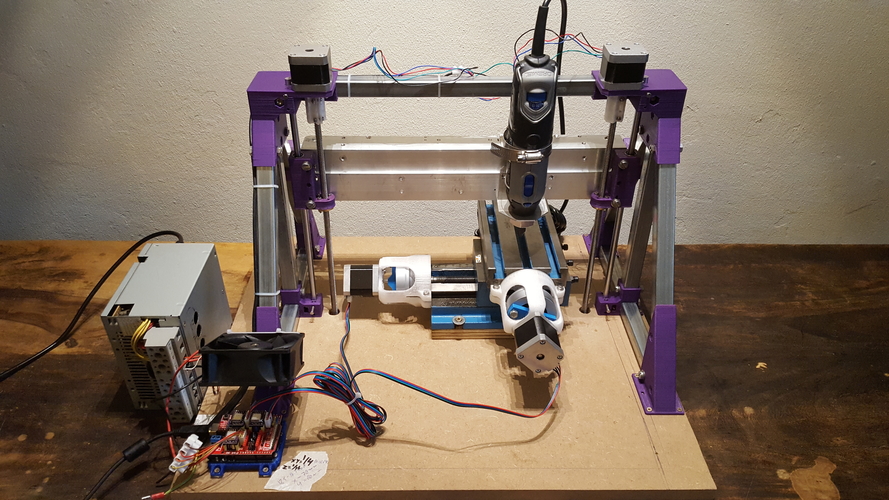
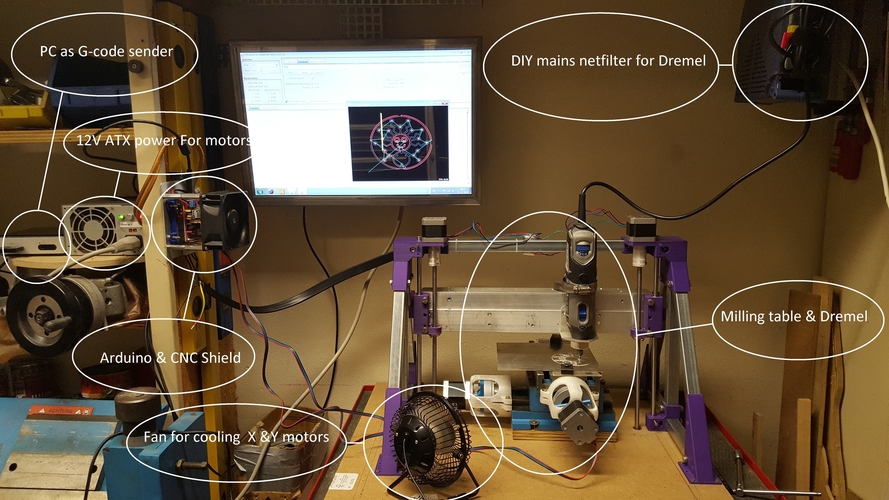
I had a milling table, Dremel, CNC shield and some motors lying around and saw a mini CNC mill in it.
I only needed a Z axis so I made one out of square steel tube (20x20mm). I connected them with 3D printed parts of ABS. It’s purple because I had a lot of that color. The spindles and guiding rod are M8.
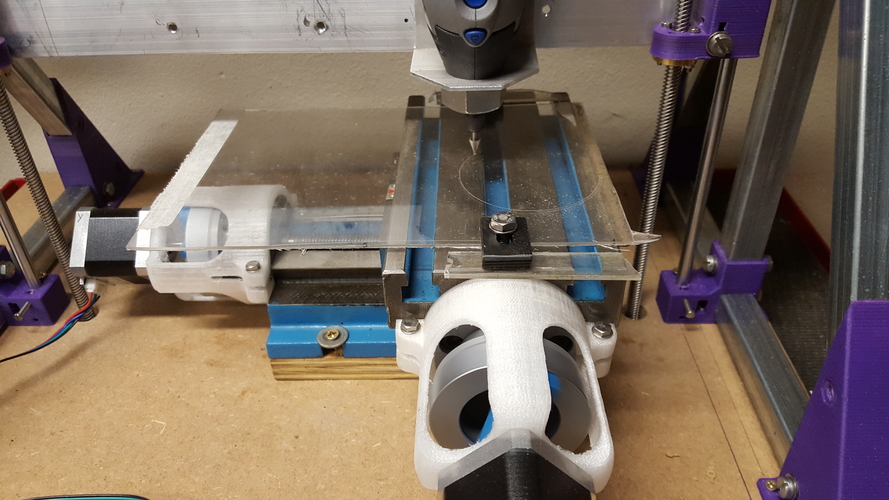
Using model “Nema 17 bracket for milling table” I connected the steppers to the milling table. For these brackets please see:
https://pinshape.com/items/41283-3d-printed-nema-17-bracket-for-milling-table
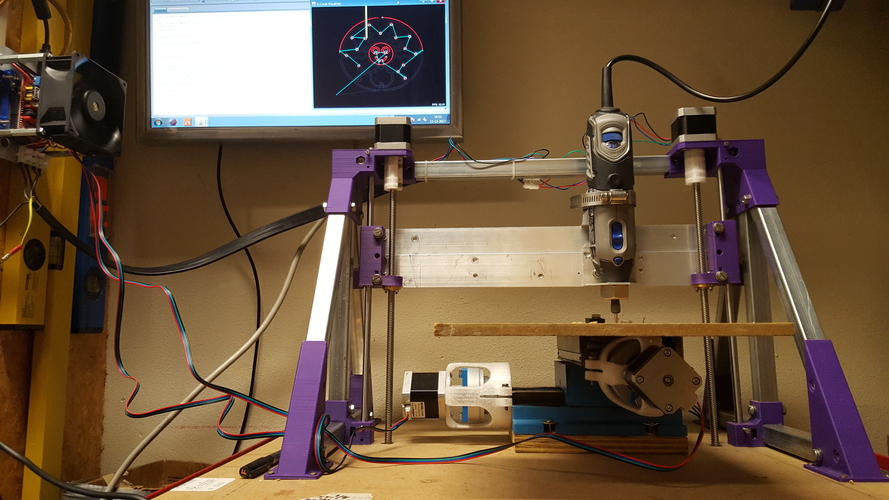
So with these components I made this mini Mill. Because the table can only move 80 by 80 mm it’s not very big. But of course if you would use a bigger table, you can make the X and Y axis bigger.
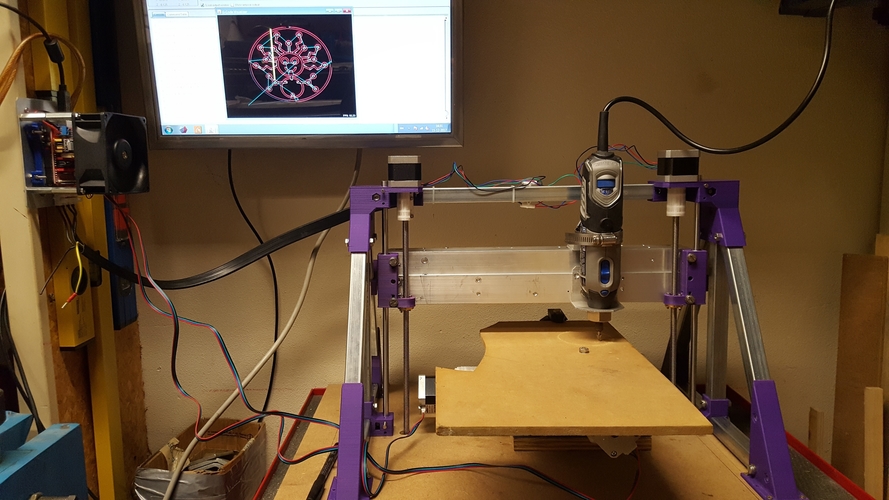
As a controller I used an Arduino Uno and a CNC shield with DRV8825 drivers and GRLB python script found on the GitHub (https://github.com/grbl/grbl). In this case I just used universal Gcode sender for sending the Gcode (https://github.com/winder/Universal-G-Code-Sender). The Gcode and paths are created using Inkscape (https://inkscape.org/en/)
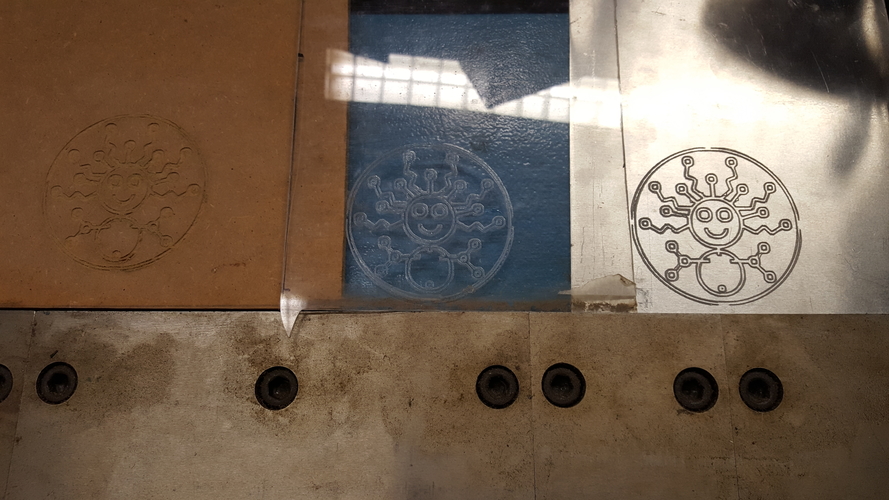
First test was on a MDF plate, but worked not so well because I do not have the right milling bit for the Arduino.
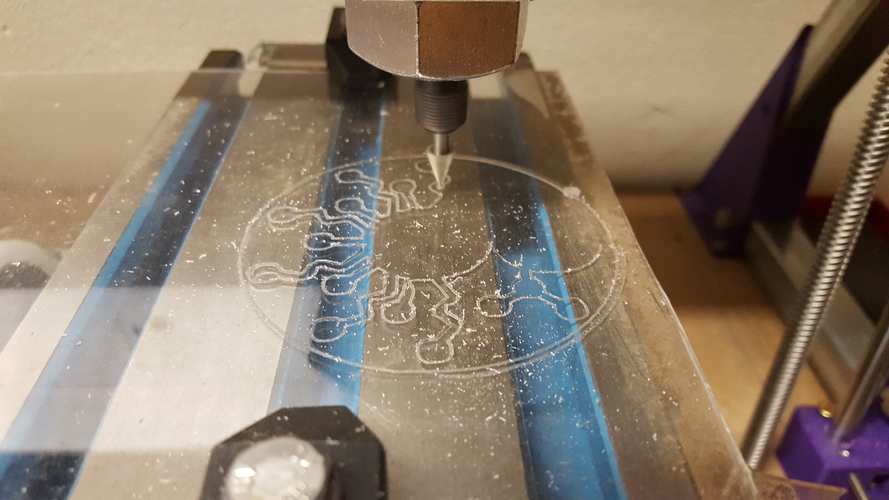
Second test was on an acrylic plate, but the milling bit did more melting than milling :-). I suppose I had to use a cooling liquid.
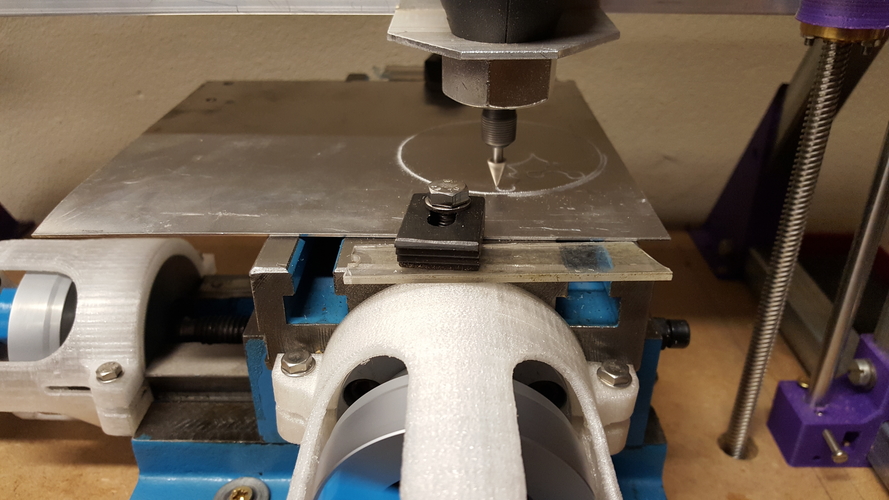
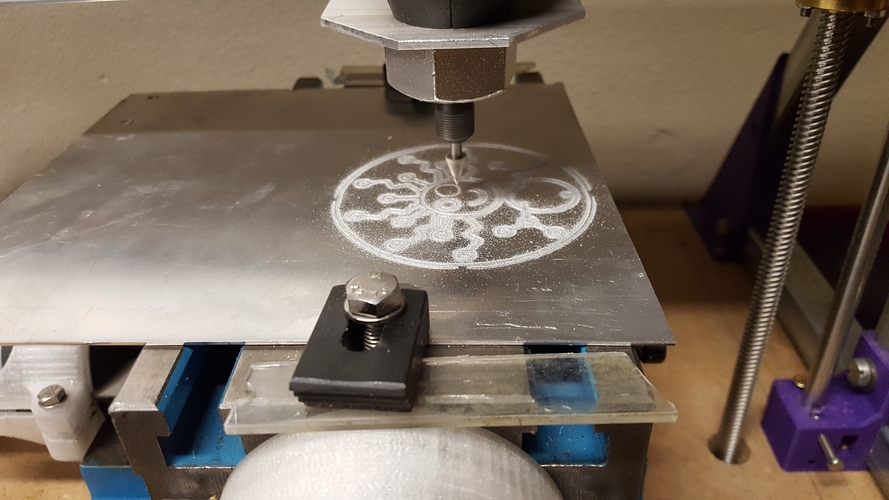
Third test was on an aluminum plate and that worked better except that my mini Dremel bit flexed a bit during milling.
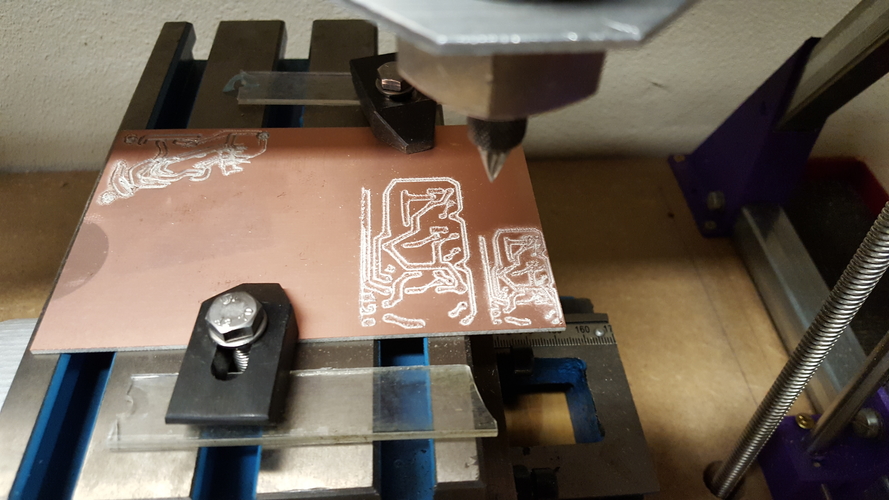
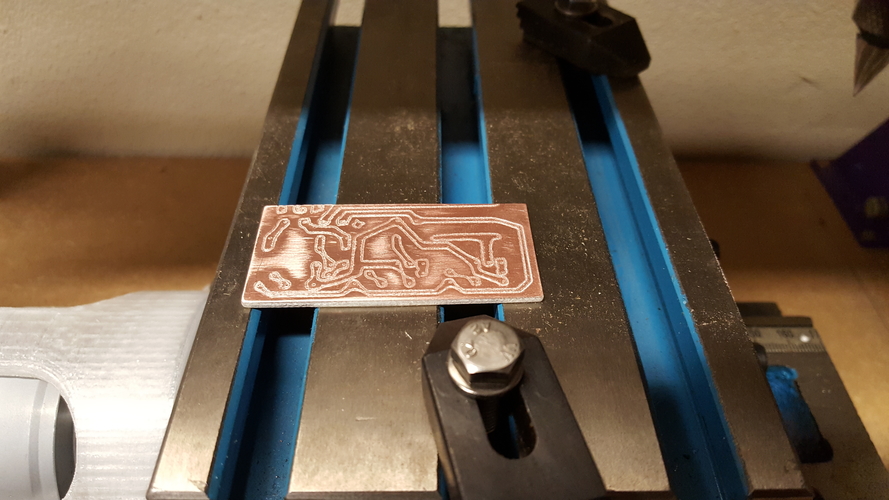
The fourth test was milling a PCB and it worked but I have to improve my Gcode.
So the mini mill works very well. The motors didn’t skip any steps due to EMF frequencies coming of the Dremel brushed motor. I did use a DIY mains filter for it. If you are interested in this mains filter feel free to ask. As a backup I even had a 1:1 1KVA transformer ready, but I didn’t need it.
I didn’t use end switches because the can cause a lot of EMF issues. Also I didn’t shield anything, so less is more :-)
For micro stepping I had to settle on 4 micro steps for the X and Y motor avoiding.
If you have any questions feel free to ask :-)
Comments