
Prints (0)
-
No Prints Yet
Be the first to upload a Print for this Design!
Description
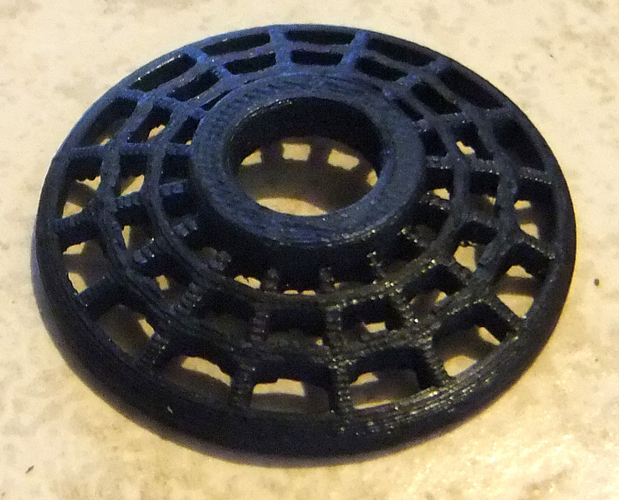
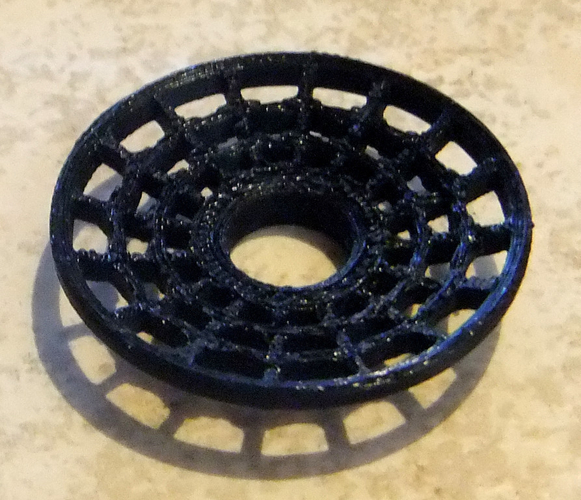
These nipple shields are designed to stretch the nipple slightly. The ring itself is 6mm tall and 12mm in diameter. I am including two versions - the smoothed version and the squared version. The smooth version is the one that you want if you're printing as is. I found that modifying something in Sketchup once you've rounded the edges is a PAIN, so I am including the squared version for those who may want to modify it to suit your needs.
There is no hole through the hub because these were designed to have the bar ride on top of the ring. Normally, I would have put an indent in the ring to help center the bar, but the idiot who did my girlfriend's piercings didn't do it straight, so that doesn't work here.
I have not yet been able to talk my girlfriend in to letting me post the photos of these being modeled..... ;)
Print Settings
Supports: Yes
Resolution: 0.2
Infill: at least 60% for strength
Notes: This model is much better suited for SLA printing (or you can get it printed through 3dHubs, Shapeways, etc in SLA) but since no one is offering me a free SLA printer, I have to make do with what I have :)
This does require supports, but I found that the supports would try to fuse to the outer ring, making removal almost impossible. To solve that, I raised the model 3mm off the build plate (making sure that [Automatically Drop to Build Plate] is disabled) and then adding support under that. That makes for a much better support structure that is relatively easy to remove.
Post-Printing
If this is printed on a FDM printer, you are going to need to sand the underside of the web really good to get a nice smooth surface. Start with 60 grit sandpaper and work your way up to at least 220 grit. If you have more patience than I do, you can keep going as high as you want. The higher the grit, the smoother your surface will be.
How I Designed This
This took me a bit of learning. I use Sketchup for my modeling. Initially, I drew the design as a flat 2D surface and extruded that up. Getting it in to the curved shape took a while. I tried the SketchyFFD and Flowify plugins but neither worked right here. Finally, I found that I could create a semi-circle and use the Sandbox Drape Tool to transfer the 2D pattern onto the surface of the dome. After that, the Joint Push-Pull plugin was used to extrude the curved surfaces upward. Next, I used the RoundCorner plugin to round over the edges. A little cleanup to make the model water tight and voila!
Comments