Prints (0)
-
No Prints Yet
Be the first to upload a Print for this Design!
Description
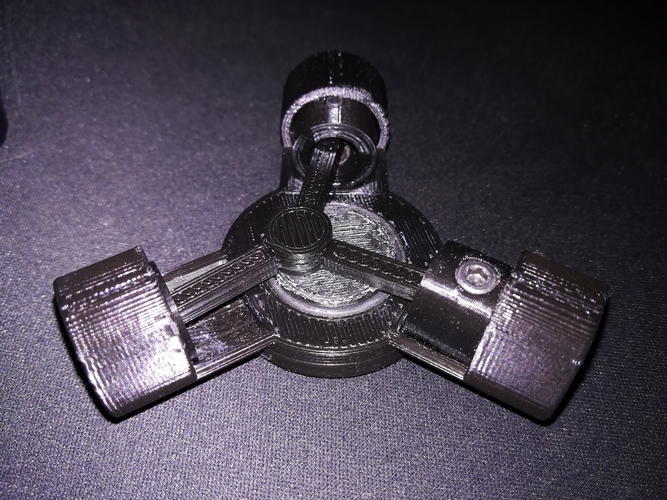
This fidget is based on the reciprocating motion from a piston engine. At first, it was made only with 2 pistons but it was eventually reworked to fit the 3rd one.
Print Settings
0.2mm layer height
100% infill
Medium / low speeds (depends on the finishing quality wanted)
I did not use a brim as I have a PEI sheet, but I advise doing so as some parts might lift if it does not stick well enough to bed.
Instructions / Assembly
Print all the files available, but make sure the file pieces is printed with support, as one of the connecting rods needs it and i couldnt added it manually.
The other files the support is already generated.
After printing them remove the supports aht teir left overs, so the pistons can move without a problem.
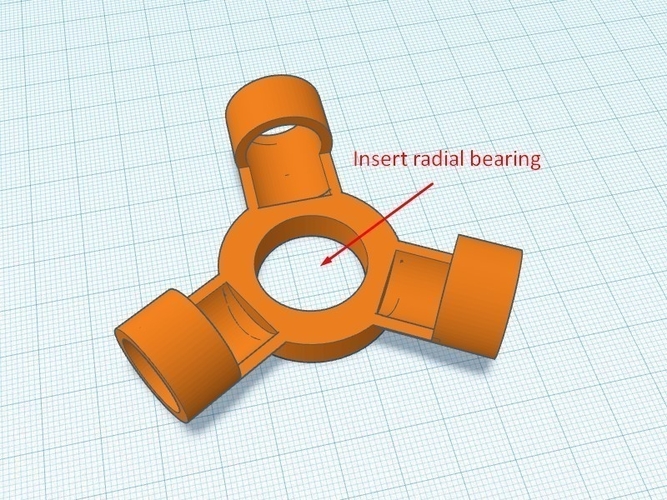
This fidget was made to be fitted with a 22m outer diameter by 8mm inner diameter radial bearing.
Parts were all made (excluding hole for the bearing) with a tolerance of 0.2 to 0.5 (Pistons have the largest margin) so they would fit nicely.
1 - Fit the bearing into the base of the fidget. Tolerance is tight on this one, so you might need some pushing or "hammering" with a rubber type hammer or something similar.
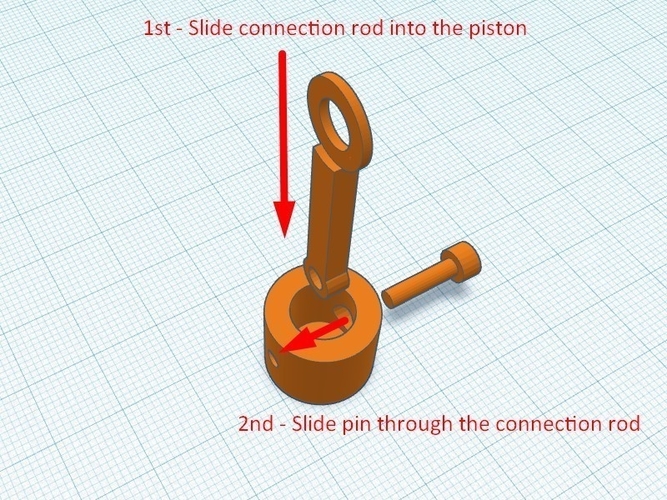
2 - Take 1 connecting rod and slide the side with the smallest hole into the bottom of the piston. Insert the pin, or a M3x12 screw, tip through the side of the piston with the biggest hole passing through the smallest hole of the connecting rod. Take a look at the end of the connection rods, as they need a correct order when you reach step 5.
Needs to be done 3 times, for the 3 pistons.
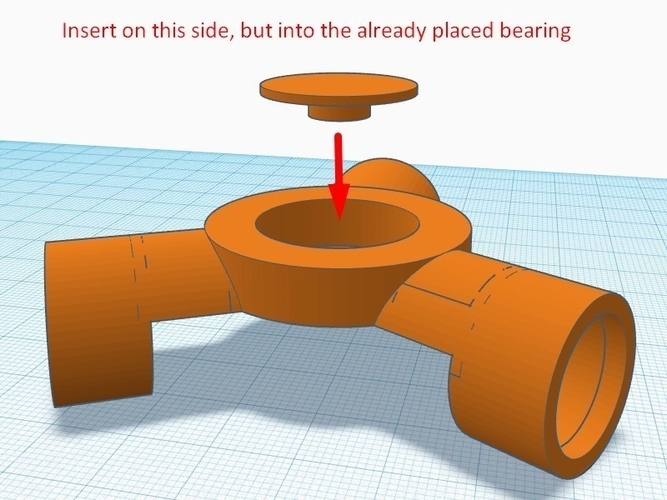
3 - Insert the bottom cap.
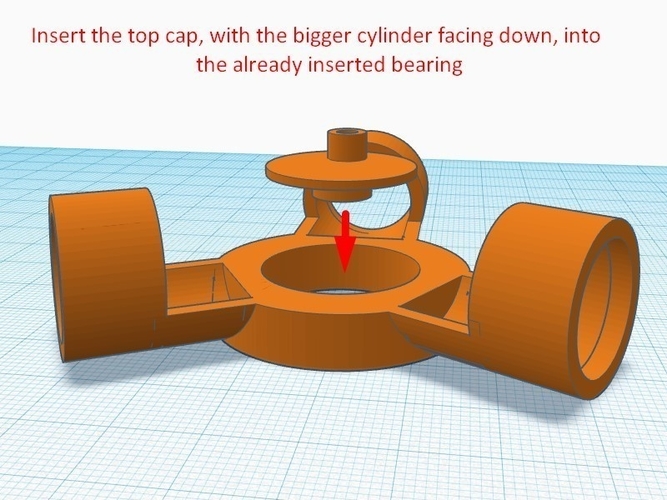
4 - Insert the top cap with the biggest cylinder inserting into the bearing.
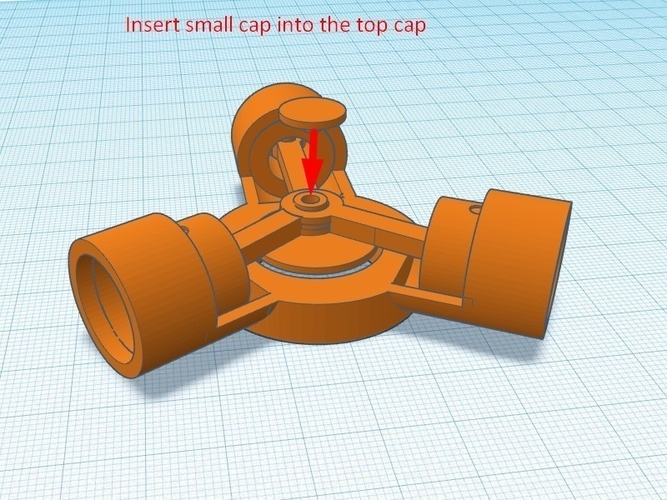
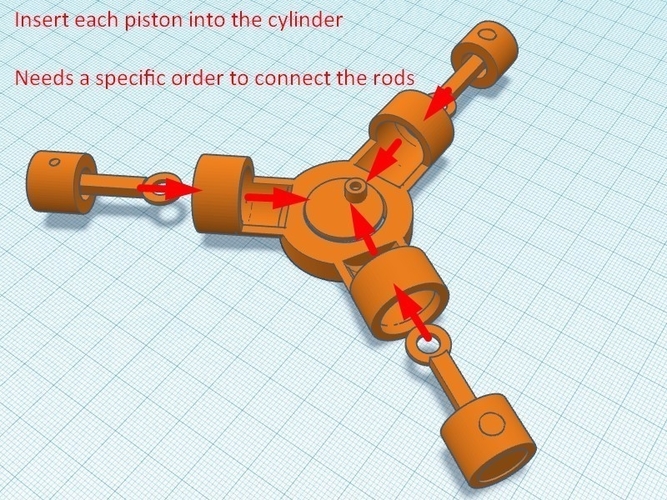
5 - Take the piston/connection rod you assembled on point 1, and with the connection rod going first, from the outside to inside, slide it into one of the cylinders on the fidget main part. Insert the connecting rod end into the small cap on the top cap of the bearing (pay attention to the piston order bellow)
This has to be done 3 times, but pay attention to the order of the rods, as the 1st must have the hole on the bottom of the cap, the 2nd must have the hole in the middle, and the 3rd must have the hole on the top.
6 - Take the small cap and insert it into the top cap, on the small cylinder to complete assembly.
Comments