



Prints (0)
-
No Prints Yet
Be the first to upload a Print for this Design!
Description
Dear Pinshape Users,
For my Pinshape Mechanical Design Contest submission, I have opted to highlight a lesser known and rather underappreciated mechanical concept of kinematic coupling.
My submission is tutorial based and was created to help educate you on the principles of kinematic coupling while also allowing you to be hands-on throughout the process. There are three lessons with varying degrees of difficulty aimed to teach you the theory behind kinematic coupling and to also demonstrate its use in a real world application: optomechanics! The sequence of tutorials also follows the contest’s notion that 3D printing may soon be used to effectively produce end-use parts as advances in additive technologies continue to occur. The attached .PDF manual contains a step by step walk through of each tutorial including educational information, detailed instructions, and assembly photos.
Quick Overview:
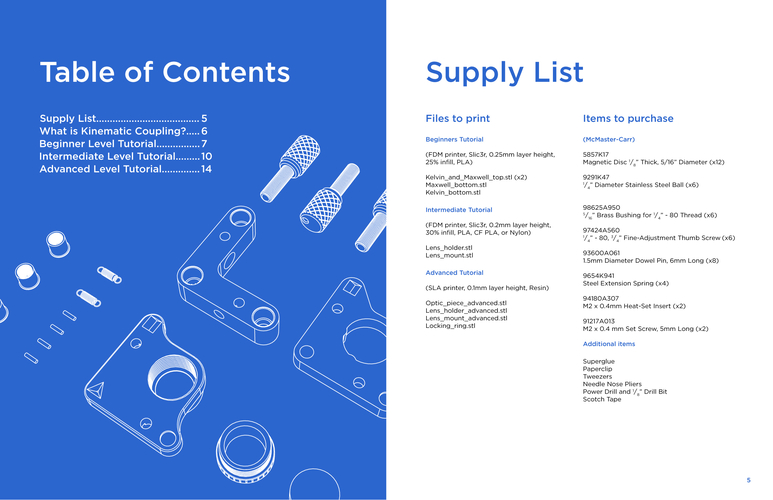
What is kinematic coupling? Kinematic coupling is a method of constraining physical objects together to ensure reproducible certainty of location with a high degree of precision. Sound fancy? Well it is! This is precision engineering at its finest and it is utilized in a number of different applications such as robotics, tooling/fixturing, and optomechanics.
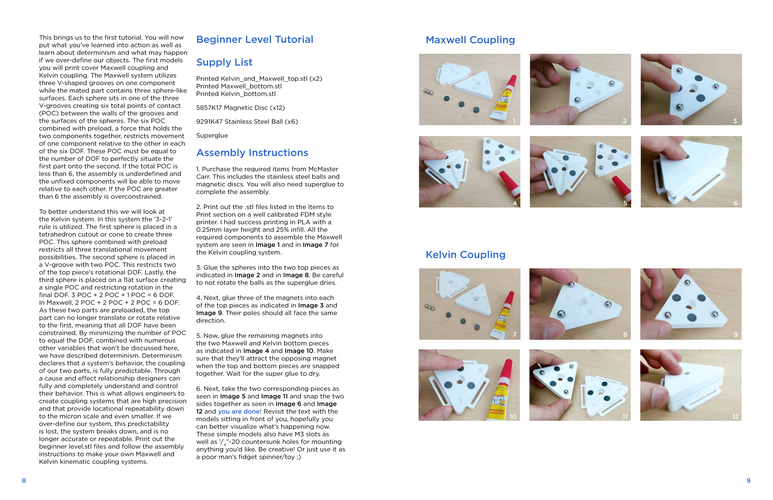
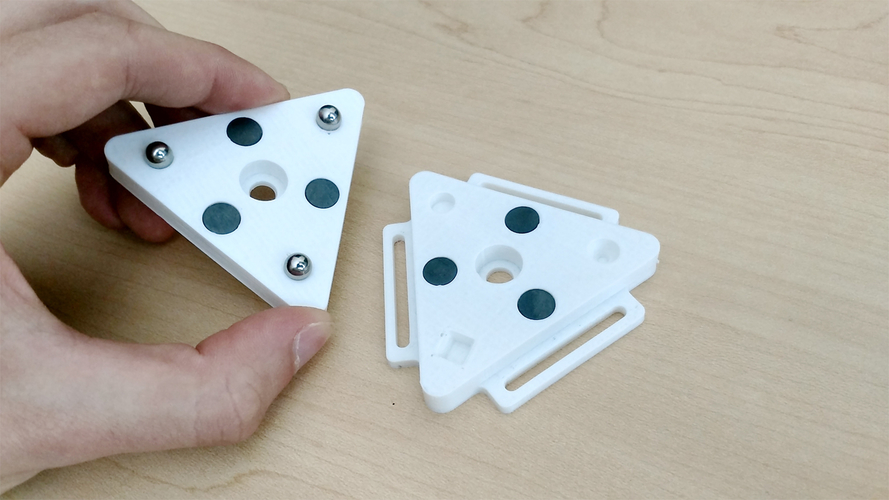
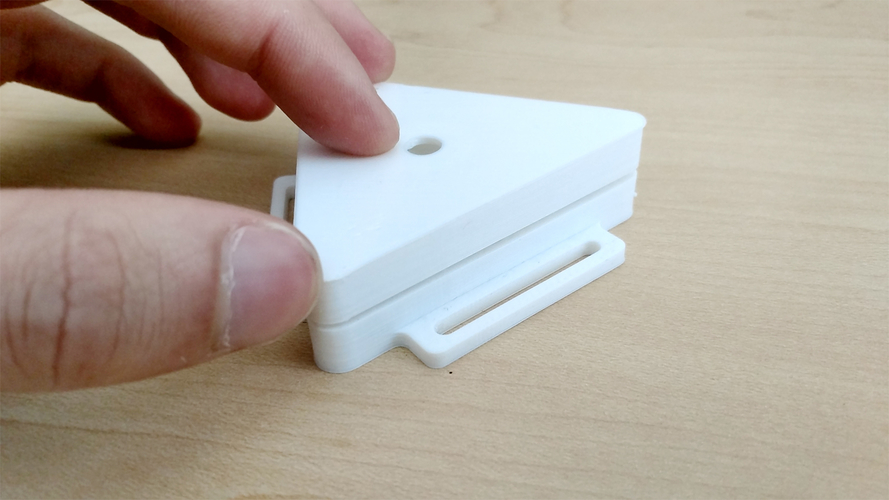
Beginner Tutorial: Starting with the basic theory of kinematic coupling you will 3D print and assemble a Maxwell and Kelvin kinematic coupling test structure to help you better understand how these systems work. The two components snap together using magnets while the spheres of one part mate to the varying geometries of the second to physically constrain the pieces together.
Exploded View and Assembly Animation of the Maxwell System
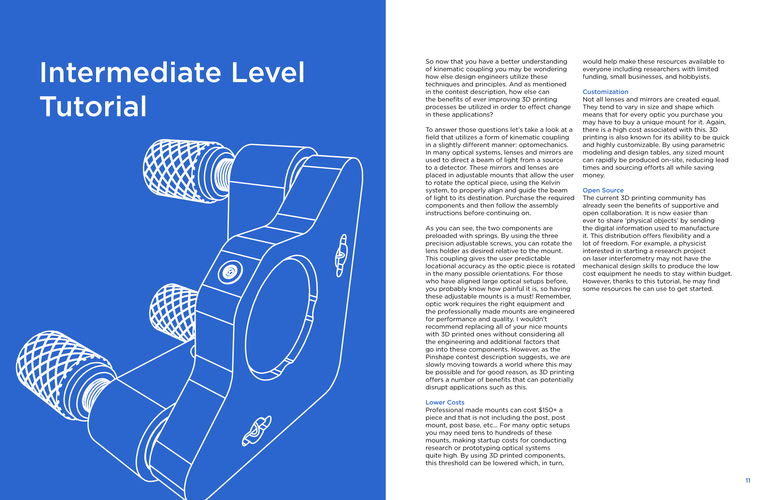
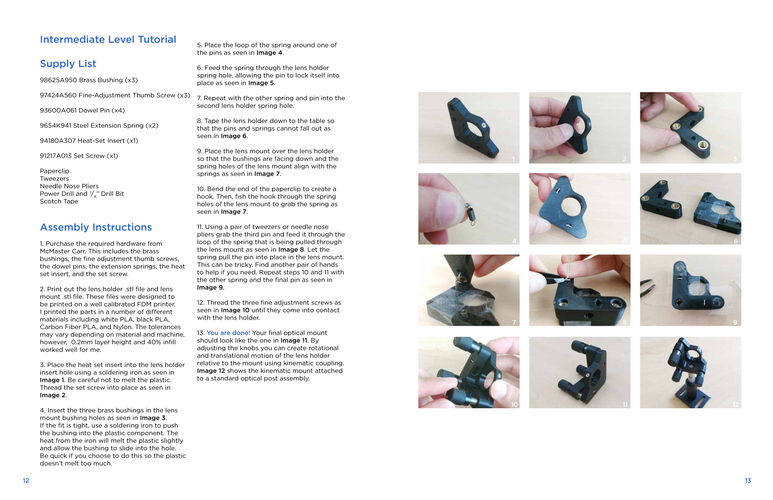
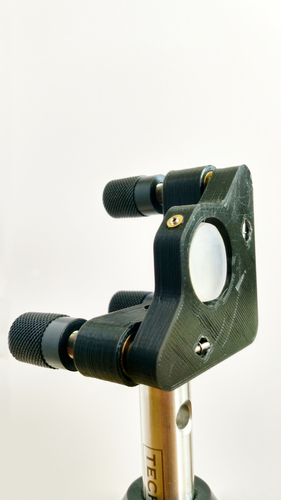
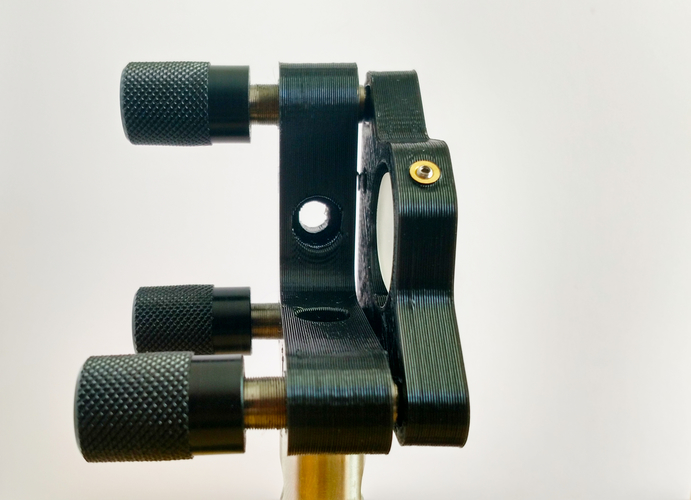
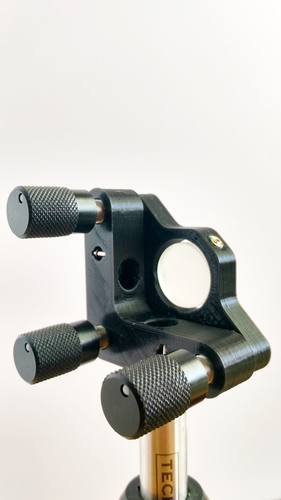
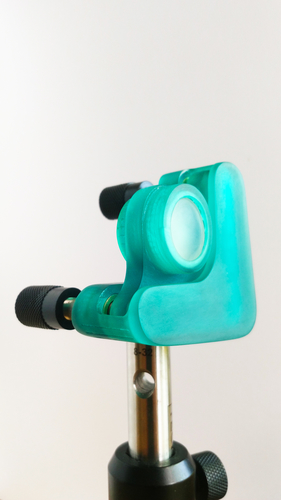
Intermediate Tutorial: Kinematic coupling isn’t just theoretical, the intermediate tutorial will cover its use in a real world application: optomechanics. Here, you will print and assemble a kinematic optic mount that utilizes the Kelvin coupling technique to create rotational movement. These mounts are used in many laser diagnostic research laboratories. Even if you have no plans to build your own optics system (I don’t either…), these are quite neat devices and I recommend building one especially if you’re a mechanical enthusiast.
Animation of the Rotating Optomechanical Mount
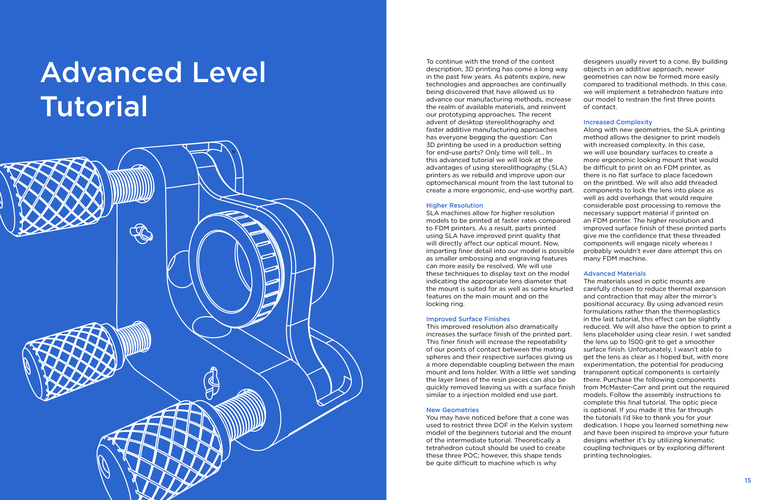
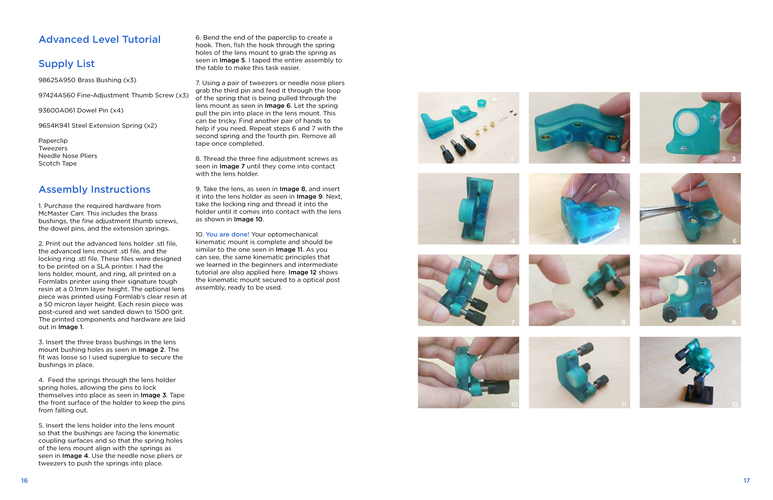
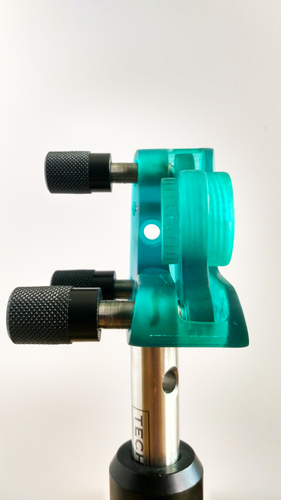
Advanced Tutorial: Following the contest’s sentiment that 3D printing is moving closer towards end use applications. I opted to redesign the previous optic mount to be printed on a SLA machine rather than a FDM style printer. This opens up a new world of possibilities with regards to design constraints. If you’re interested in the advantages of stereolithography and its potential for small batch manufacturing, this tutorial is for you.
Items to Purchase: (All from McMaster-Carr)
5857K17: Magnetic Disc ⅛” Thick, 5/16” Diameter (x12)
9291K47: ¼” Diameter Stainless Steel Ball (x6)
98625A950: 5/16” Brass Bushing for ¼” - 80 Thread (x6)
97424A560: ¼” - 80, ¾” Fine-Adjustment Thumb Screw (x6)
93600A061: 1.5mm Diameter Dowel Pin, 6mm Long (x8)
9654K941: Steel Extension Spring (x4)
94180A307: M2 x 0.4mm Heat-Set Insert (x2)
91217A013: M2 x 0.4 mm Set Screw, 5mm Long (x2)
Models to Print:
Beginners Tutorial: (FDM printer, Slic3r, 0.25mm layer height, 25% infill, PLA)
Kelvin_and_Maxwell_top.stl (x2) - Print with the flat surfaces facing down
Maxwell_bottom.stl - Print with the flat surface facing down
Kelvin_bottom.stl - Print with the flat surface facing down
Intermediate Tutorial: (FDM printer, Slic3r, 0.2mm layer height, 30% infill, PLA, CF PLA, or Nylon)
Lens_holder.stl - Print this model with the three coupling surfaces facing up
Lens_mount.stl - Print this model with the pin slots facing down on the bed
Advanced Tutorial: (SLA printer, 0.1mm layer height, Tough Resin)
Optic_piece_advanced.stl - Do not build supports that contact the biconvex surfaces
Lens_holder_advanced.stl - Do not build supports that contact the threaded section
Lens_mount_advanced.stl
Locking_ring.stl - Do not build supports that contact the threaded section
If you have any questions, leave a comment and I will try to get to it ASAP. If you’re interested in obtaining the Solidworks files I created just send me a message.
Enjoy!
-Nick
Comments