Designed by
Kims3diy
Prints (0)
-
No Prints Yet
Be the first to upload a Print for this Design!
Description
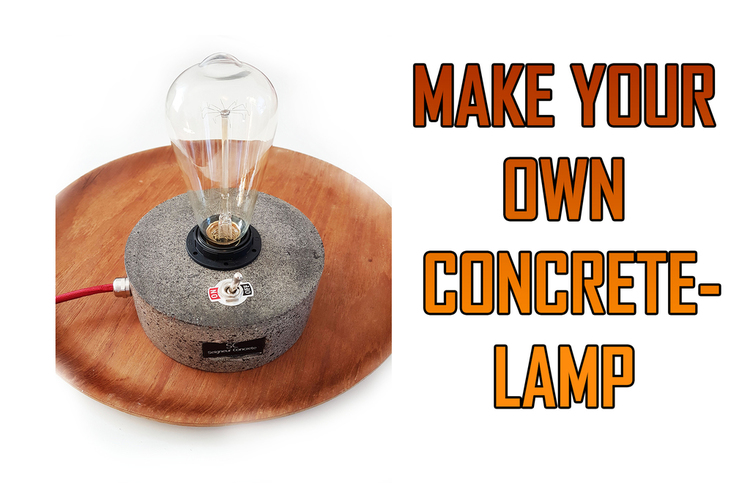
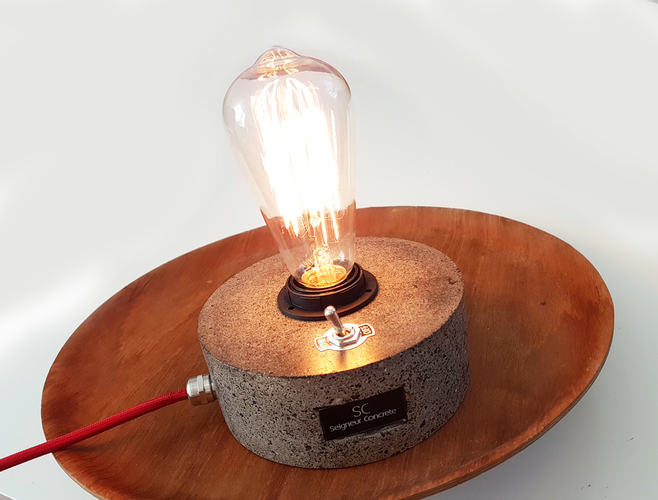
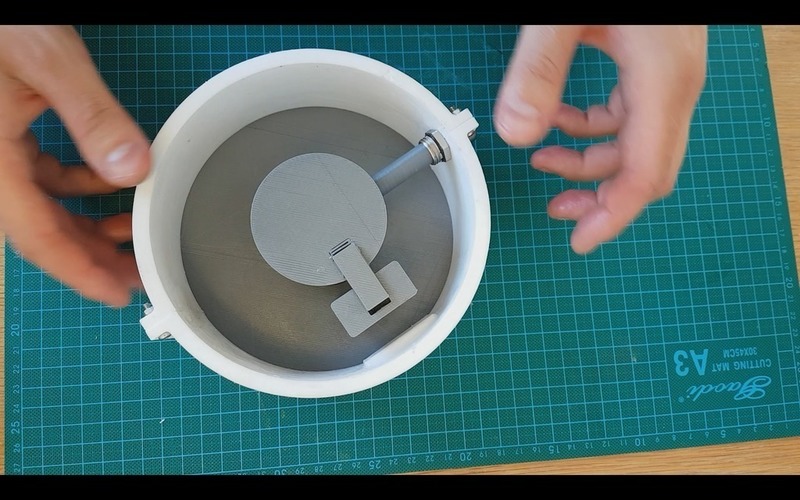
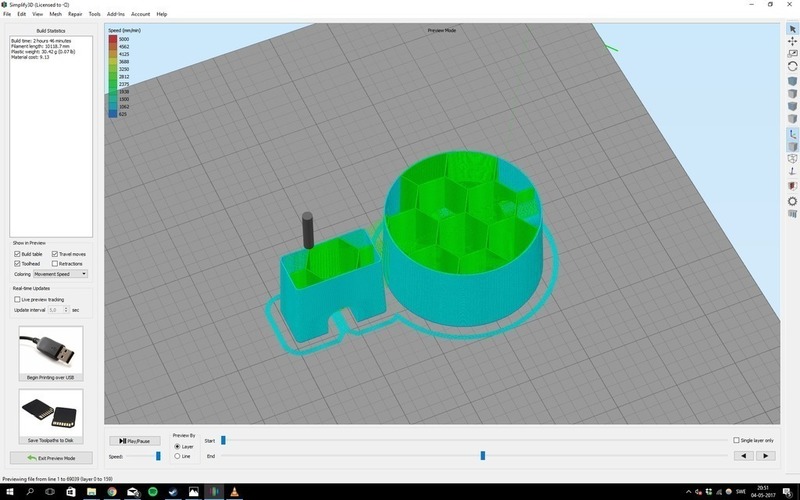
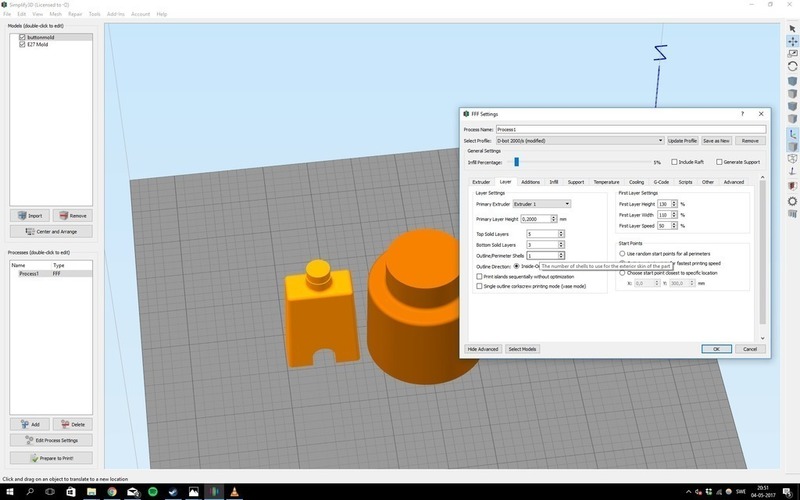
Summary https://www.instructables.com/... IMPORTANT: For the inner molds "E27 Mold" and "buttonmold" make sure that you DONT print them with more than 5% infill, and DONT use more than one perimeter as in the picture above. The reason is that it should be easy to break the inner mold after the concrete has cured. Things you need: Tools:
- diamond polishpads i have one of each grit (from 60 to 3000) - https://goo.gl/ZFUH5X
- Solder iron - https://goo.gl/tlXt6G
- Gluegun - https://goo.gl/tqisEb
- 3D-printer - https://goo.gl/Jnw09F
- Trowel - https://goo.gl/TxQIAg
Bill of material:
- Lampsocket E27 - https://goo.gl/fIljMu
- E27 bulb Edison - https://goo.gl/cwibj9
- Textile cord - https://goo.gl/sezM0x
- Cable gland - https://goo.gl/pZwdqm
- Lampswitch - https://goo.gl/bzNuj5
- Shrinkingtube - https://goo.gl/xiJfpD
- Wallplug retro UK - https://goo.gl/bTd0G1
- Wallplug 220V EU -
- Sealer for concrete - https://goo.gl/3gKPts
Videoinstrucations: https://www.youtube.com/watch?...
This a project i payed 100´s of hours, thank you please support me and my work by like and subscribe to my youtubechannel:
Design Files
File Size
plug1.stl
162 KB
parta.stl
178 KB
buttonmold.stl
401 KB
bottom.stl
108 KB
partb.stl
235 KB
E27_Mold.stl
468 KB
plug2.stl
41.5 KB
Comments