


Prints (0)
-
No Prints Yet
Be the first to upload a Print for this Design!
Description
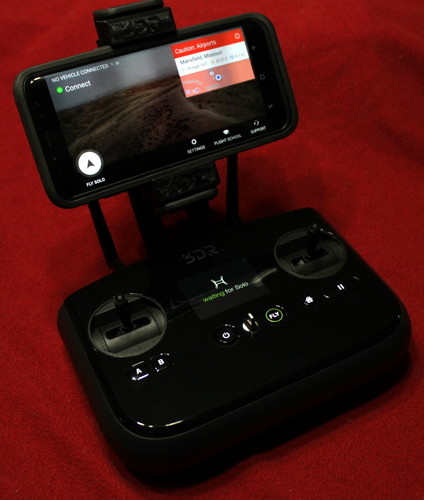
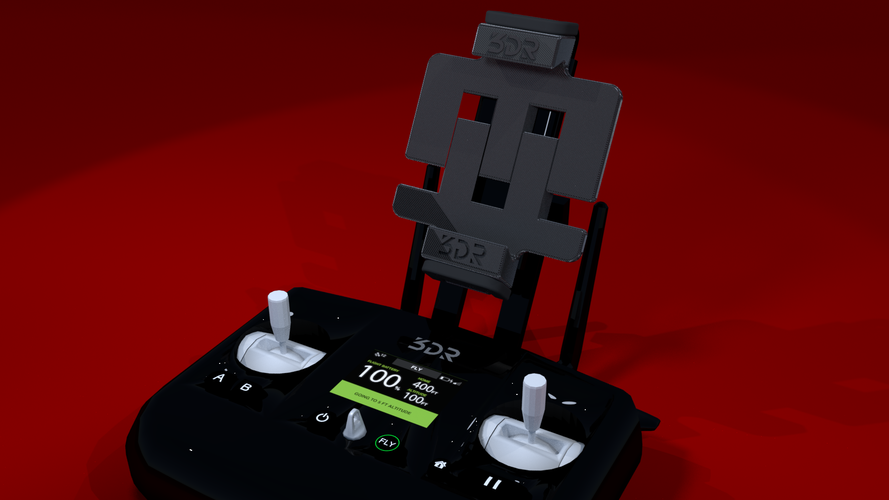
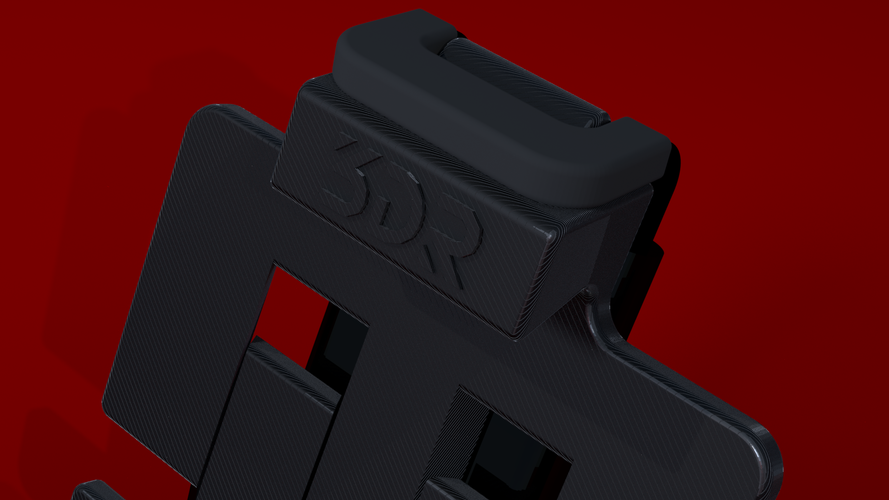
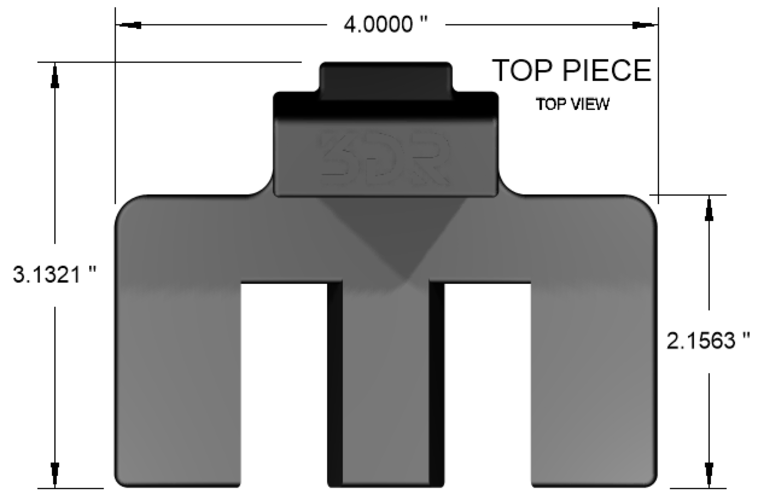
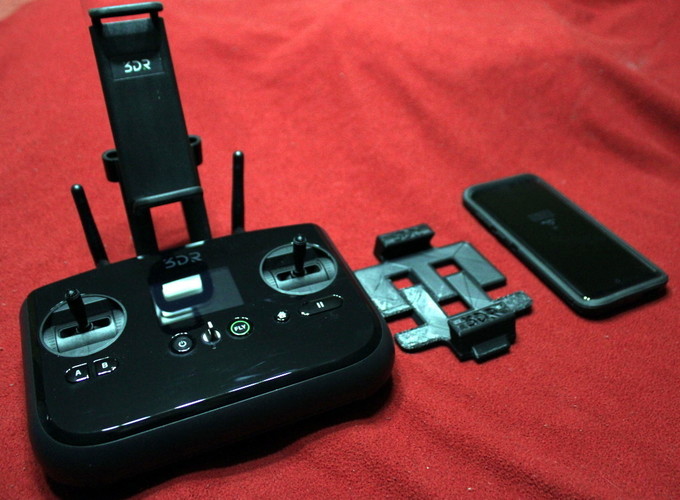
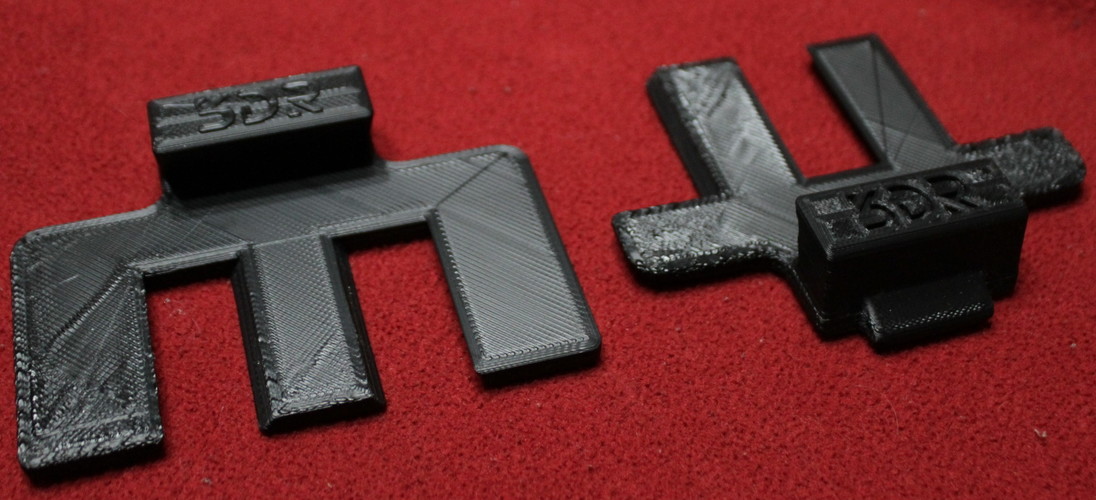
This is an adapter for the 3DR Solo controller's device mount. It was designed specifically for the Samsung Galaxy S8+ with an Otterbox Defender series protective case. However, this adapter should be able to fit many other phones/tablets as well.
I designed this adapter because I used to fly my 3DR Solo drones using a Motorola Droid Maxx (also wearing an Otterbox Defender series case), which actually fit into the stock device mount on the controller. (The controller's mount had to be oriented horizontally, and offset to the right quite a bit in order to center my phone on the controller. In this orientation/position, the controller would not fit back into the 3DR backpack without rotating the mount. Yes... annoying.) I recently upgraded to a Samsung Galaxy S8+, which has a bit larger screen than the Droid Maxx. The S8+ will fit into the stock 3DR device mount (in horizontal orientation), without any protective gear on it, but not with the Otterbox Defender series case. With the device mount in vertical orientation, the phone is far too narrow for the mount to grasp the phone at all.
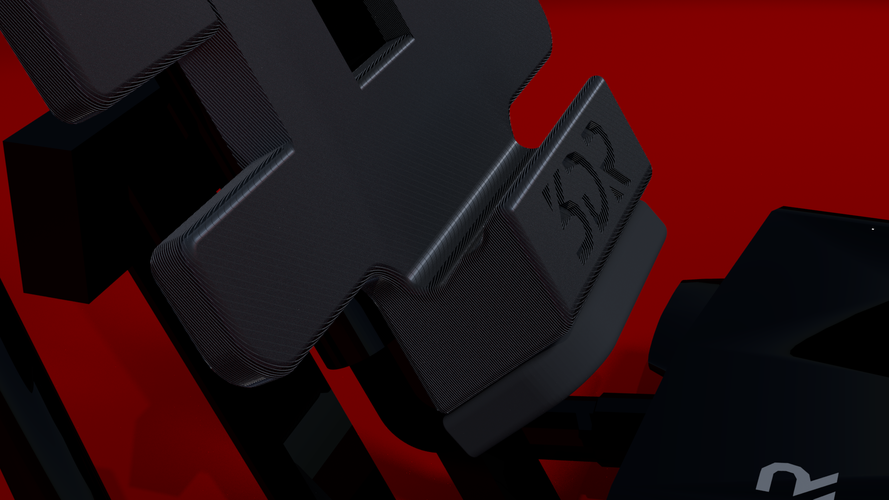
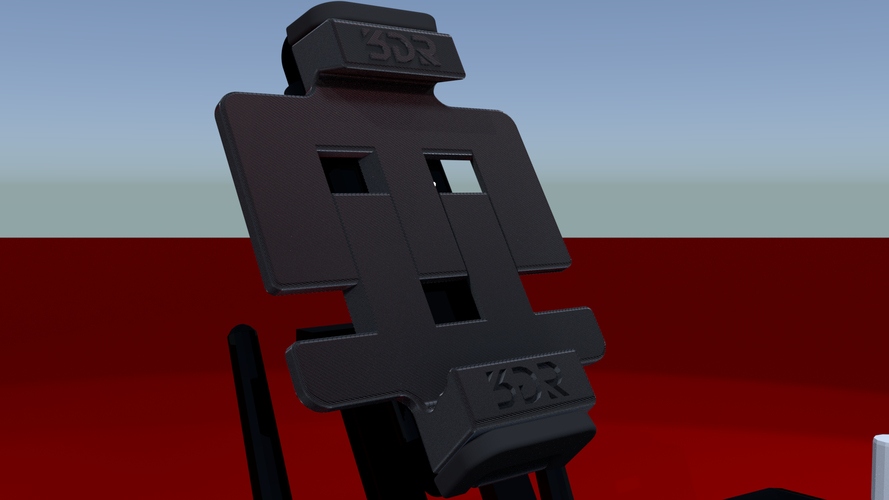
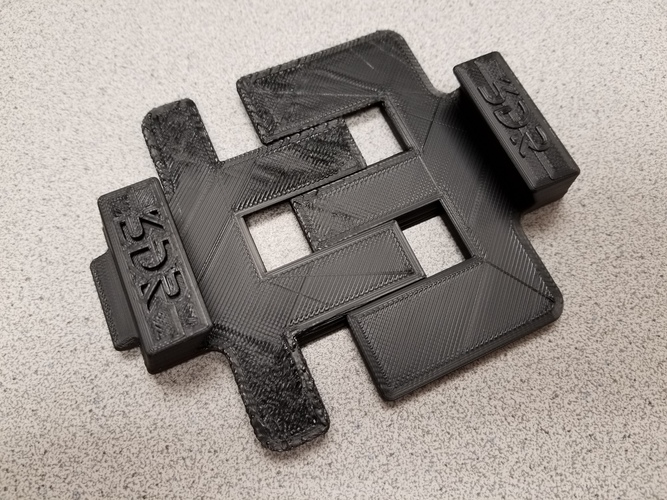
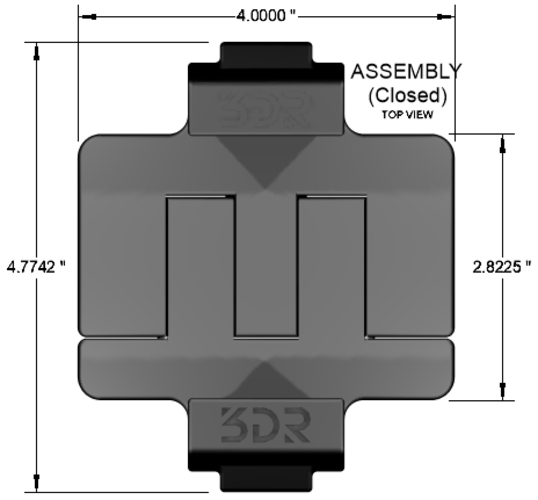
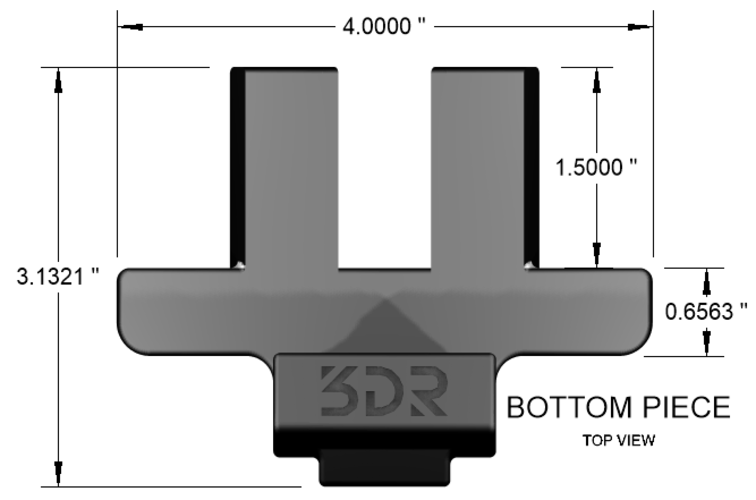
My solution was to design this adapter, which fits perfectly within the stock 3DR controller's device mount, with zero modifications. Tapered lugs on the top and bottom parts fit neatly inside the rubber grips of the stock 3DR device mount, and the adapter will remain in place when there is no phone mounted. The 'bottom' part has a small relief to allow for the Galaxy S8+ "Bixby" button, when properly centered within the adapter. All other buttons of the S8+ are fully accessible.
BENEFITS OF THIS DESIGN:
1) No fasteners
2) No modifications to the stock 3DR controller's device mount
3) Adjustable to fit a variety of devices, depending on size
4) Allows the stock 3DR controller's device mount to be in a fixed (vertical and centered) position that fits into the 3DR Solo's backpack without any adjustments
5) The adapter does not need to be removed in order to fit inside the 3DR Solo's backpack
6) Easy FDM 3D printing... no overhangs over 30°... no support needed
7) Fits perfectly and looks nice
8) Saves time when deploying your drone on-site
FEATURES:
1) Simple yet useful design
2) All overhangs well within FDM printing specifications
3) Smooth-fitting bevel joints (designed for printing with 0.5mm filament... use your own judgement with other filament sizes)
4) Top part has the 3DR logo as a raised emblem
5) Bottom part has the 3DR logo as an embossed emblem PRINTING SPECS (for the TAZ-5... adjust for your own printer, accordingly):
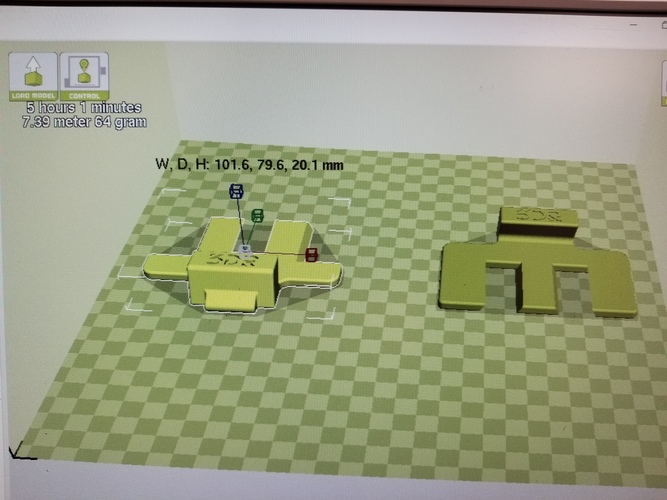
Print time: 5 hours, 01 minute
0.5 mm filament used: 7.39 meters
0.5 mm filament weight: 64 grams
Filament used: Orb Polymers Black Hole ABS, 0.5mm
Temperature, nozzle: 240° C
Temperature, bed: 100° C
Layer thickness: 0.2 mm
Shell thickness: 2.0 mm
Infill: 20%, diagonal grid
Support: None
Raft: None
Brim: None
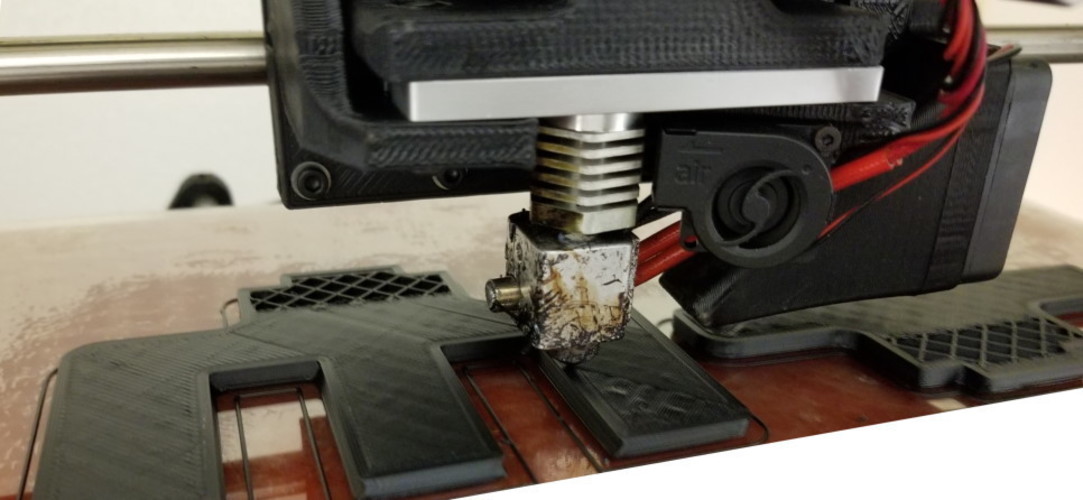
NOTE: I printed 2 of these using a TAZ-5 with the following specs:
1) 2,725 hours and 53 minutes of printing time
2) 2.62 miles of filament extruded from the Hexagon print head (4,216.01 meters, or 13, 828.51 feet)
3) 75.97 lbs. (34,457 grams) of filament extruded from the Hexagon print head
4) Gizmodorks PEI sheet (0.8 mm thickness) adhered using 3M adhesive sheets of same size (Note that the PEI sheet life had run out at this point... thus the curled edges and miserable-looking print quality in certain areas. With a proper new PEI print bed and calibration, my print would have turned out perfect. The TAZ-5 is an amazing machine.)
5) The only thing we've replaced on the TAZ-5 have been:
A) The PEI printing sheets (quite frequently, as the printer has been running almost non-stop since we bought it)
B) The top latch mechanism on the extruder, but only because I tightened the tension knobs too tightly. I printed extras, right from the SD card that came with the printer... just in case. (Every part of the printer--as well as much more information--is included on the SD card. No need to buy components, unless they're electrical in nature.)
6) Custom-made 1-inch foam enclosure with front door and venting for electrical components
7) Digital LCD temperature/humidity gauge mounted inside enclosure for monitoring (with custom bracket, also on Pinshape) 8) Printer grounded from mechanical frame to wall outlet (modified US 120v plug with only neutral and ground pins protruding). This resolved the issue of our printer quitting mid-print if you touched it with any static electicity build-up.
9) Spare extruder drive gears printed (from files on the included SD card), just in case. So far, zero problems. (See hours above.)
Thank you for looking and/or purchasing. Most of my designs on Pinshape are merely fanciful, and for fun. However, I do request purchase for some of my more functional designs.
Either way, I sincerely appreciate your patronage. Thank you, all!
Comments