

Prints (0)
-
No Prints Yet
Be the first to upload a Print for this Design!
Description
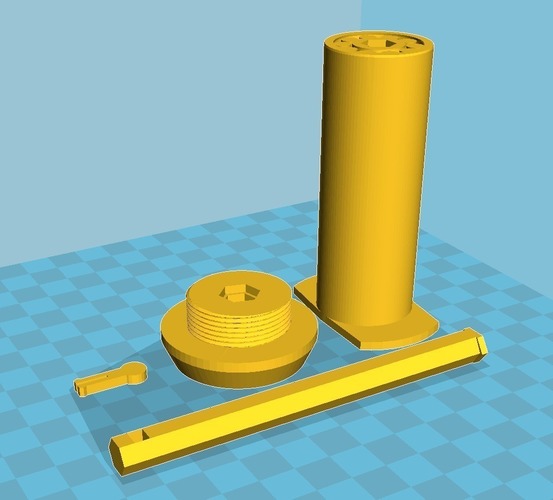
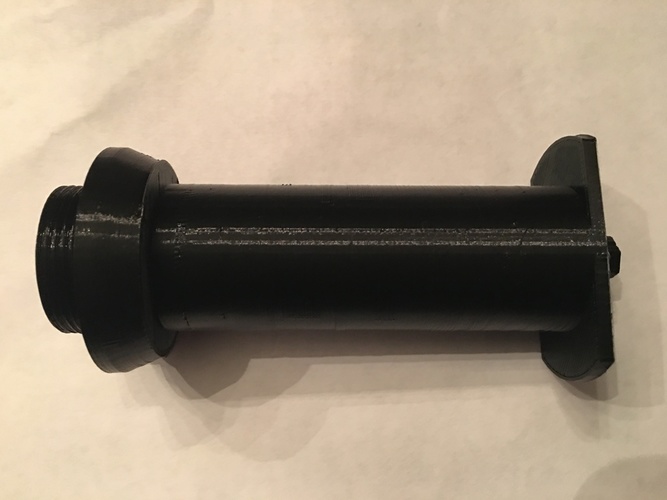
Summary There are quite a few Wanhao D6 (Monoprice Ultimate) printable spools out there to replace the woefully short one that comes with the machine, but they all seem to require extra hardware like threaded rods, metal bearings, and nuts. This version includes two printed bearings embedded inside the spool tube. You just print, smack the spool and twist to break the bearing rods free, and you install!
Print Settings Printer: Wanhao Duplicator 6 Rafts: Doesn't Matter Supports: Yes Resolution: .2mm Infill: 20-40% Notes: Prints fine at .2mm or smaller resolution. Specify the lightest type of support your slicer/printer can do. I did this on PLA, and and it has some tight tolerances, so I wouldn't suggest ABS or any other filament that shrinks. All objects in the stl file are aligned to the direction that they should be printed. Be careful pulling the pin object off of the bed... it can be delicate. If you don't want to mess with the printed pin, you can use a paperclip or something else small instead,
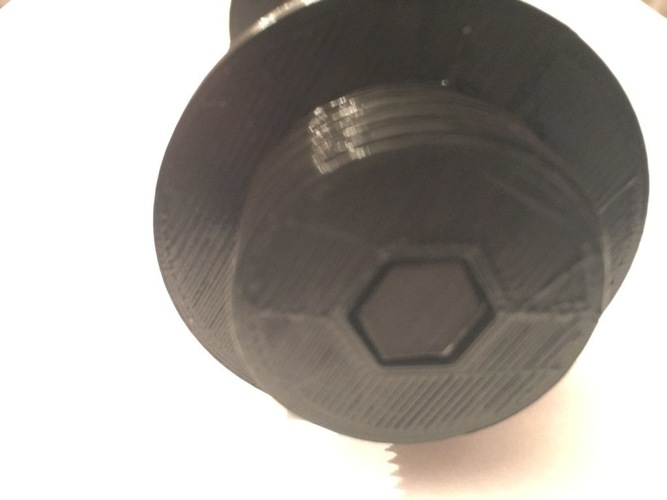
Post-Printing AFTER PRINTING The bearing rods and central column are "stuck" at the end of the print, and you need to free them. 1) Insert the hexagonal shaft into the mounting bracket (the part with the threads) so that the wider end will be on the inside of the printer. MAKE SURE WHEN YOU'RE DONE THAT THE HEAD IS FLUSH WITH THE THREADED MOUNTING BRACKET SURFACE. If not, the hexagonal tube may be protruding far enough into the printer to block the Z axis!
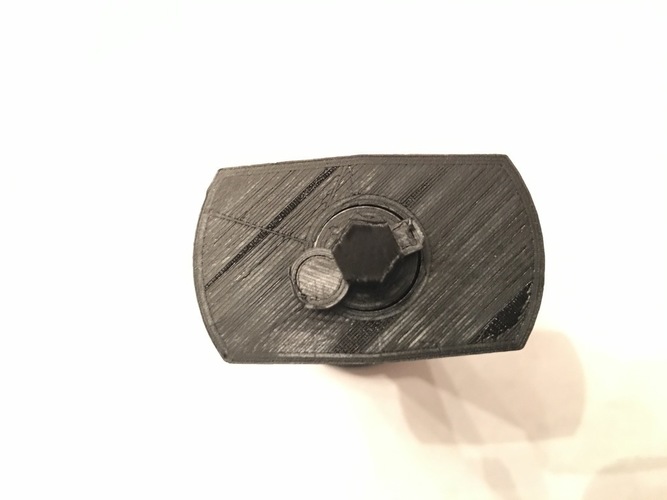
2) Free the exposed bearings on the main tube with a fingertip or a pencil or something, then insert the hexagonal shaft into the central shaft of the main tube on the side with the bearing rods.
3) WHACK the main tube on to push the hexagonal shaft completely through. You don't need a hammer, but you need enough force to "break" free the central shaft and the internal bearings.
4) Put the pin in the end of the hexagonal shaft to keep it from sliding off during use.
5) Spin the bearing tube by hand. It'll be stiff at first, but once it breaks in, it'll spin really, really well. I was quite pleased.
Making of: As anyone with a d6 can tell you, the spool is too short, and it can cause gaps in prints because the extruder has to work too hard to drag filament off a spool that's rubbing hard against the back back of the machine. I took an existing model of the spool for the threaded base, used an OpenSCAD script to create some custom bearings, and put them inside of the main tube. Instead of a threaded rod and nut, I put an enlarged nut head on one end of a hexagonal rod, and a hole for a pin on the other (and added a printable pin).
Comments