

Prints (0)
-
No Prints Yet
Be the first to upload a Print for this Design!
Description
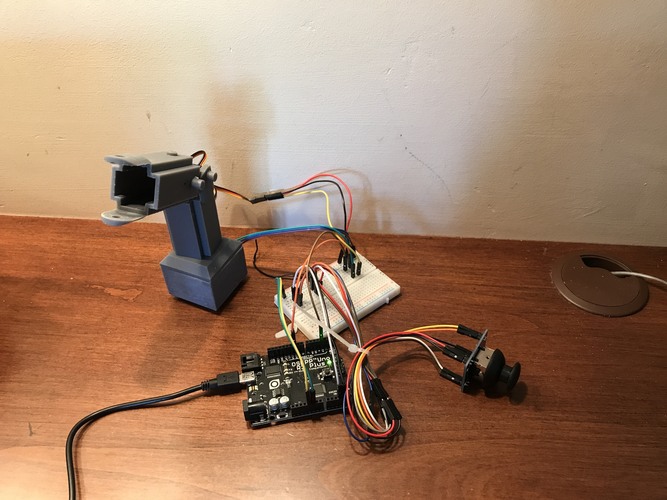
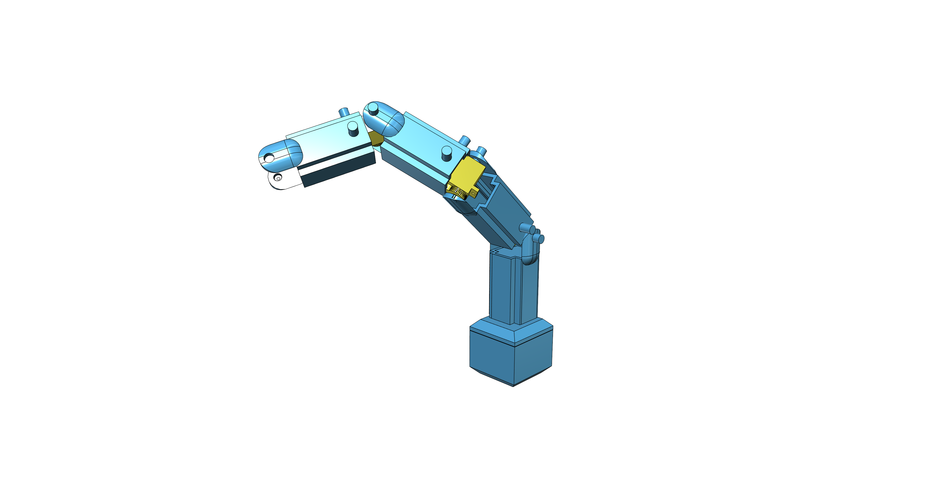
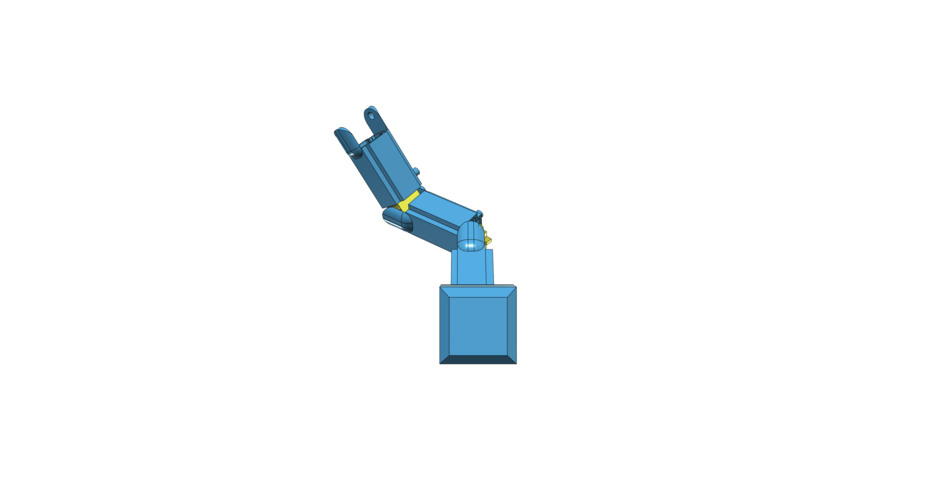
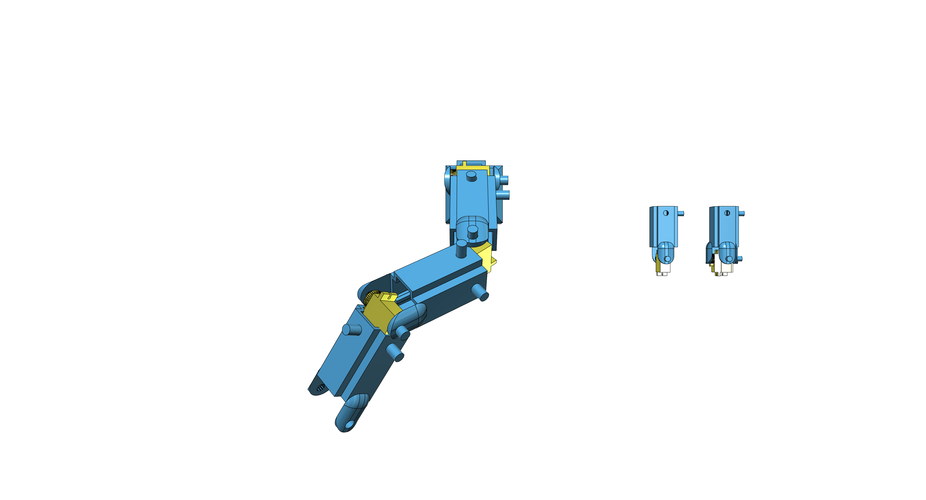
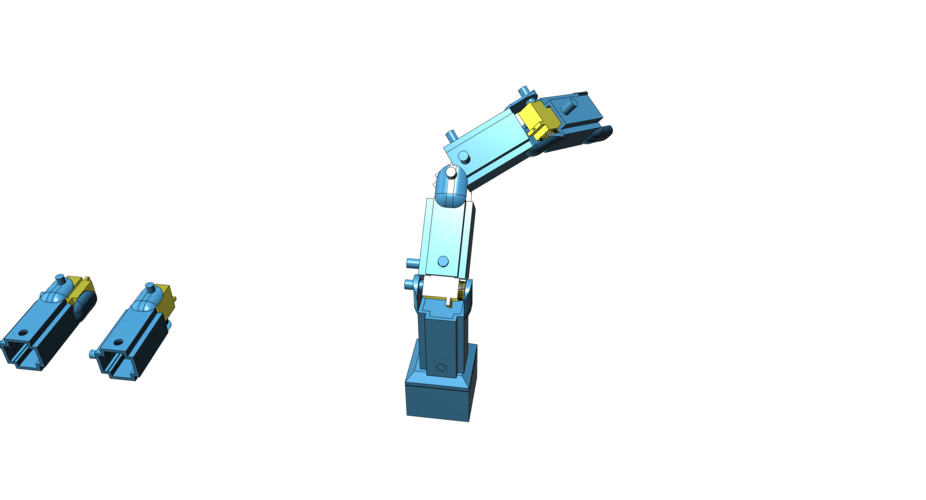
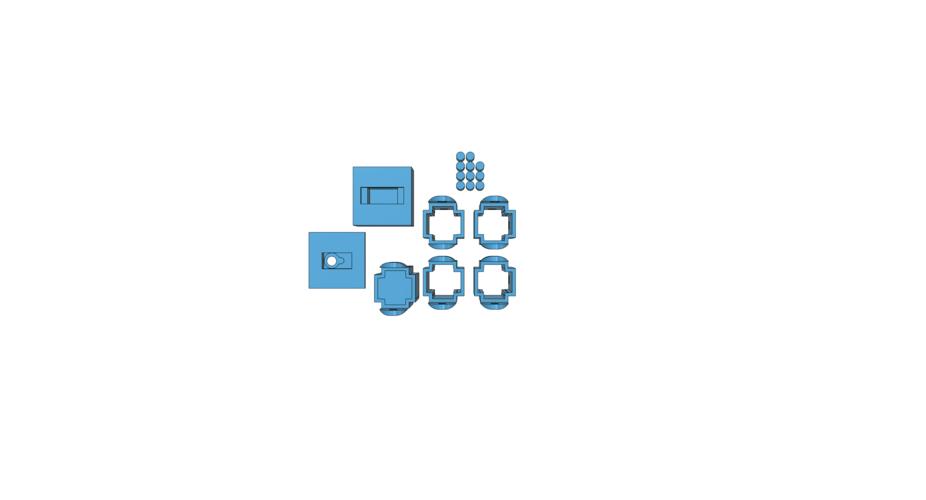
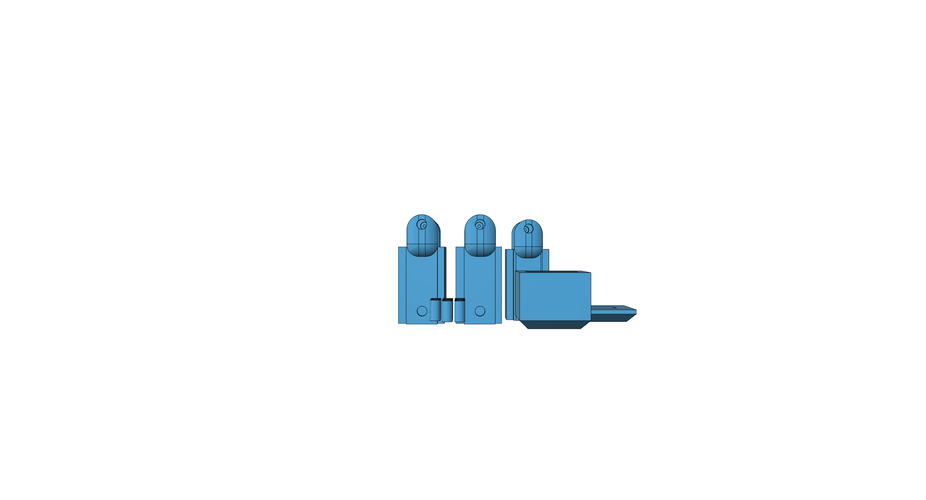
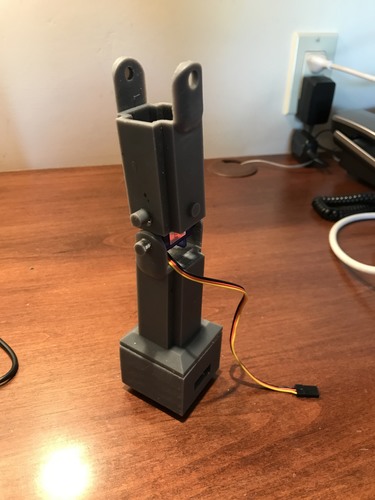
This a Robotic Arm Kit meant to be used by students in the classroom. The kit helps students into the basics of electronics, using servos, 3D printed pieces, and simple mini kit controller electronic boards. The design is meant to feature a structure similar to popular building block toys for easy assembly. The hope for this project is that students will see the great opportunity a career in STEAM provides. The robotic arm is meant to be an interactive design to intrigue students to inspire them to get involved with 3D printing and in STEAM in general.
Build of Materials:
Code:
#include <Servo.h>
const int servo1 = 3; // first servo const int servo2 = 10; // second servo const int joyH = 3; // L/R Parallax Thumbstick const int joyV = 4; // U/D Parallax Thumbstick
int servoVal; // variable to read the value from the analog pin
Servo myservo1; // create servo object to control a servo Servo myservo2; // create servo object to control a servo
void setup() {
// Servo myservo1.attach(servo1); // attaches the servo myservo2.attach(servo2); // attaches the servo
// Inizialize Serial Serial.begin(9600); }
void loop(){
// Display Joystick values using the serial monitor outputJoystick();
// Read the horizontal joystick value (value between 0 and 1023) servoVal = analogRead(joyH); servoVal = map(servoVal, 0, 1023, 0, 180); // scale it to use it with the servo (result between 0 and 180)
myservo2.write(servoVal); // sets the servo position according to the scaled value
// Read the horizontal joystick value (value between 0 and 1023) servoVal = analogRead(joyV); servoVal = map(servoVal, 0, 1023, 70, 180); // scale it to use it with the servo (result between 70 and 180)
myservo1.write(servoVal); // sets the servo position according to the scaled value
delay(15); // waits for the servo to get there
}
/** * Display joystick values */ void outputJoystick(){
Serial.print(analogRead(joyH)); Serial.print ("---"); Serial.print(analogRead(joyV)); Serial.println ("----------------"); }
Lesson plan PDF file posted below in the downloadable files!
Assembly Guide also in the downloadable files!
Comments