Prints (-1)
Description
This design is under License CC - Attribution - Non-Commercial - No Derivatives hope to don't find my files or the files printed on sale on Ebay, Etsy or other website. (you can find more of my designs on my Patreon www.patreon.com/fntsmn)
I created this design after Blizzard contact me because they saw my work and they want to public them.
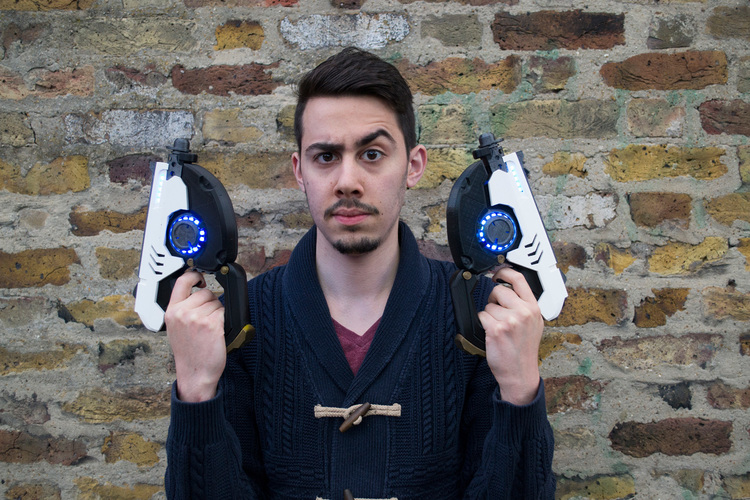
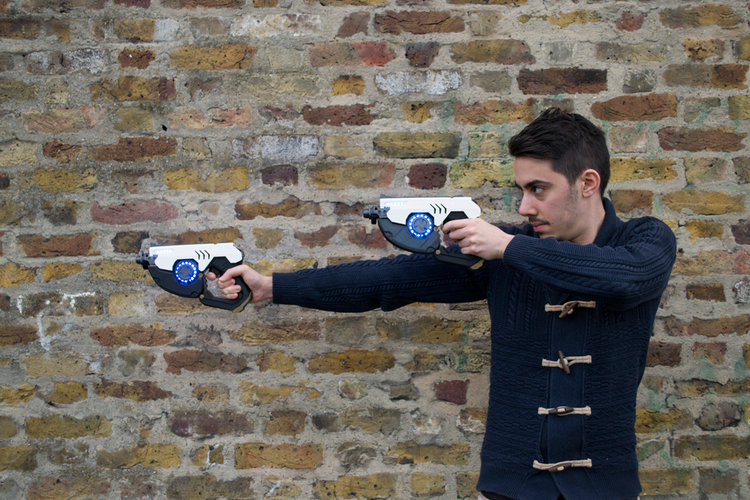
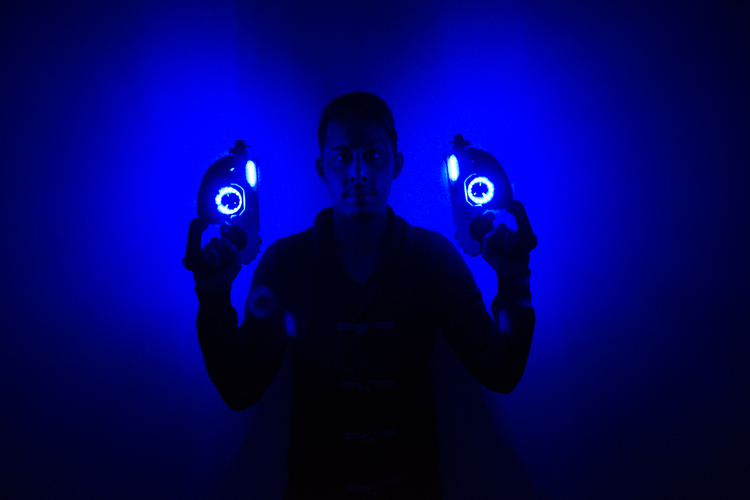
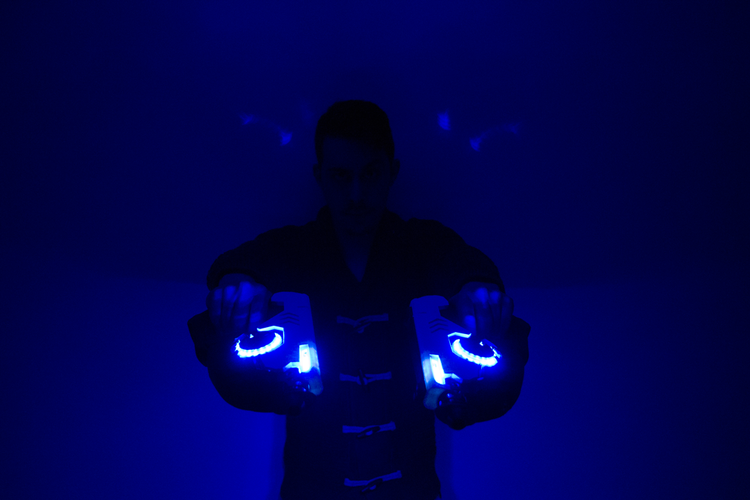
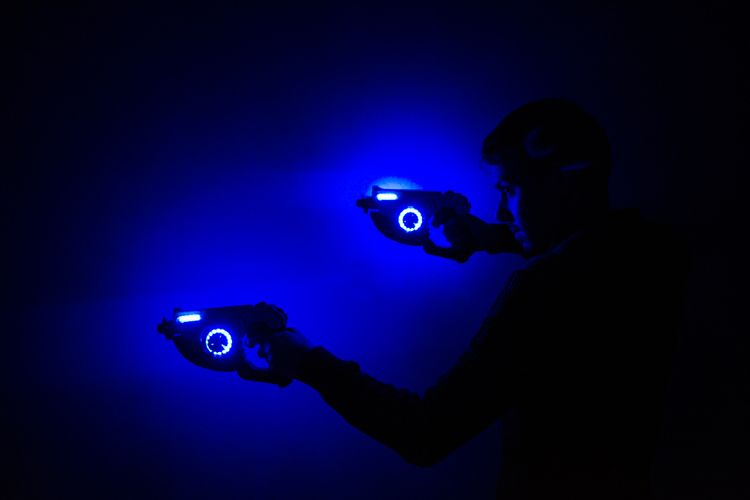
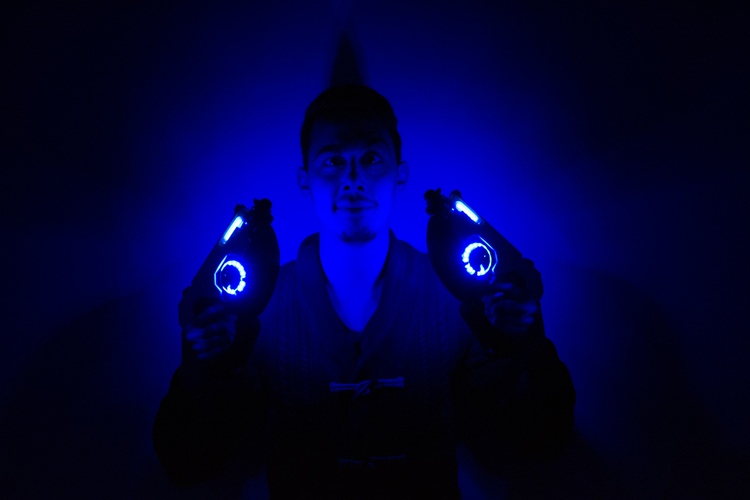
When they contact me I "only" create the base version of this gun without the electronics parts, but when they told me they want to feature my work, I decide to push even more the design and create the space to be able to put all the electronics parts and be able to program the effect of the light and even control them from my iPhone.
The 3D model was designed having in mind the print by color assembly, easy to print and be able to print all the parts in a normal size desktop 3D printer (20X20X20ish). I know how much time and frustrations can bring to post-process all the parts with sanding, filler and paint. To make more easy possible i added in the name of each file the color you should print them and with the help of some super glue you will be able to assemble the gun.
Already my first version of the guns was booming on the internet people like the "3D Printing Nerd " & "Barnacules" two big youtuber in the community of 3D printing decide to print the original gun without the Electronics and and i was tagged all over the internet with people printing one, and people really enjoy how the gun was printing and put together (And yes a lot of people was trying to sell the 3d printed version on etsy too...).
I created a complete video on my Youtube channel where i show step by step what i did HERE
I will put here anyway a list of all the components that i used:
Adafruit Feather 32u4 Bluefruit LE (http://ow.ly/10BLyi)
NeoPixel Ring (http://ow.ly/10BLCh)
NeoPixel Digital RGB LED Strip 144 LED (http://ow.ly/10BLH4)
Lithium Ion Polymer Battery (http://ow.ly/10BLP6)
Slide Switch (http://ow.ly/10BLXt)
Silicone Cover Stranded-Core Wire (http://ow.ly/10BM4p)
And you can check here the Circuit
About the code i follow step by step this guide done on the website Adafruit where they use the led in a similar way, i will not release my personal code i prefer people try to make their version and the guide is really well done ;)
If you need a short version of how assemble the gun i create a small animation of the normal version is pretty much the same of this one the only thing that change is the central parts that have more parts you can see it HERE
Comments