Prints (0)
-
No Prints Yet
Be the first to upload a Print for this Design!
Description
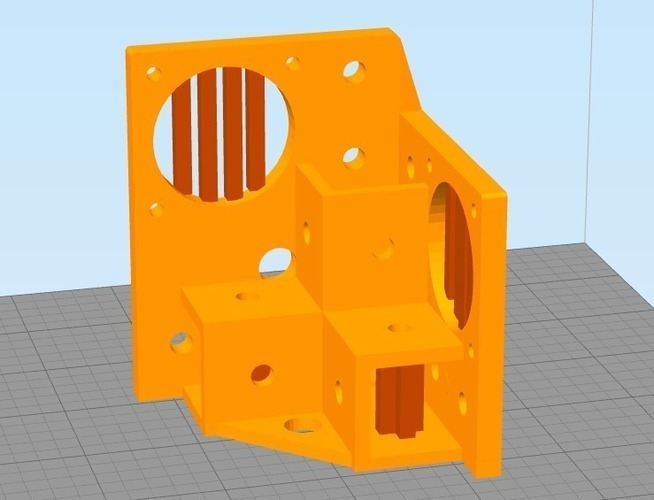
Summary Having trouble with loss of steps, stiff and uneven movemet of the printhead due unprecise alignment of the linear rails? This is THE easy solution! Using these parts makes the axis alignment much better than the original concept can provide. Building ist very easy and simple. Besides it's much more precise it's as stable as original connectors or even stiffer, no wobbling problems even at 200mm/s (tested with PETG)!!! Read "Print Settings" below!!! The extrusion connector I took as base-part for everything was provided by Frank from esuah.net - big THX! Please leave a like :) UPDATE 1 (13.09.2106): Fixed a few bugs, made some thin walls slightly thicker, added 5mm holes which can be used to add endstops or other stuff (maybe I will make some later) and added an optional baseplate connector - so you can screw wooden or acrylic plates on the bottom or sides of the printer. Print Settings Printer Brand: Ultimaker Printer: Ultimaker 2 Rafts: No Supports: Yes Resolution: .3mm Infill: 50% Notes: You need to add support manually, as due a little bug on some on the horizontal screw holes there's no support build into the STL already, which makes bridging difficult on this particular area of the print. I'm sorry for that. Use Craftware (Freeware), Simlify3D or any other slicer which supports the feature of adding support manually, auto-generating support would overdo the job and support would be hard to remove. Have a look at the picture above! Tested with .3mm layer-height and <=.6mm Nozzle so you can print them as fast as an E3D-V6 is able to print - maybe you can print them even faster if you have a good hotend / volcano hotend.
Comments