



Prints (1)
Description
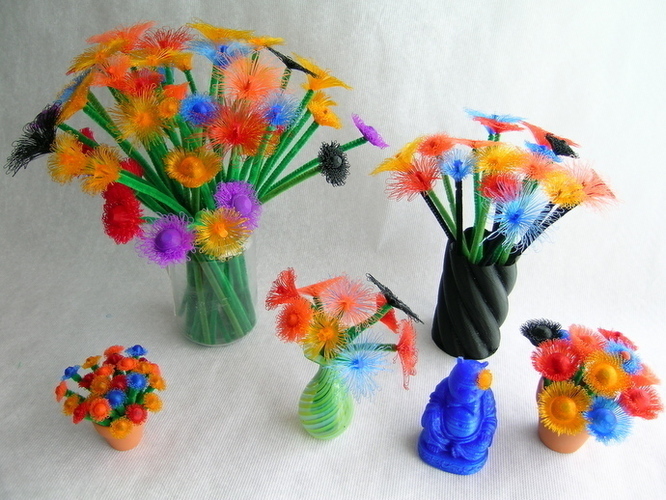
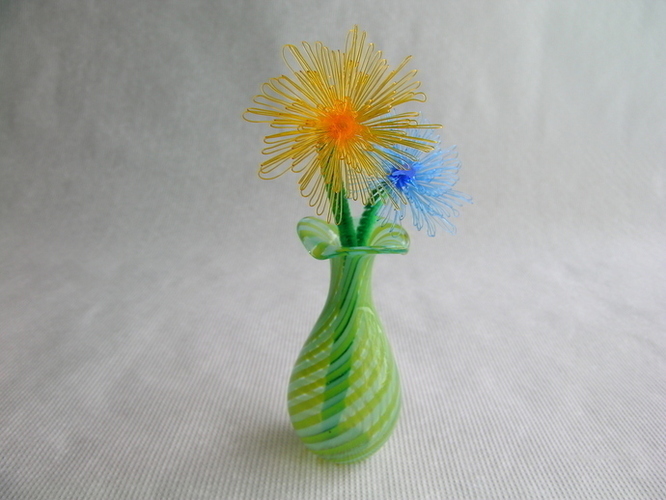
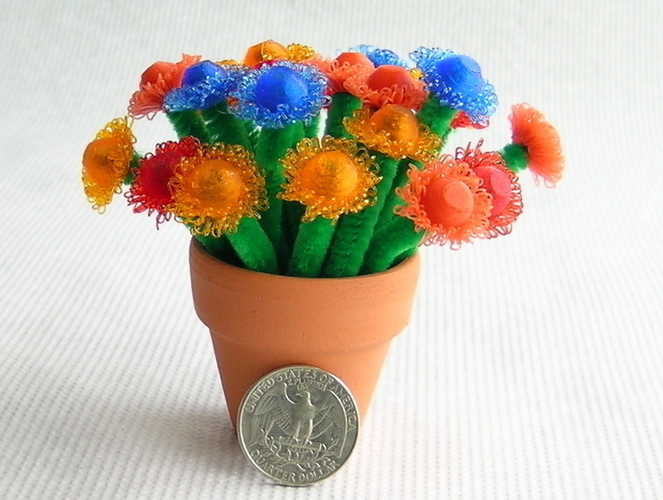
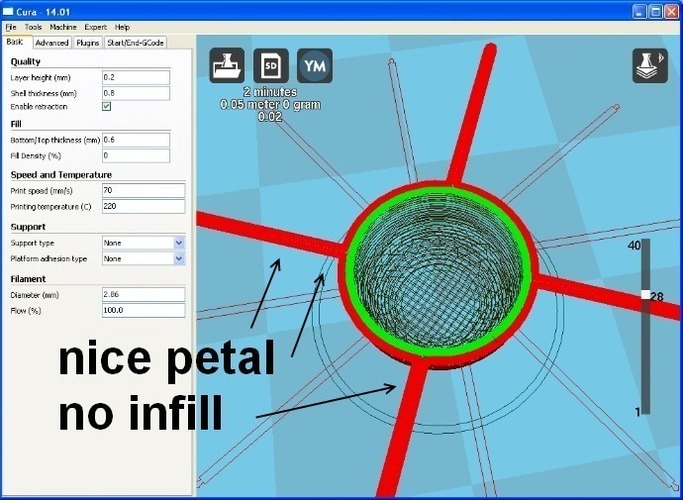
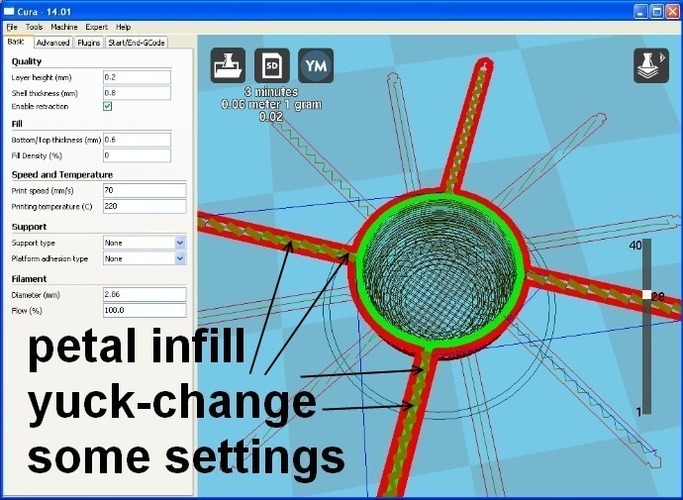
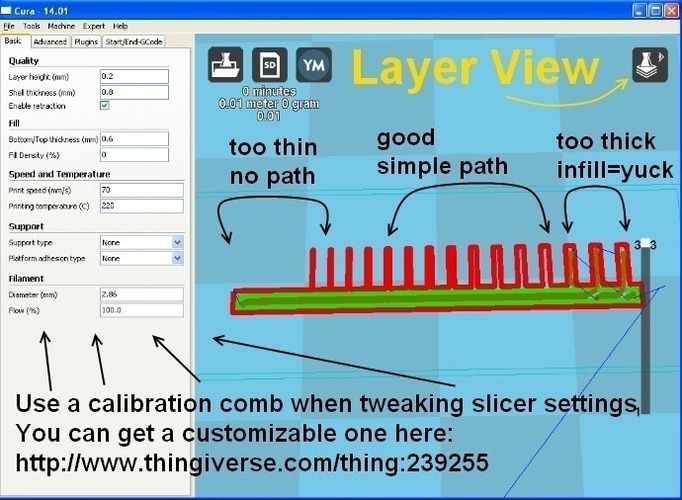
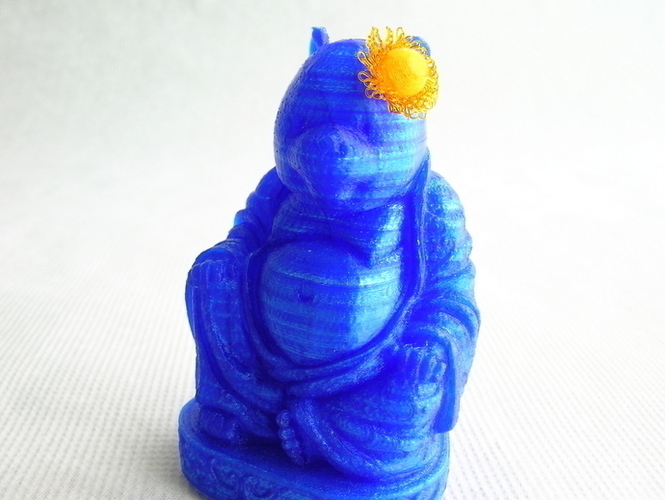
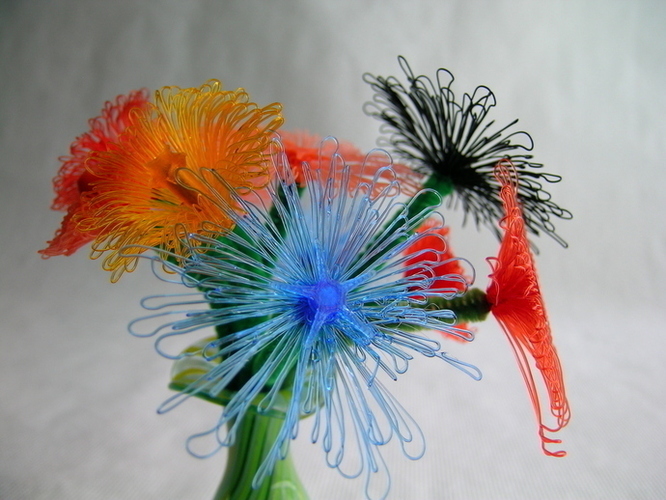
Summary Make your own unique one-of-a-kind flowers with this openSCAD file! Print beautiful flowers as a gift for that special someone, or just to help decorate your world. They print fast and easy (see instructions). Get creative and incorporate flowers into other models or for fashion (see picture of the tie jewelry). The possibilities are HUGE - I have just scratched the surface and will upload my 9 favorite flowers (see "Makes" for notes on the settings). I am exploring deliberately making drooloops, (I made that word up, droop+loop) and trying to harness the neat shapes you can get. This is my first attempt at something neat. Please let me know how your prints turn out and post pics. Oh and if you like the black vase in my picts, i made with using PaulM's Customisable Spirograph Vase Generator http://www.thingiverse.com/thing:53916 Instructions These are really fun to design and print. Each print job is fun since there's a slight element of randomness. The randomness is because we are deliberately "printing in the air" to create the "drooloops" (droop+loop) that make these flowers look so amazing. These slicer settings worked with 3 different printers I tried, and I bet will work with any slicers/printer if you use the models I have uploaded, or any customizer you make if you don't change settings on the advance tab of the customizer version. ALL UNITS millimeters (mm) layer_height = 0.2 wall_thickness = 0.8 solid_layer_thickness = 0.6 fill_density = 0 support = None platform_adhesion = None solid_top = False (extra NOTE about solid_top: This is probably not your default setting....I use this so it will be hollow on top....for the pipe stem cleaner. I did not print the top, so this setting is kinda important to duplicate my results) solid_bottom = True Feel free to experiment and let everyone know if you find improvements or just interesting results. One person's "interesting results" may be another person's "that exactly what I was looking for!". I was able to get these to print fine on the three different machine I have access to (Ultimaker1, MakerGear M2, and Type!Machines Series 1), but I bet you can get these out of any machine that is out there. I will now go into gory details below. I learned a lot during this process and would like to share a few simple rules of thumb I use for the results I am getting, but I think all results look cool. ****(feel free to ignore everything below this line)**** Notes...about what I am doing to get more reliable and symmetrical results. If people think it would help, then I would also be happy to make some videos too. NOTE ABOUT SLICER SETTINGS -(my 1st choice for slicing is CURA -it's free, slices better than anything I have used and works with everything as far as I can tell) SO for a good clean drooloop you want the petals to print with no in-fill (see pictures). I like a simple drooloop to be formed by the nozzle leaving the center and coming back in a straight line and extruding the whole time (no retractions, or crazy infill motions). Look at your nozzle paths before you print to check this. If your slicer does not let you do this, then get one of the gcode viewers out there. I like hudborg's GCode Analyzer/Visualizer - http://www.thingiverse.com/thing:35248 You can control the nozzle path and get these results by choosing model dimensions and slicer settings that compliment each other. For example make the petal width equal to the wall_thickness, so even if you are asking for infill none will be generated. A quick way to dial in your slicer settings VS petal widths is to use a calibration comb where each tooth is a different width and they cover a range of widths. Get one here: http://www.thingiverse.com/thing:239255 I also want a nice thick drooloop so I never print finer that 0.2mm layer height. If you want to use different settings look at the advance setting area when generating your model. FOR MORE SYMMETRICAL FLOWERS - TURN FAN OFF ONCE THE PETALS START PRINTING. If you don't turn off the fan it will be okay - your flowers may have a wind-blown effect since the petals may drift in the direction of the fan (see "Makes" for windy flowers). If you want, you can turn off the fan by watching the printer and turning off the fan with your controller (if you have one), BUT my favorite method (since not all my printers have controllers, and I prefer to only constantly monitor my printers while the 1st layers are going down) is to quickly and simply modify the gcode file with a simple text editor. This way I can print a bunch and know it will always work. Using a basic text editor, open the gcode text file and make these changes: Turn off the fans on the layer just before the petals start to print. I usually add a comment to the layer name like "mark turned off fans" and then add right below that: M106 S0 M107 This is kinda over kill, but i do it like that anyway. You can get the layer number needed by simple math: p_start_height/p_height=layer# petals start OR by using the layer viewer. Search DOWN through the rest of the print looking for "M106" and just "comment out" those lines by adding a semicolon to the start of them... so when you see: M106 S58 you make it say: ;M106 S58 (Depending on your slicer, settings, model, etc..you may or may not find a lot of these fan speed commands. NOTE: Make sure the changes are in the "petal printing area", since a full-document search and replace may turn off the fan before you want it to.) here's a video that will help make this more clear: http://youtu.be/hYmclbTH7nw UPDATE TO VIDEO - for MakerBot people the gcode is different. see this video for important details when using a MakerBot printer http://youtu.be/xSOI1Sr6xIk


Comments