Prints (0)
-
No Prints Yet
Be the first to upload a Print for this Design!
Description
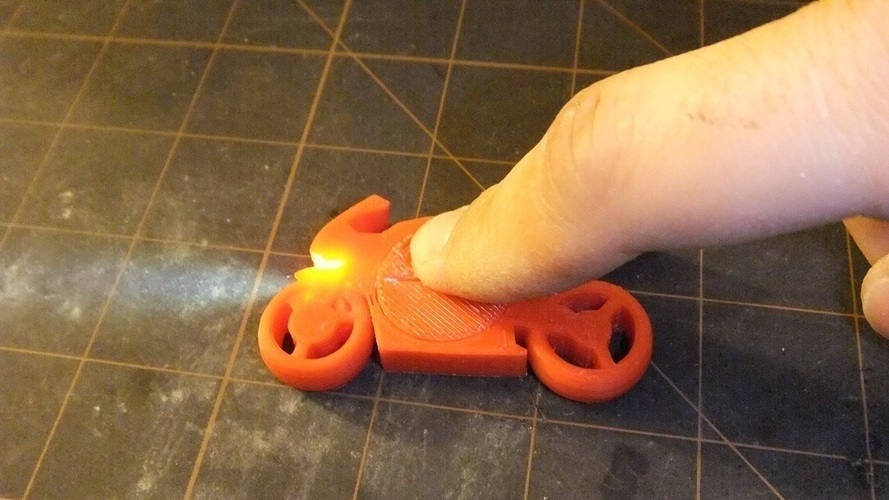
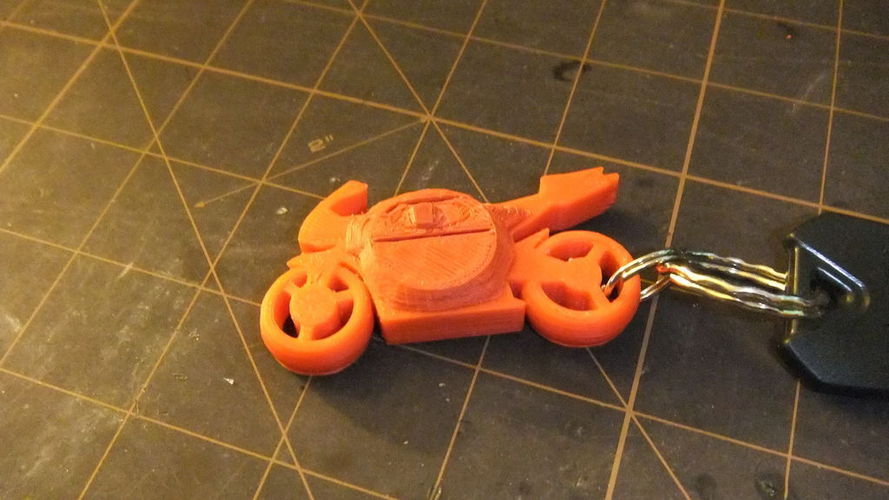
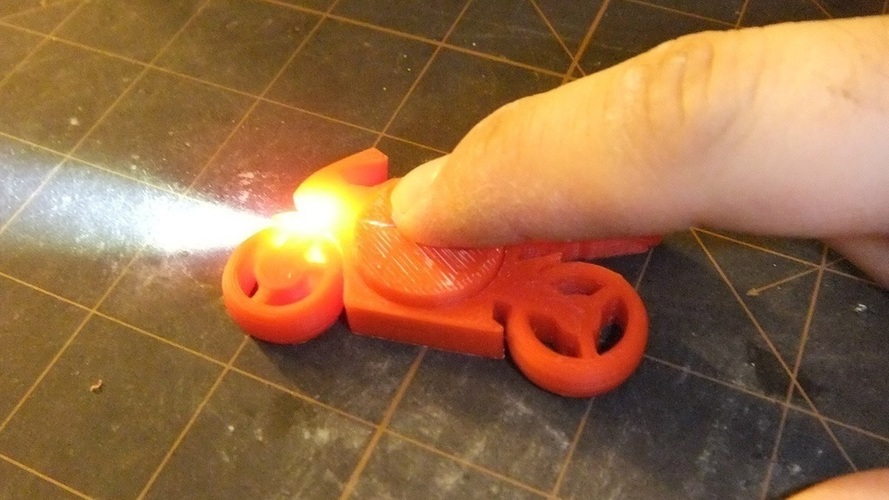
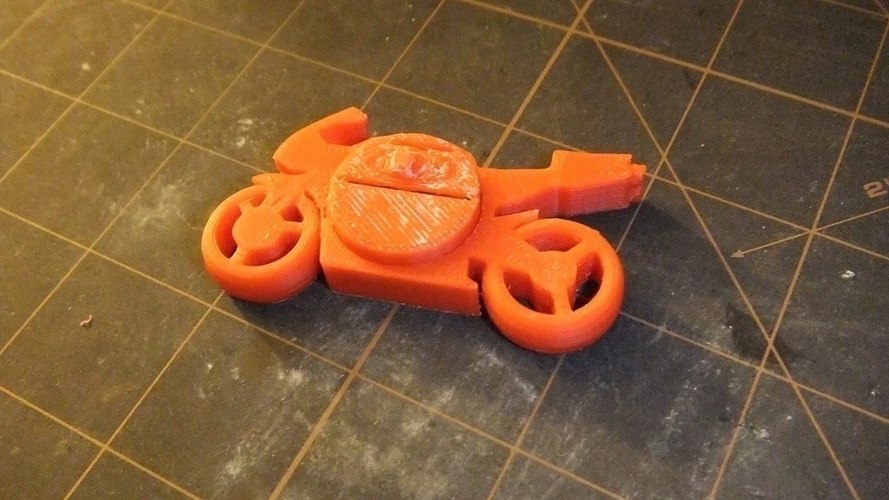
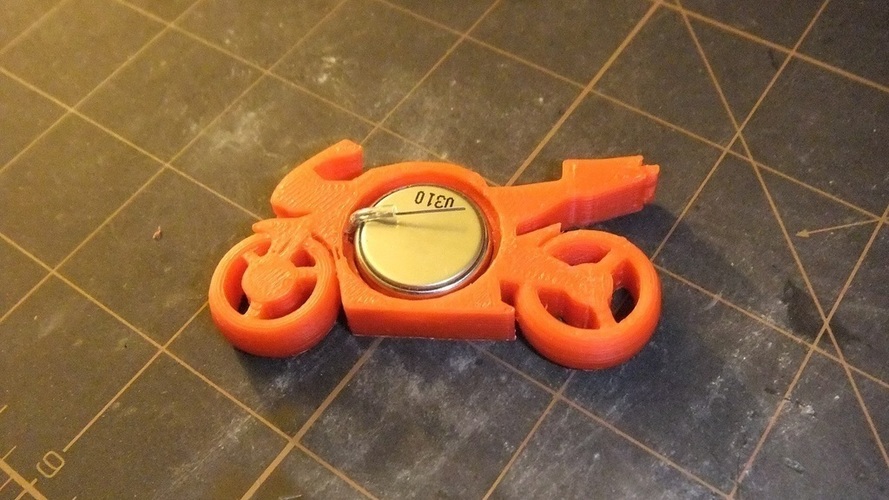
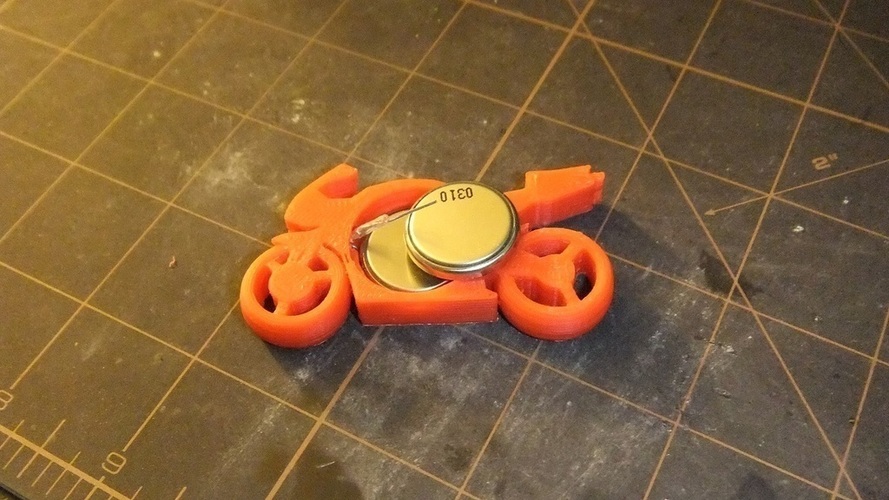
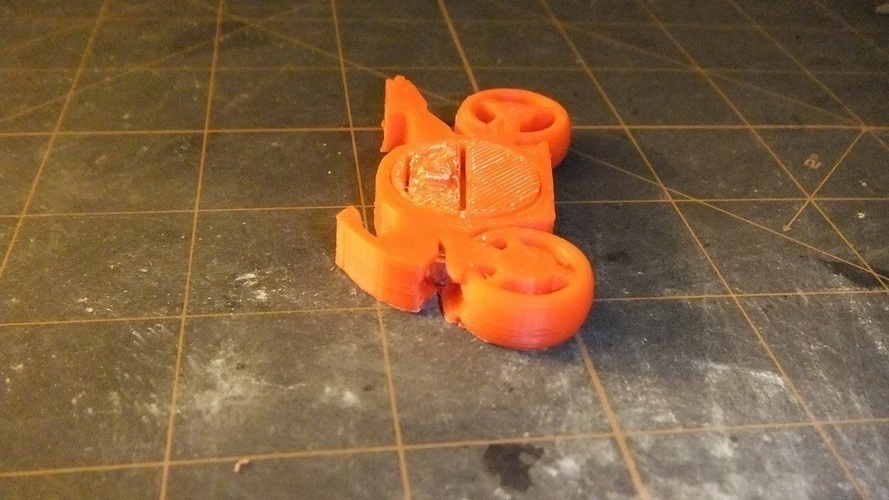
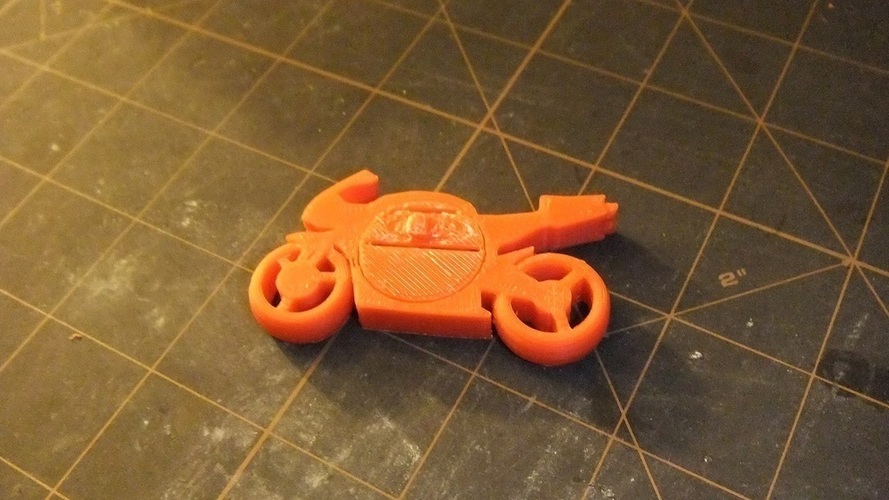
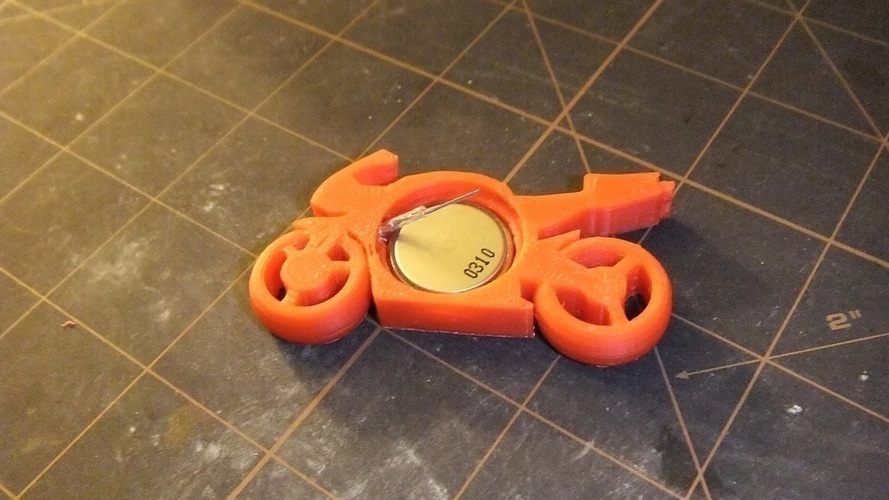
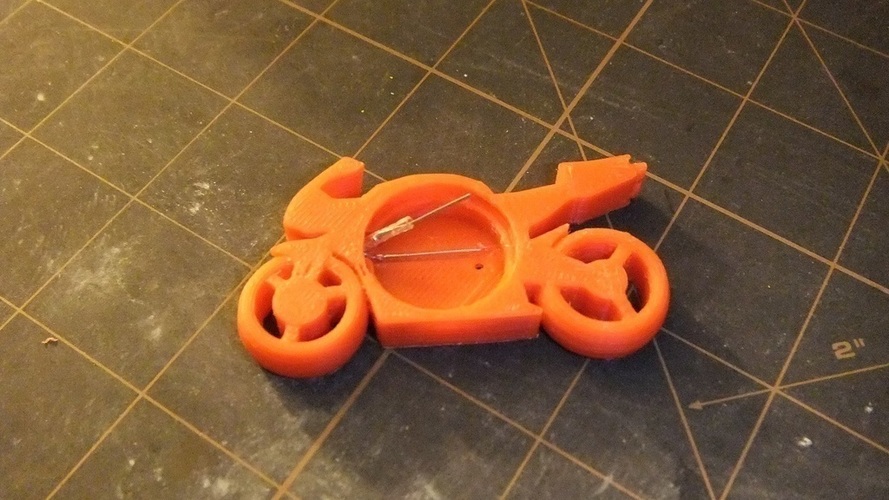
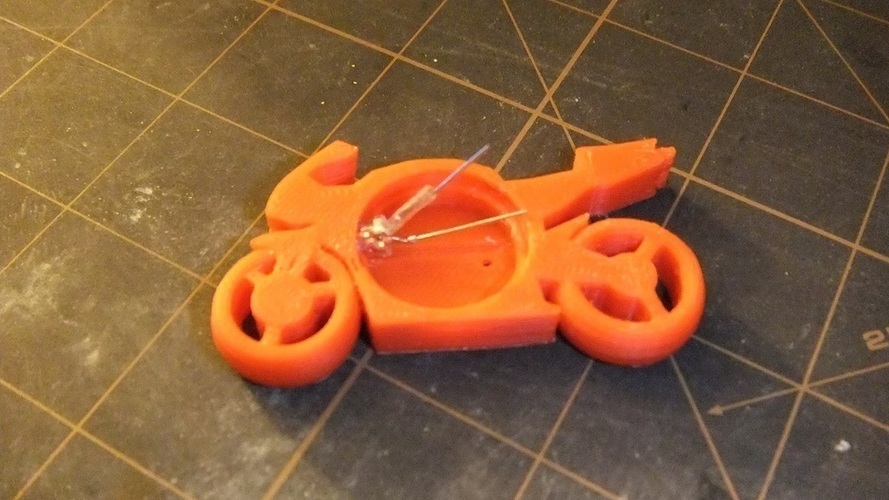
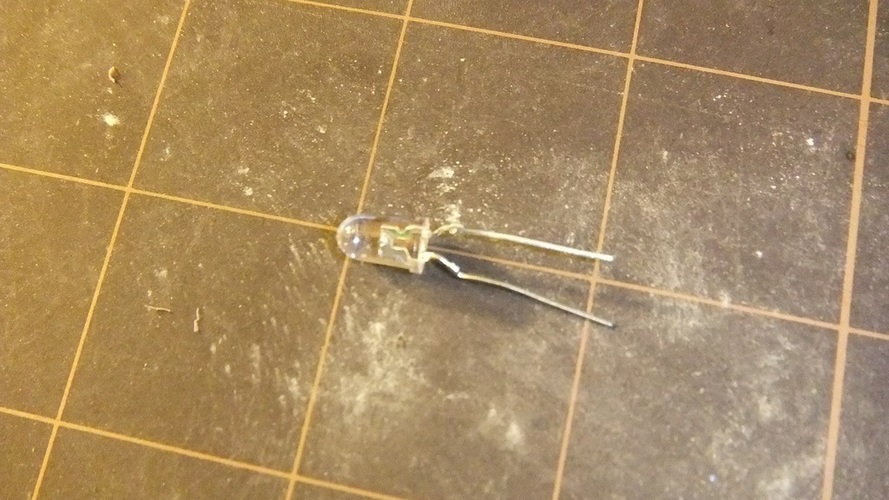
Summary Update June 08, 2012: I've created a version 2 of the double battery cover that is designed to look better, enjoy! Update June 06, 2012: After a little experimentation, I found it is easier to assemble if your batteries are facing negative side up, and the button feels better if you clip the top LED lead short enough that it just crosses the center of wedge on the underside of the button. I'm always a fan of having handy flashlights on my keys, I find plenty of uses for them. I've taken Roland's motorcycle keychain and modified it so it can house an LED light! The only things you need, other than printing the plastic parts, are an LED, a small plastic tube, and one or two batteries of either CR2032 or CR2016. Instructions Materials: One 5mm diameter LED light (25mA 3.3V 7000mcd High intensity recommended). One 1cm long small plastic tube (you can strip a 20-22 gauge wire for this). One or two, CR2032 or CR2016 3V batteries. Print one Shell.stl. Print either the One Battery Cover.stl or the Two Battery Cover.stl depending on what battery configuration you are using. All of the parts, except the plastic printed parts, should be easily found in your local Radio Shack (USA) or electronics store. There are as few choices to choose from. If you are using one CR2032 battery or two CR2016 batteries, print out the one battery cover button. If you are using two CR2032 batteries, you will need the two battery cover. The one battery cover is flush with the rest of the keychain, so it will look better, but two batteries will make your LED much brighter and more usefull. I've also included my blender file, should you want to change anything. I've left all of the raw subtractive models in it, so you could even swap the motorcycle for your own keychain design if you wanted to put a light on it. Assembly: First, you will want to decide which way to insert your batteries, this depends on which direction you install your LED. Once you have decided that, you will want to take your little plastic tube and put it on the top lead of your LED. This plastic tube prevents an electrical connection between the LED and the corner of the top most battery. If you don't use the plastic tube, chances are your LED will always be lit even without pressing the button. Now insert the LED in through the battery opening of the keychain and push it into place. It should be snug enough that the LED won't just fall out. Insert one or two batteries as explained above. Here, you may want to adjust the bend in the top LED lead so it is parallel with the top battery, but doesn't touch it. At this point, you should be able to push the top lead down until it touches the battery and the LED should light. Snap on the chosen cover, making sure that the top LED lead sits underneath where the button is going to be. Once the cover is snapped into place, the LED should not be lit by itself, but should light when you apply pressure to the button. There you go! Now show your friends and make them beg you to make them one too! The keychain shell also includes a very small, but handy, hole on the bottom. If you ever need to remove the batteries, you can push a pin or something through it to help you get them out.
Comments