Prints (0)
-
No Prints Yet
Be the first to upload a Print for this Design!
Description
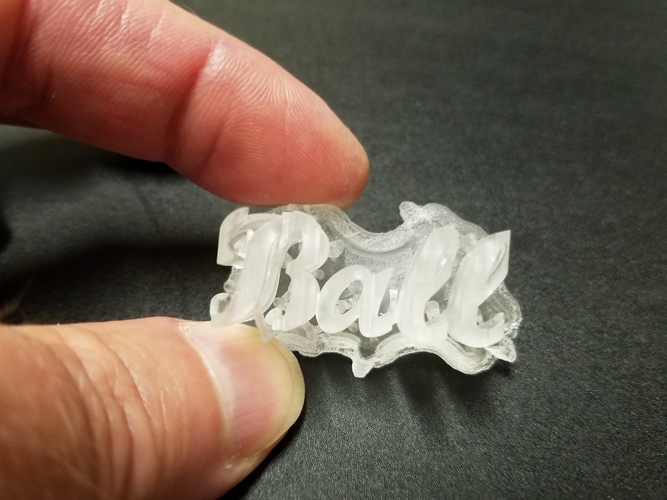
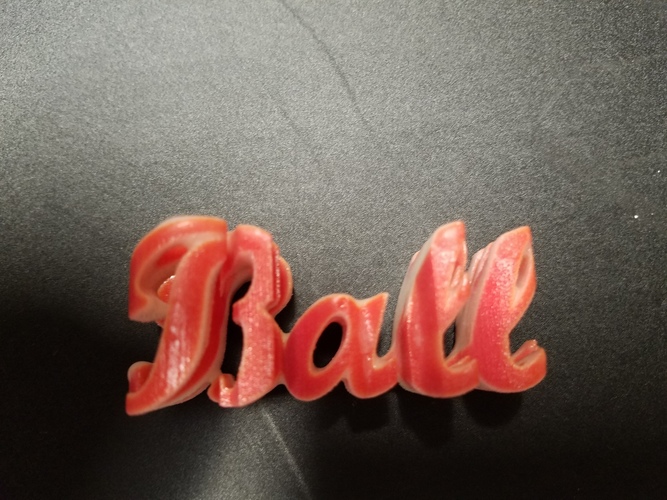
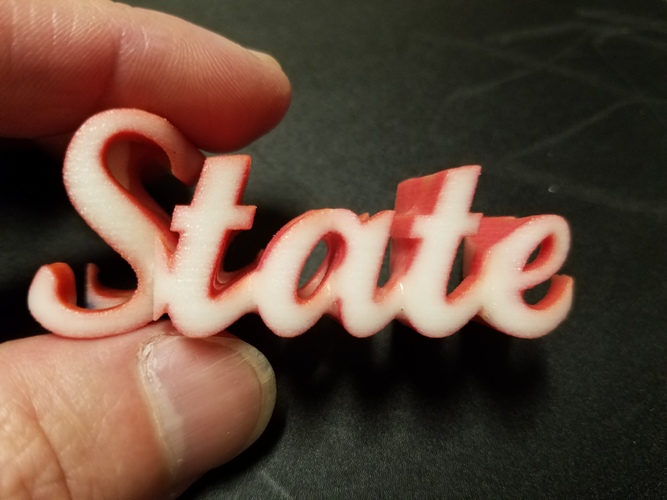
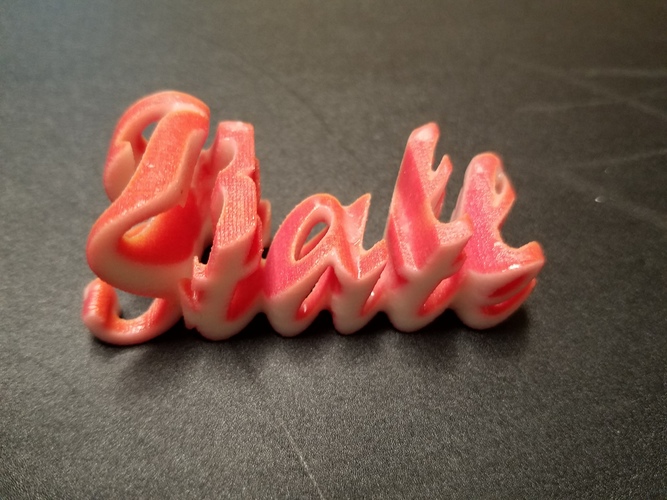
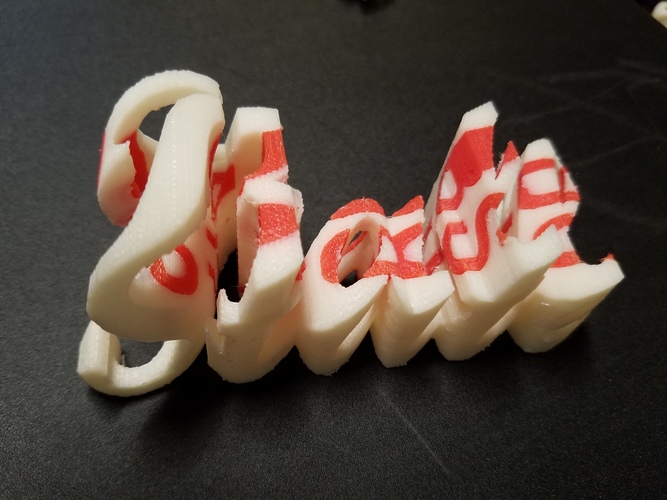
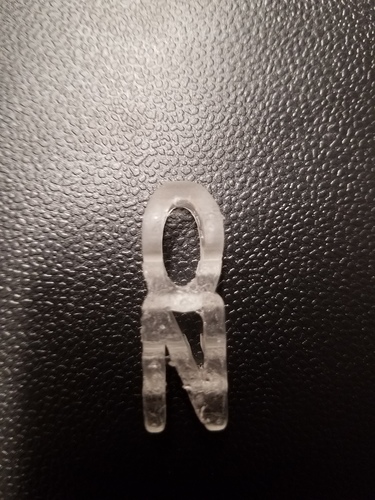
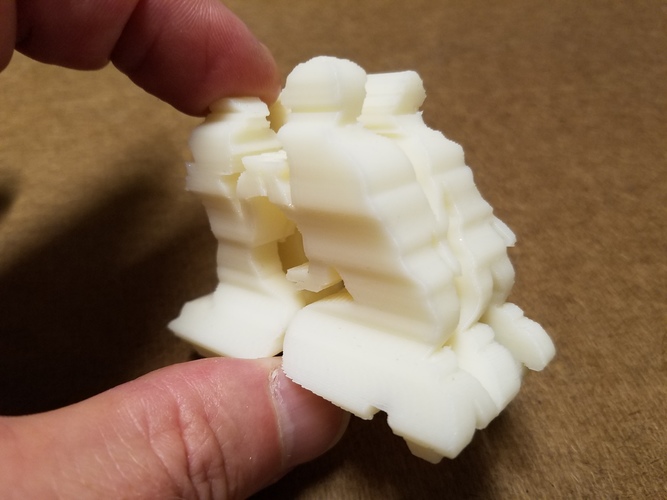
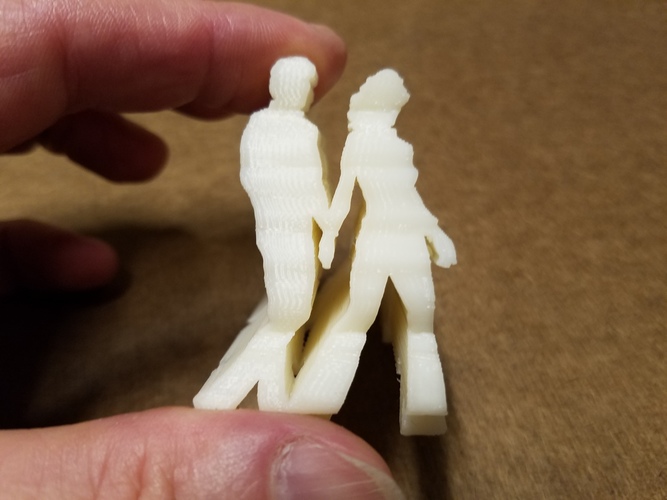
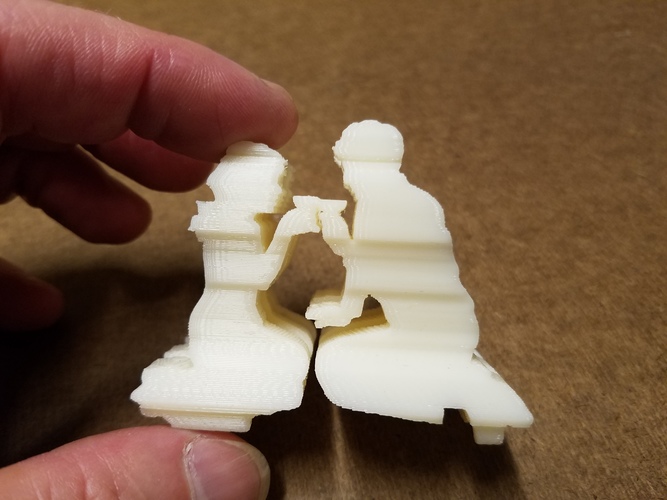
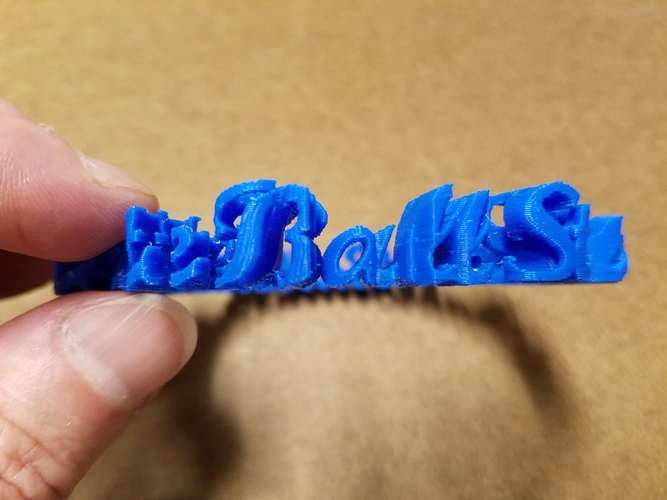
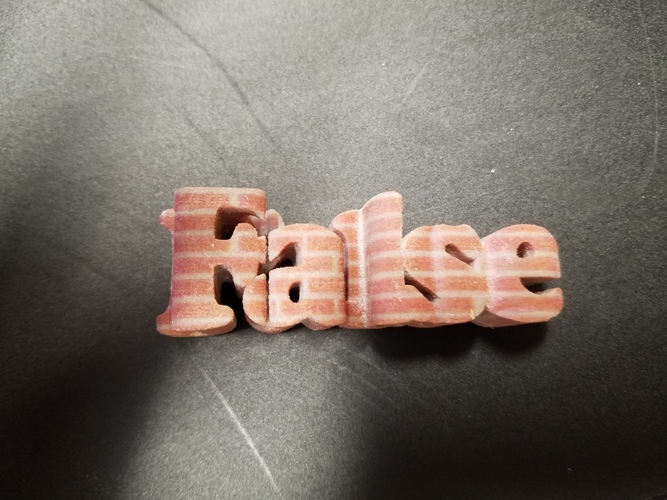
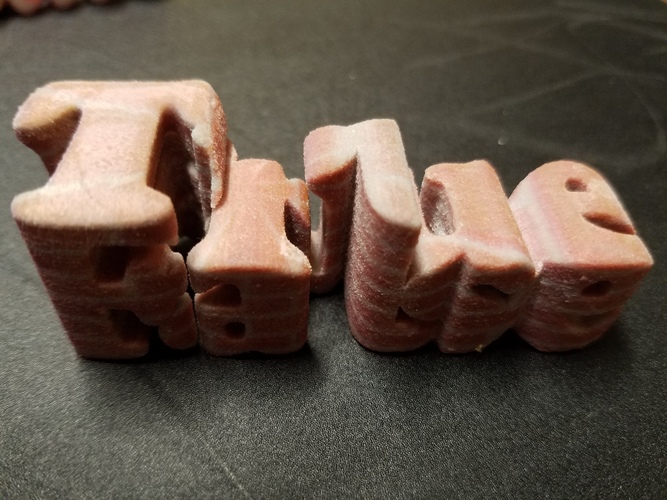
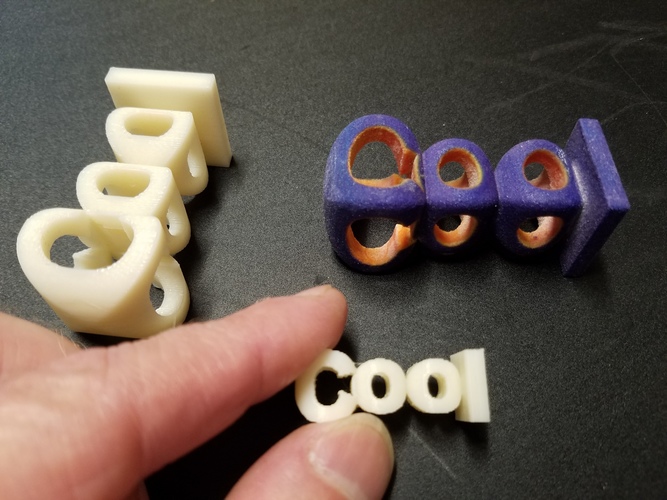
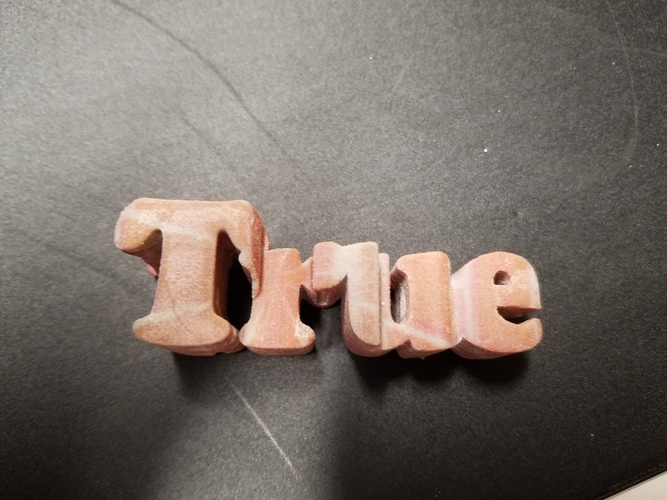
These are just a few of the models I've made using a Boolean intersection of different silhouettes extruded in multiple views. It typically takes a minute or so to create a virtual model of someone's first + last name, or the name of a couple.
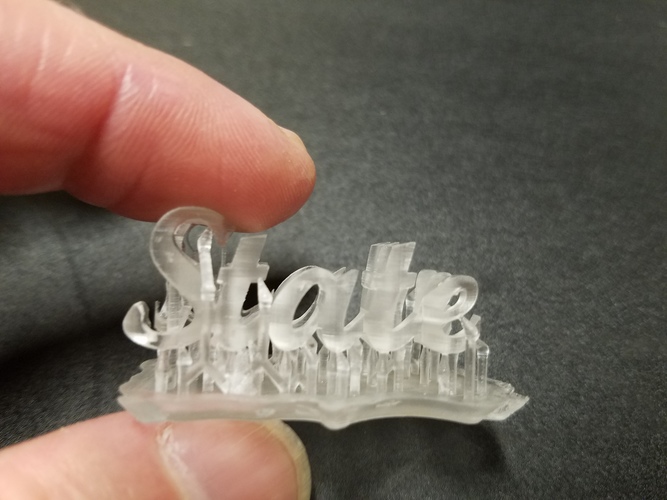
Start by creating an extruded silhouette in one view, like creating solid text in the top view that reads "Ball" using a font thick enough to work. Then create other extruded shapes in a different view, like creating solid text in the front that reads "State." The depth of extrusion should exceed the height of the characters. Back in the top view, if necessary, align the letters to a common baseline, then move them a bit closer together so they overlap enough to give the model sufficient strength before performing a Boolean union. Do the same in the front view. Next move the objects so they align on the left. Use a scale (1D or 2D) to stretch or shrink an object so they align on both the left and the right. Move the objects so they appear to intersect in all three views, cross your fingers, and perform a Boolean intersection. Then click on the result and move it to see if there are any non-contiguous pieces that should be deleted prior to saving as an stl for 3d printing (with supports). Be sure to inspect the virtual model to see if it will likely have sufficient structural integrity.
I've described this more fully in
Flowers, J. (2016). Intersecting silhouettes. Technology & Engineering Teacher, Electronic Supplement, 75(8), 1-8.
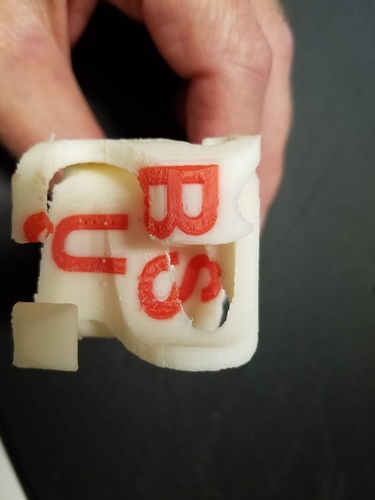
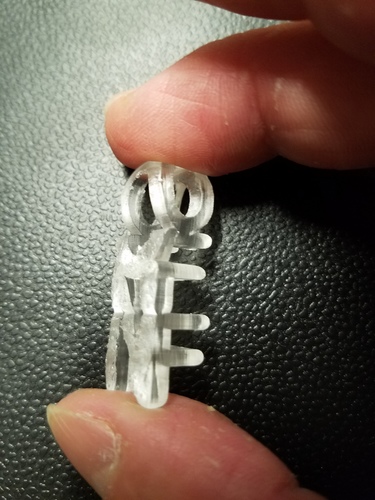
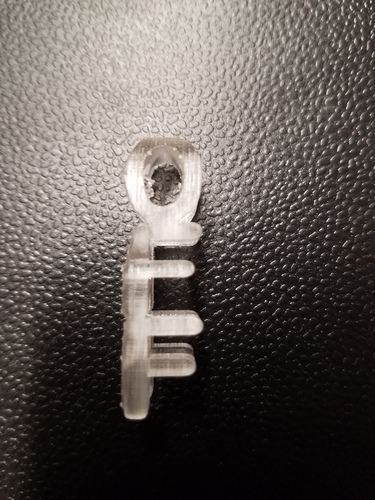
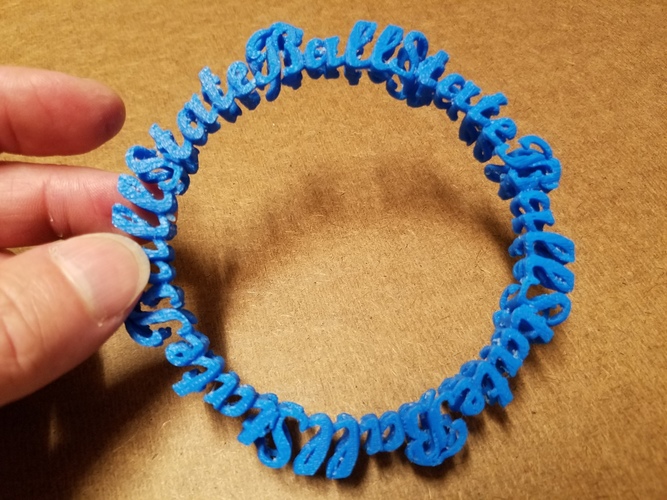
Beyond the basic top/front intersection, I've tried left/right, changing the angle to something other than 90 degrees, vertical text, diagonal text, text wrapped to a circle, stencil text subtracted from extruded text in a different orientation, perspective foreshortening of the object, stacked lines of text, non-text images, surface mapping and color solid object printing of these objects, 3-way intersections of single letters (i.e., a shadow block) or of names, and lots more.
I use this in one of the rapid prototyping courses I teach at Ball State University in Muncie, IN. We build objects like these, and more, on our uPrints, uPrint SE Plus, Formlabs Form2, RoVa3D, Creator Pro, Replicator 2 and 2X, ZCorp Spectrum Z510, and Stratasys 1650. I also teach Green Prototyping and Upcycling where students, among other things, extrude their own 3D printer filament from post-consumer plastic, and then 3D print with it (Grad and Undergrad.)
Comments