Prints (0)
-
No Prints Yet
Be the first to upload a Print for this Design!
Description
Summary
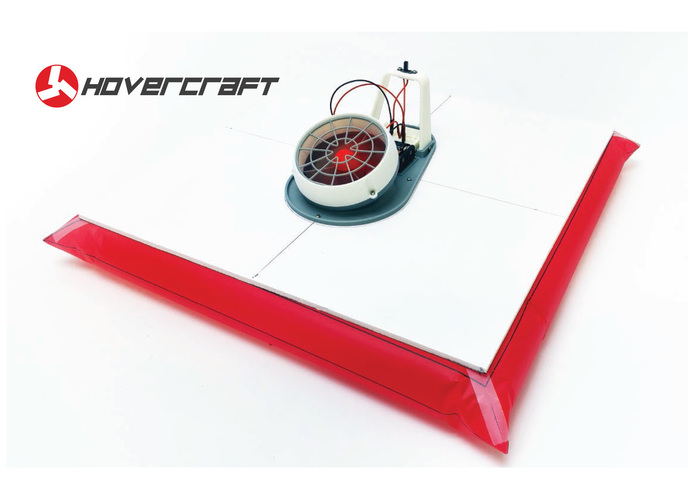
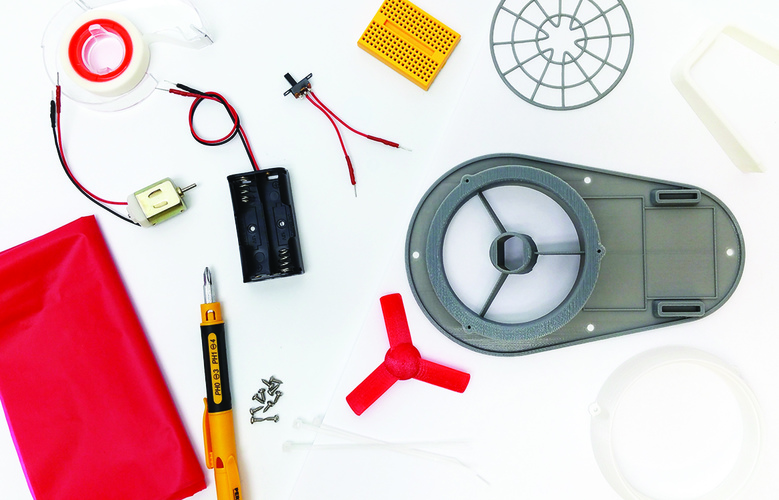
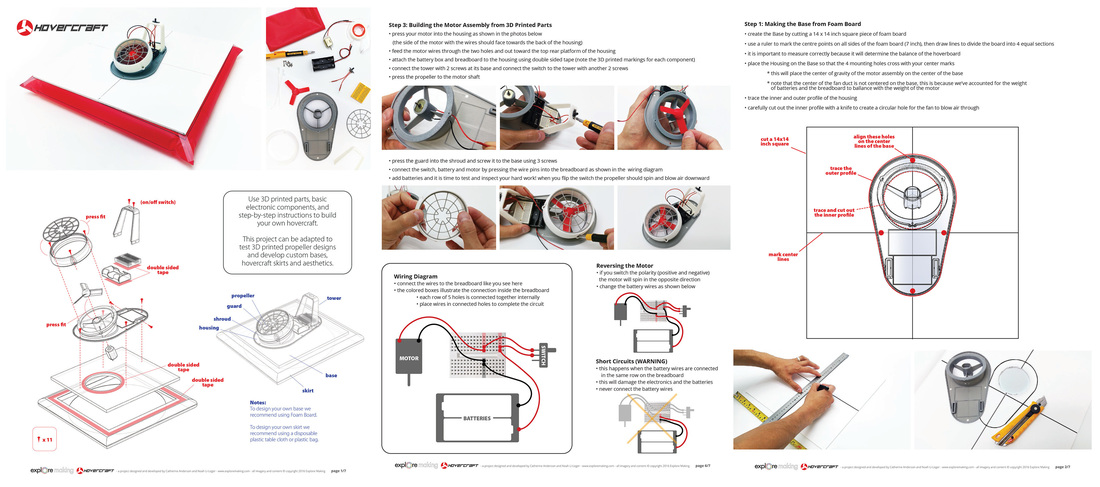
Use 3D printed parts, basic electronic components, and step-by-step instructions to build your own hovercraft. This project can be adapted to test 3D printed propeller designs and develop custom bases, hovercraft skirts and aesthetics.
***see Hovercraft_Assembly_Instructions-Explore_Making.pdf in Files
How I Designed This
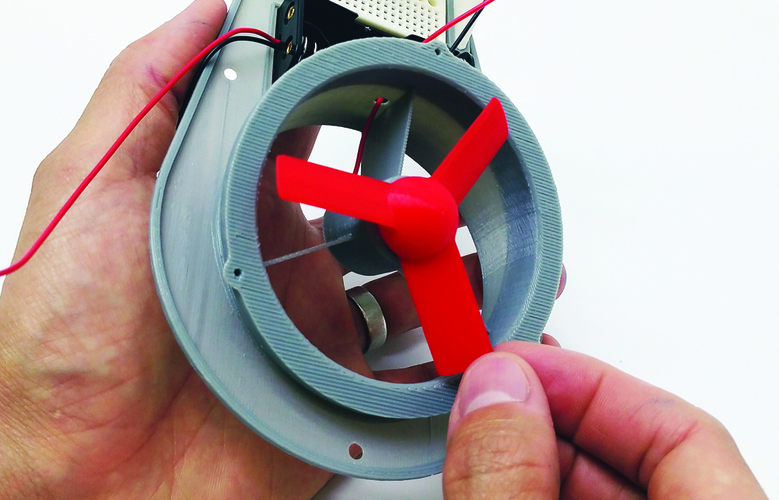
The Hovercraft is designed using SolidWorks. Many advanced design techniques were used to design the part, but one key technique that is important for the designs functionality is press-fit parts (guard that must press into the intake). To design these parts we left a 0.3mm gap between the guard and the opening in the intake. The guard is 49.7mm in diameter and the axel intake opening is 50mm in diameter.the axel shafts are 8mm in diameter.
Overview & Background
We created an affordable hovercraft with broad appeal. It requires students to be precise but also allows creativity in the personalization of the board.
Objectives
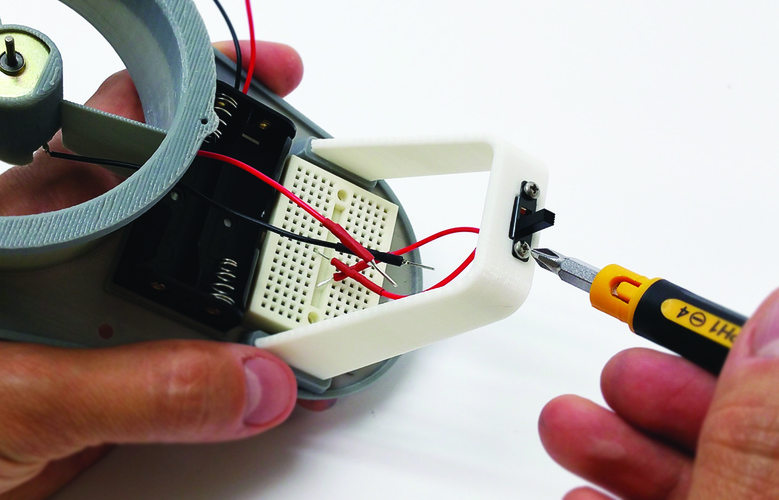
- Follow instructions to create a functional HoverCraft (***see Hovercraft_Assembly_Instructions-Explore_Making.pdf in Thing Files)
- Demonstrate understanding of an electrical circuit to power the craft
- Understand weight balance and any possible adaptations required for function
- Use creative design to personalize each craft
Audiences
grade 7 to adult
Subjects
Electronics, Physics, Math, Design, Art
Skills Learned (Standards)
- Understand the wiring requirements and completion of circuit
- Document the process of creating a HoverCraft and any alterations done
- Change weight balances to affect function
Lesson/Activity
Students can work in groups of 2 or 3, promoting teamwork and reducing material costs. If teams used, we recommend having the students switch roles every 5 to 10 minutes so all students assemble, read, and document. One suggestion for homework is the documentation of their process.
We've worked hard to create a step by step assembly guide. Please also see the document in files.
You can extend the lessons by including challenges for the HoverCraft (races or stability). For art classes, students can decorate the foam core base or add 3D printed pieces to give each HoverCraft different properties.
Duration
One hour is sufficient for basic activity. The extensions can take 30 minutes to several hours depending on the depth and number of extensions added.
Materials:
Rubric/Assessment
Students could be assessed on the following:
- Documentation of the process
- Completed Hovercraft that can race others
- Understanding of the relationship between balance and motion
Handouts and Assets
Comments