

Prints (0)
-
No Prints Yet
Be the first to upload a Print for this Design!
Description
Summary
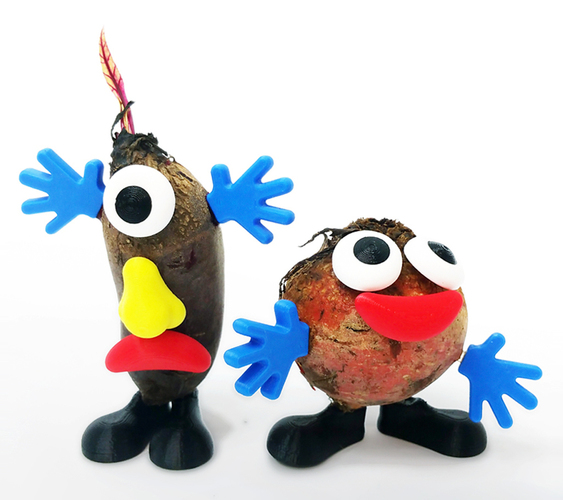
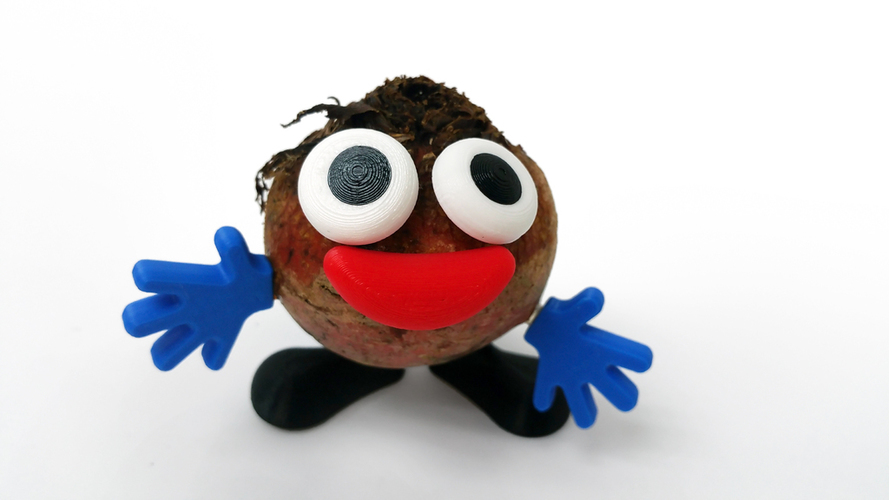
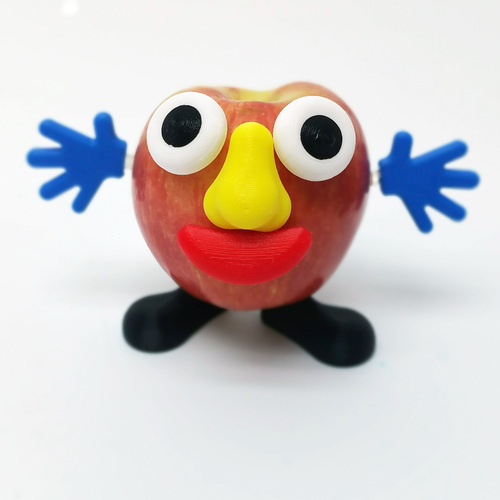
Students are given a VeggieMake (a toy that turns produce into a cute character) – but the pieces don’t attach to the produce. Therefore, students will have to design pins. This works well because it is an easy project with minimal emotional investment plus the small pins are fast to print and students can make changes quickly. It reinforces the idea that 3D printing is useful for quick prototyping and creative iterations. The VeggieMake also encourages students to use ugly fruits and vegetables.
Objectives
- Learn basic principles of 3D printing and design
- Apply design skills to create VeggieMake pins
- Understand the principles of iterative design and use prototyping for improvements
- Precisely measure (optional – if incorporate digital calipers)
- Integrate creative though with design skills to create a new VeggieMake piece
Audiences
Grade 5 to adult
Subjects
Math, Design, Art
Skills Learned (Standards)
- Introduction to 3D design with Tinkercad and pen and paper.
- Introduction to 3D printing layering technology by seeing own designs printed
- Reasoning and deduction by changing their design after seeing different iterations
Lesson/Activity
Note: we have provided an educational resource in the resource section.
Activity Introduction Introduce the idea of iterative design and prototyping. Although it is tempting to ‘just do it once’, it is difficult to accomplish your best work on the first try. Design, like learning, requires use to re-work our ideas. It is important for teachers to provide feedback to students throughout the process. The VeggieMake encourages students to use ugly fruit and vegetables.
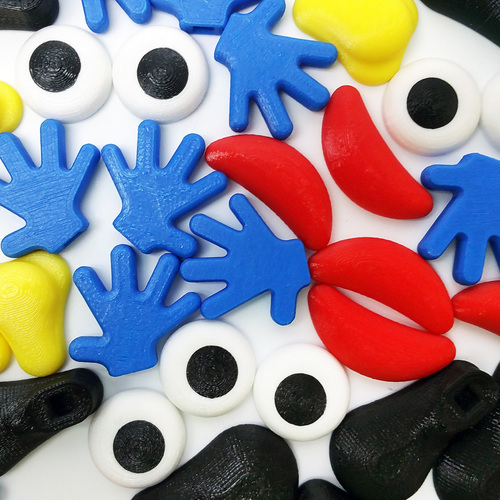
What To Do Have one person from each pair (or group of 3) choose an ugly fruit for their creation Hand out one set of VeggieMake parts to each pair (or group of 3) and ask them to start making creatures. They will quickly determine that they can’t attach the pieces. Explain that each group will need to design a pin that will attach the pieces to the produce. (If don’t do the measure extension) Explain that the holes are designed to be 4 mm x 4 mm but due to imperfections with 3D printing , there will be variation in the hole size. Have the students draw ideas for a pin. Encourage them to do more than one type. Depending on the age group, insist that the pen and paper design include measurements. Introduce TinkerCad: Can have students work through the tutorials available Shortcut: 1. show the students how to drag and drop a square and then change dimensions. 2. Add a triangle and group it with the square to make a ‘house’. 3. Can add a hole to create a door in your house. Students start creating! As students finish their designs, they download them as STL files. Explain how to slice the designs so they are ready for 3D printing. This is a good time to discuss how 3D printing is a layering technology. (If you need to save time, you can do the introduction of 3D printing before Tinkercad and have all the slicing done by teacher.) The first designs should be sliced at 300 nm (coarse) to make printing faster. Print first version of student designs. Only do one pin until the students have shown that their design works in more than one VeggieMake piece. These prints should be fast (less than 4 min) but it is a good time to break if needed. Students try out their design and make changes if needed. Encourage them to keep optimizing their design. Once students know their pins will work in more than one VeggieMake piece (to account for 3D printing variability of holes), they can print 8 copies at a finer slicing (200 mm works well). This is also a good place to break and provide the set of pins to students at a later time. Note: give students a chance to watch the 3D printing of their work.
Key Questions How does 3D printing work? Why didn’t my design work on the first try?
Materials:
Handouts and Assets
Handout to create VeggieMake workshop (also see VeggieMake for Education - Explore Making.pdf in Thing Files) 3D Printed Parts Kits can be ordered from ExploreMaking (email for details)
Comments