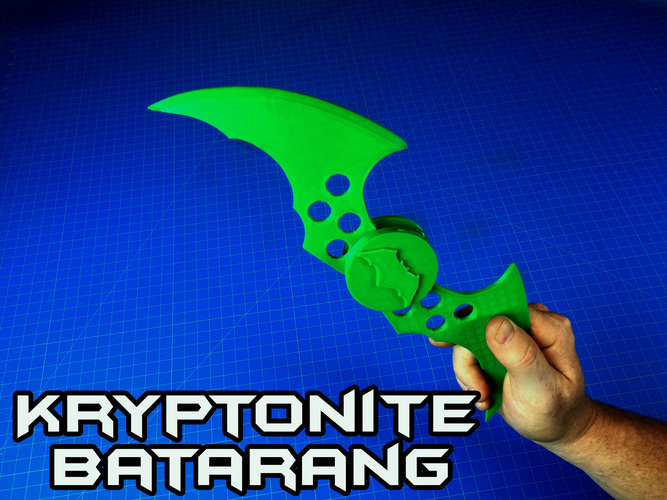
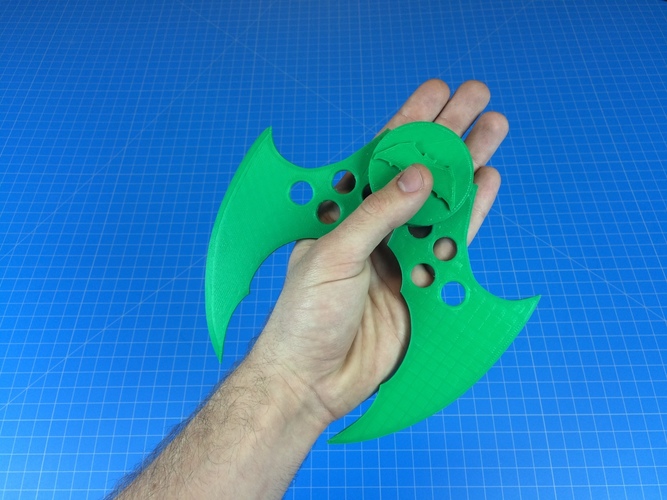
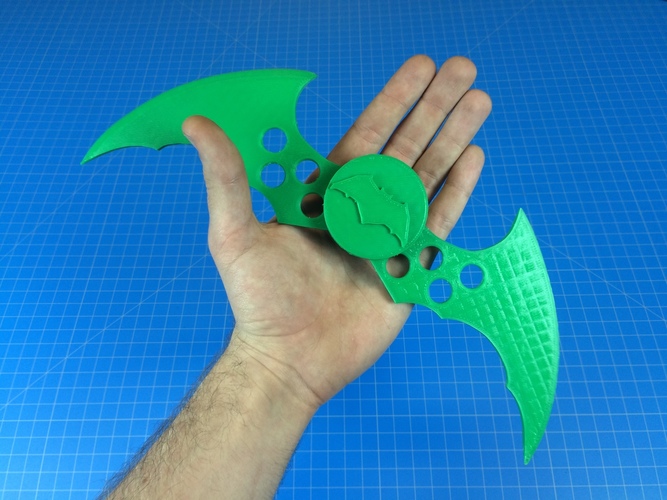
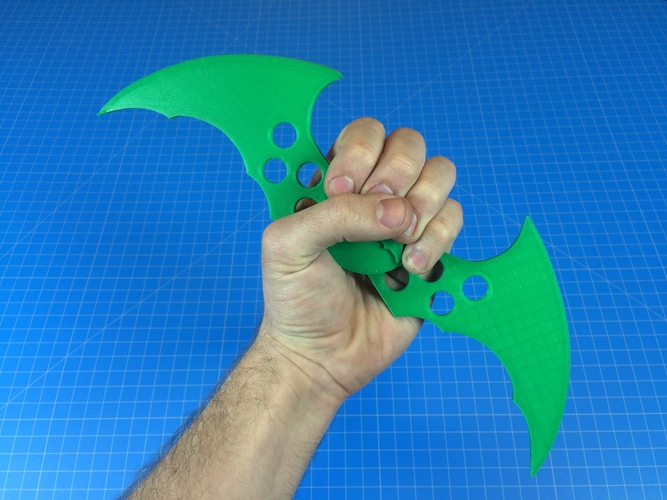
Prints (0)
-
No Prints Yet
Be the first to upload a Print for this Design!
Description
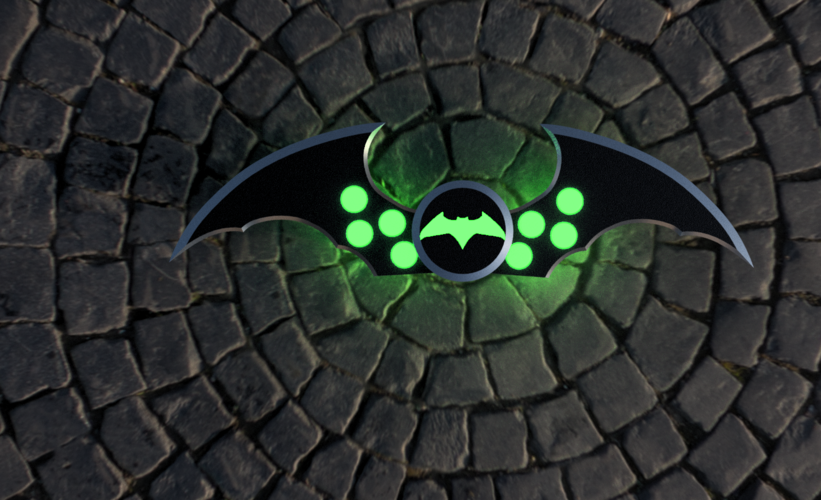
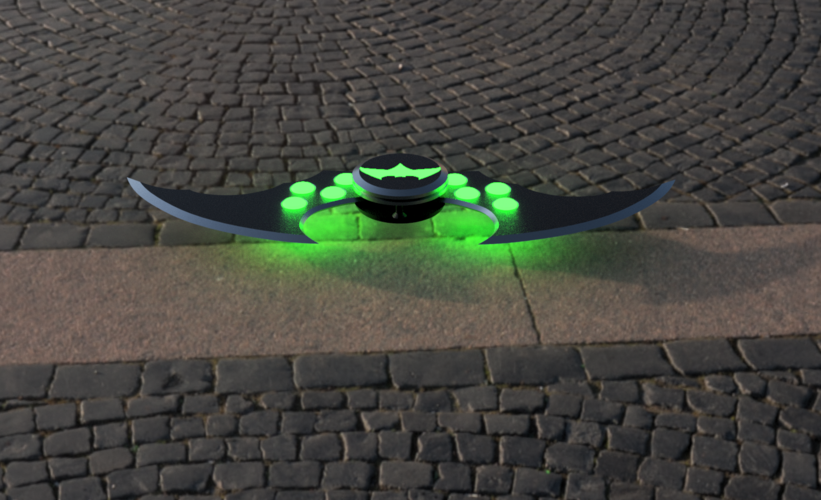
Batman, a perfect combination of inspiration vigilante badass and lunatic. Stepping toe to toe with Superman!? He has some massive kahunas... and the funds of a multi-billion dollar corporation (thanks daddy), a super suit with expert fighting skills, plus some insanely advanced gadgets / tech. The list goes on. The point is with ZERO super natural powers he still finds a way to kick evils butt. Although, in this match up I would say he's a bit of an underdog. To give him the upper hand I've created a weapon made with Kryptonite, Superman's greatest weakness. How you like them apples?....green granny-smith ofcoarse ;)
This design is inspired by the movie Batman vs Superman
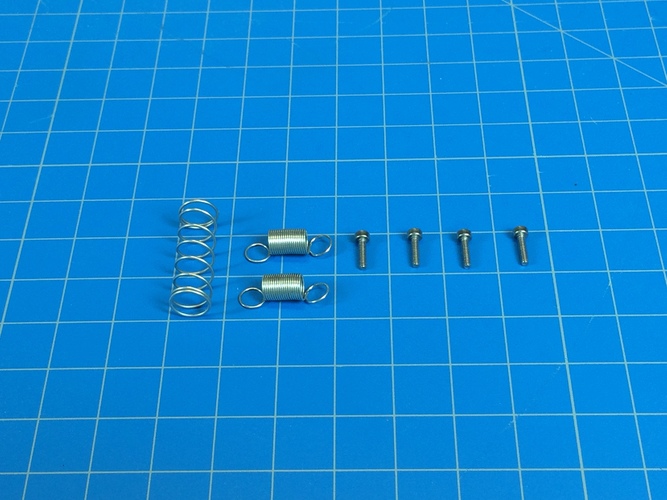
Parts: ( Seen in picture #6)
7 - 2M Screws
2 - 13/64 x 13/16 Extension Springs
1 - L 26.30mm ID 8mm OD 9.5Omm
Assembly: (Seen in picture #9)
Step 1: Wing Preparation - Creating the Pivot Point
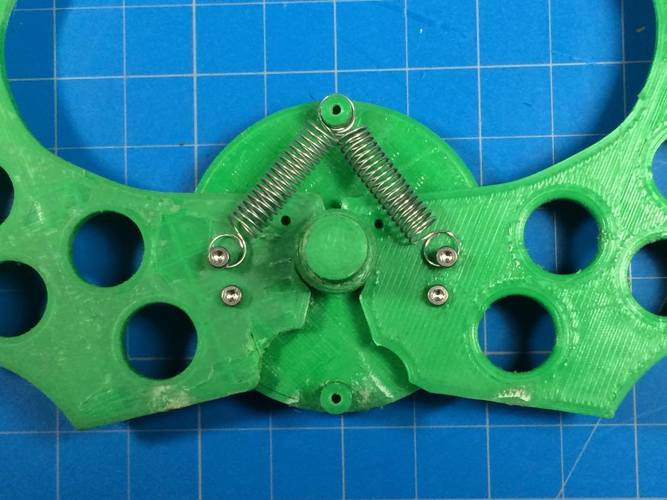
You will be using the second hole for the pivot point. You can see in the picture that it is the screw hole that does not have the spring attached to it, and is closest to the outside of the "BottomPlate.stl" medallion with the cylinders sticking out of it. Using the 2M screws and a 2M Allen wrench tighten down the screw. Don't be afraid to over do it, actually this is what you need to do in order to have the wing swing freely. The screw will bore out the screw hole after some work.
***The "BottomPlate.stl" is actually the top plate when it is fully assembled, but for instructional purposes I kept it this way.
Step 2: Wing Screw Attachment Point.
Use the 2M screw again, this time on the hole above and toward the center button. This serves as the anchor point for our tension spring. You may need to cut your screw to size in order to prevent it from over extending through the wing and scratching the top surface of the "BottomPlate.stl" ( The plate with the cylinders sticking up on the top and bottom.
Step 3: Wing Attachment
Be sure to have a 2M allen wrench for properly securing the wings to the base. BE CAREFUL not to strip the plastic by screwing the 2M screws in too far, nothing a dab of superglue can't fix. The holes are sized to self tap and bite into the inner diameter of the holes.
Step 4: Attach 2nd Wing
Follow steps 1-3
Step 5/6: Attach Tension Springs
Using a pair of needle nose pliers, attach your springs to both the top anchor post and the 2M screw on your wing.
Step 7: Setting up the Spring Lock Mechanism
Install "Pin_SpringLock.stl" in the center of your Batarang and add your compression spring last.
Step 8: Adding the Top Layer Medallion (BottomPlate.stl)
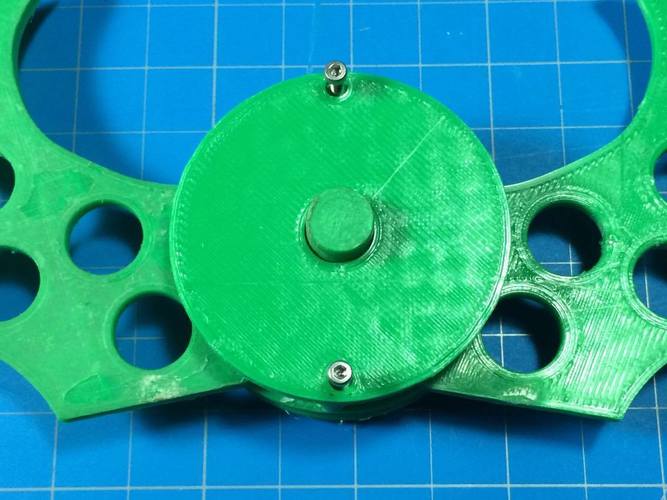
Line up the "BottomPlate.stl" with the "Post_LockPin.stl" and make sure that they move freely. This needs to be fairly frictionless in order for the locking mechanism to work properly. Line up the holes with the posts of part "BottomPlate.stl" and carefully screw both of your 2M screws using an Allen wrench.
Not pictured: I made some adjustments to the design to avoid having to glue the medallion to the "Pin_SpringLock.stl"
* Step 9: Attaching the Batman Logo
The part "Pin_SpringLock.stl" will fit into the small cut cylinder on part "KryptoniteDiscInlay.stl" Further secure it in place with a 2M screw until the bottom of the screw meets the bottom of the disc inlay. Line up this screw with the hole in "Pin_SpringLock.stl" and screw it in until tight.
Comments