Prints (0)
-
No Prints Yet
Be the first to upload a Print for this Design!
Description
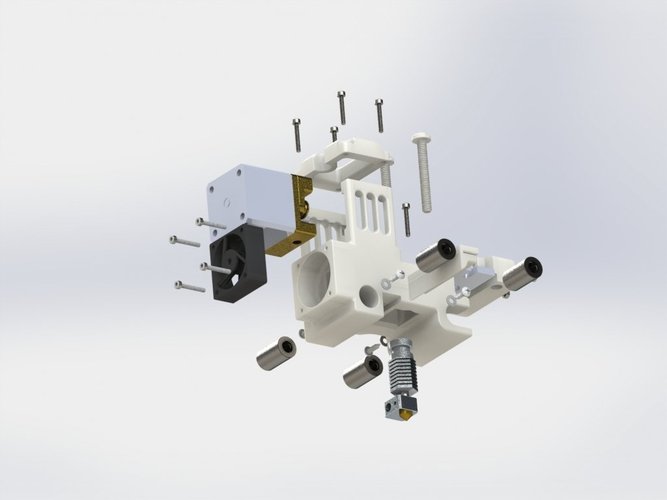
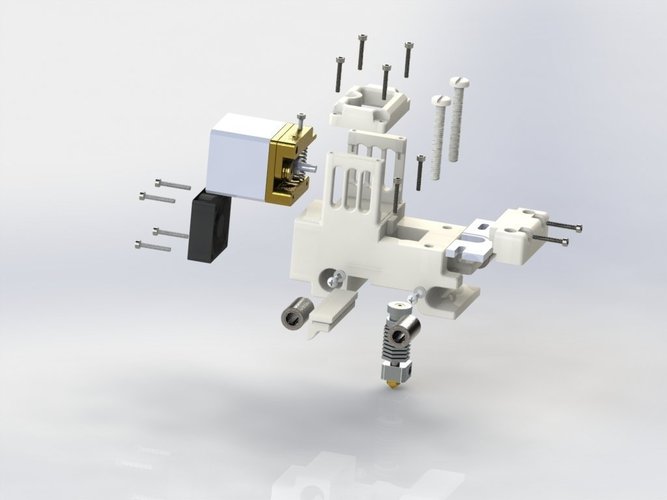
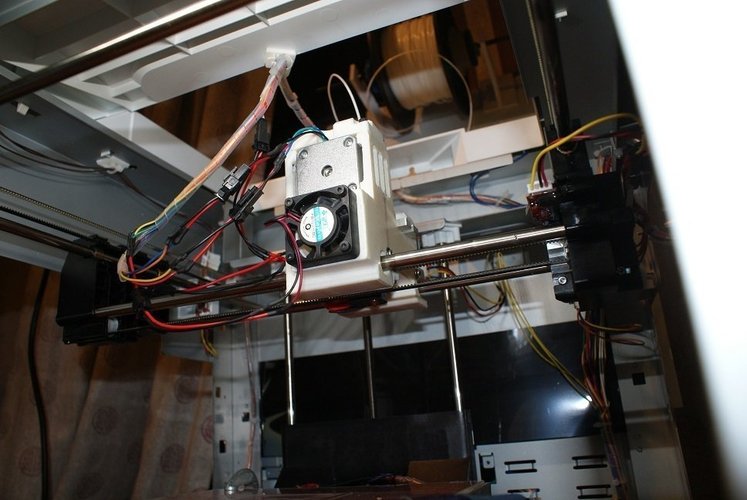
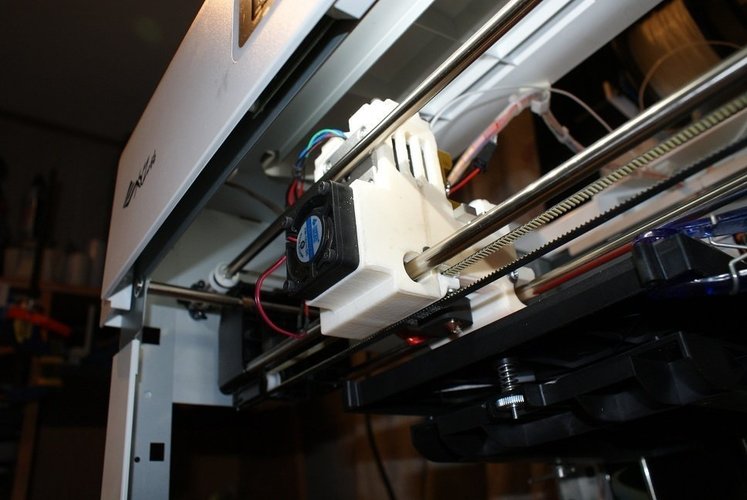
Summary Please feel free to donate through Paypal to [email protected] and I will keep the designs coming. This allows you to replace the Da Vinci 1 hot end and extruder with a "Hexagon" hot end and "MK8" extruder. I have fully machined hardened X-axis shafts available on ebay here,
UPDATE: 4/25/15 Added a carriage stl that has through holes for bushings longer than the factory bushings. "Davinci_w_bush_thru.stl" Update: 3/10/15 Added a 15mm "Bearing Spacer"
Update: 2/13/15 I added 3 new files, 15mmx.stl, 16mmx.stl, ext cap with conn.stl. The first two are of the carriage with 2mm shaved off the bottom for better clearance of the bed screws. The third file is of the stepper cap with a new area cut out for a stepper with a pin connector.
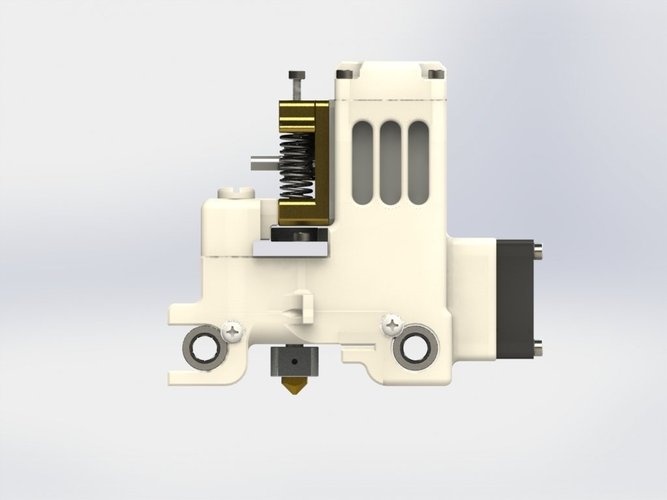
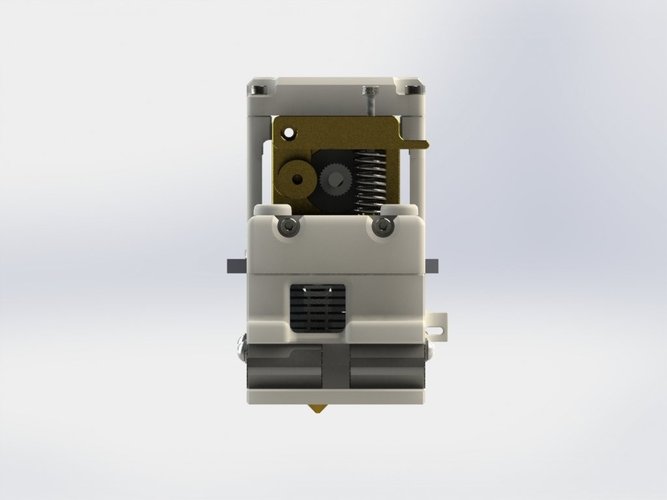
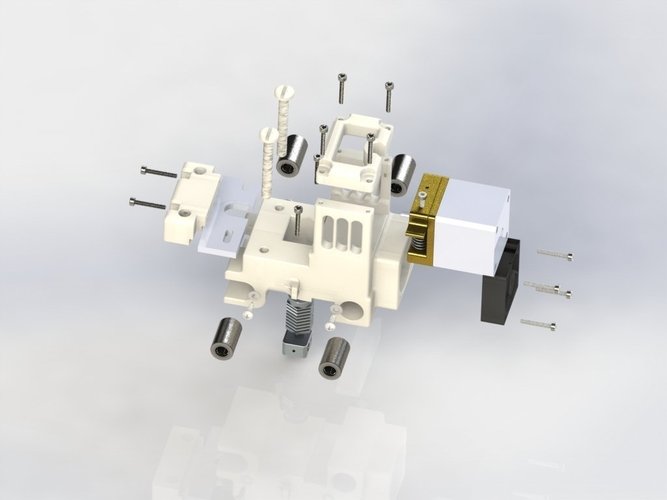
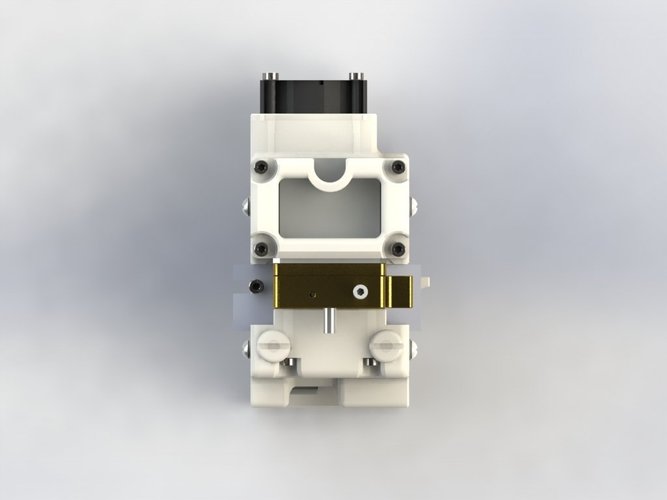
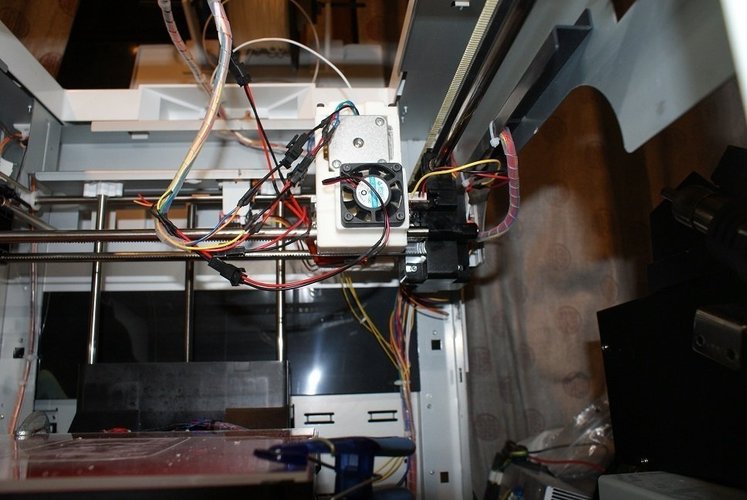
Update: 2/18/15 Added a carriage that uses the Da Vinci bushings instead of the linear bearings. Instructions The new carriage design does not have a flag for the X axis end stop since my Da Vinci has mechanical end stops that stick out farther than the optical stop originally did. If you need the X end stop "flag" or "boss" on the extruder you can print one and secure it to the new carriage with acetone or whatever works for you. The Hexagon hot end utilizes a slotted aluminum plate to secure the hot end. The Hexagon hot end kit comes with, hot end, slotted mount plate, thermistor, connectors, 40mm fan, tools, setscrews, cover for the heater. The belt gripper is printed separately to get the best results. I glued it into place with acetone and installed three screws to squeeze the belt. it is very secure Parts hardware list: 10ea 3mmx16mm socket head cap screws 2ea 3mmx20mm Phillips head machine screws (from the MK8 extruder) 4ea 15mmx8mm linear bearings 7ea 3.5mmx 7mm sheet metal screws 4ea 3.5mm flat washers 1ea Hexagon hot end kit 1ea MK8 Chinese extruder 2ea 1/4"x1.25" nylon machine screws Screw holes have to be tapped to 3mm and 1/4" I used bottom taps Various clean up has to be done on the right angles, holes etc. The carriage is designed to be printed on the right side when looking at the fan. It is completely flat on this side and makes for a better print. It places the bearing holes up for better print results. I printed at .25mm layer height and slow speed There are two different carriage bearing diameters 16mm and 15mm
Comments