Designed by
Marek Fučila


Prints (0)
-
No Prints Yet
Be the first to upload a Print for this Design!
Description
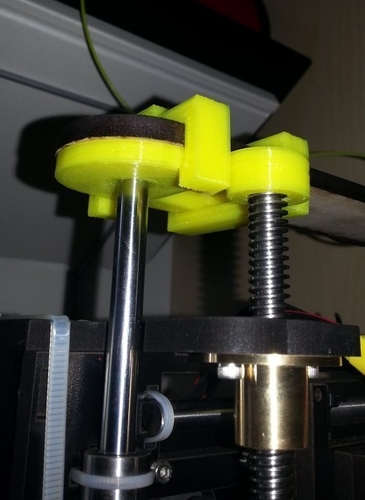
Summary screwless fixing of z axis. reduce z wooble.
Instructions installation instruction: remove screw on top left of your oneup. install part-three first then part-one, then reattach the removed screw again and as last one part-two. see animated gif ;-) after printing the parts i had to clean the edges with a knife and used a drilling machine with 8mm an 10mm for enlarging the holes. --> needs a further optimizing of the 3d model.
Design Files
File Size
qu-bd-oneup-zaxis-fixing_PARTONE_fixed.stl
25.2 KB
qu-bd-oneup-zaxis-fixing-PARTTHREE_fixed.stl
8.48 KB
qu-bd-oneup-zaxis-fixing_PARTTWO_fixed.stl
5.16 KB
Comments