


Don't download this unless you already have the Connector Plate and the Mount Hook from the original post with 2 paddles. If you are looking to download all four controller paddles, they are on a different post called Xbox One Controller Paddles All 4 Paddles.
. If you downloaded the original two paddles on their own, here are the other two paddles.
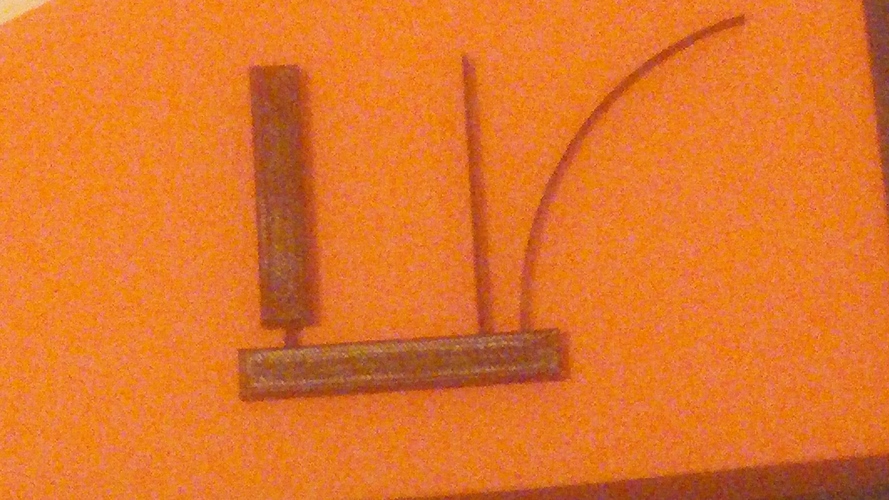
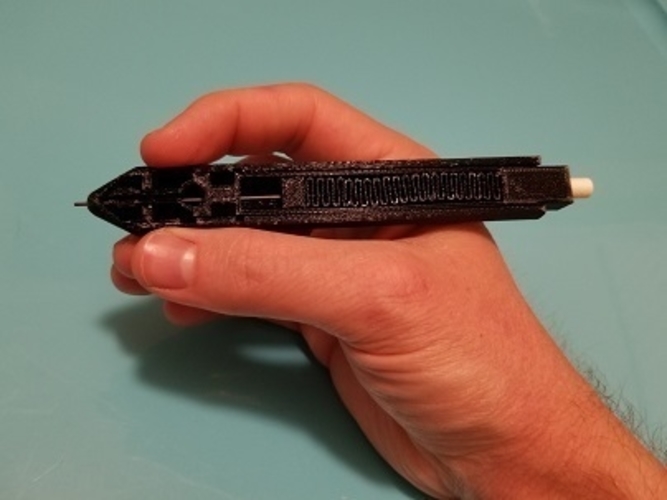
I printed this without supports, 2 shells, 10 % infill. Changing the material, shells or infill will change how stiff (springy) the mechanism is. I have only designed and tried the mechanism with these print settings, and for an xbox one controller.
A button - Top right Paddle, B button -Bottom Right paddle, X button - Top left paddle, Y button - Bottom left paddle
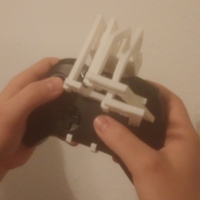
I recommend that you first print each paddle with its corresponding presser (x paddle and x presser together), and snap them together ( make sure the presser is hanging out to the right of the paddle with the square holed part of the paddle pointed towards you and the paddles facing away from you) before you move on to the next paddle. Check the gif on my Google Plus Collection https://plus.google.com/u/0/co... if you want to see how you push the snap fit joint fits into the hole. You may have to pinch the prongs together slightly to get them into the hole After you have printed all of the paddles print the Connector joint plate (print it so that the side with two slots is face down) and two of the mount hooks. You will then slide the controller hooks pegs into the two slots on the back (the side with only two slots) so that rounded end of the peg is going into the narrower part of the slot; this is also shown in the Google Plus Collection. If you printed the connector plates with rafts you may need a hammer to slide hooks all the way in, as the rafts may make it harder to slide the pegs in. Slide the controller paddles into their respective slots indicated by the picture with arrows in the slides above. If you can’t enlarge the thumbnails of the pictures, try the Microsoft Edge web browser. For some reason the pictures don’t enlarge in some browsers.With the narrow ends of the slots facing away from you, slide the Y paddle into the middle left slot, B in the middle right slot, X in the outer left slot and A in the outer right slot (it's easier if start in the middle) That's it.
Loading prints...
Xbox One Controller Paddles
Creative Commons Attribution
You can distribute, remix, adapt, and build upon the material in any medium or format, as long as attribution is given to the creator.
 Licensed under CC BY


Loading comments...