Prints (0)
-
No Prints Yet
Be the first to upload a Print for this Design!
Description
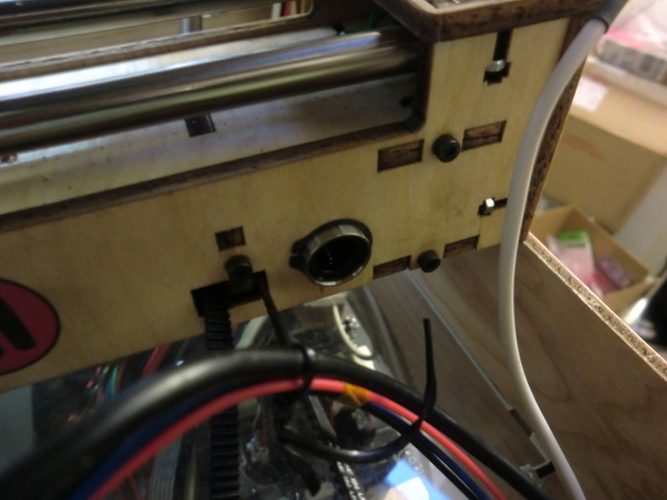
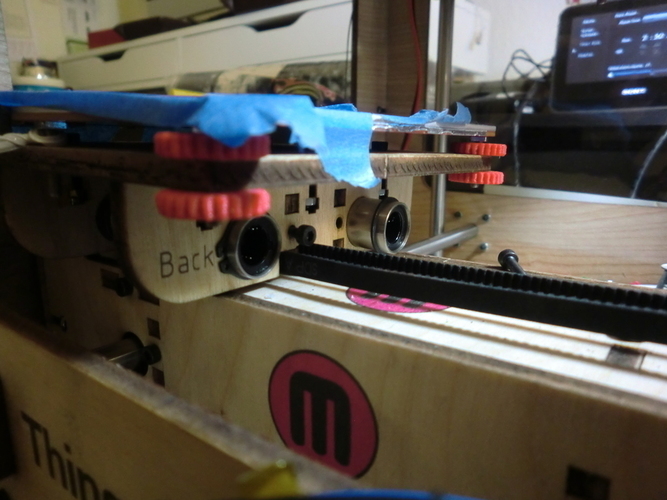
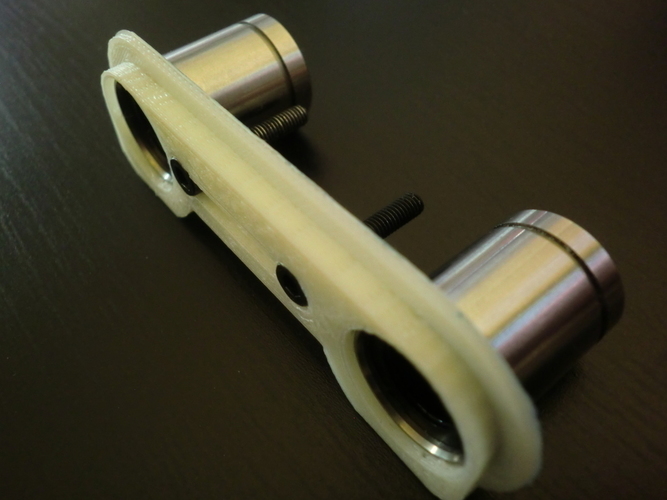
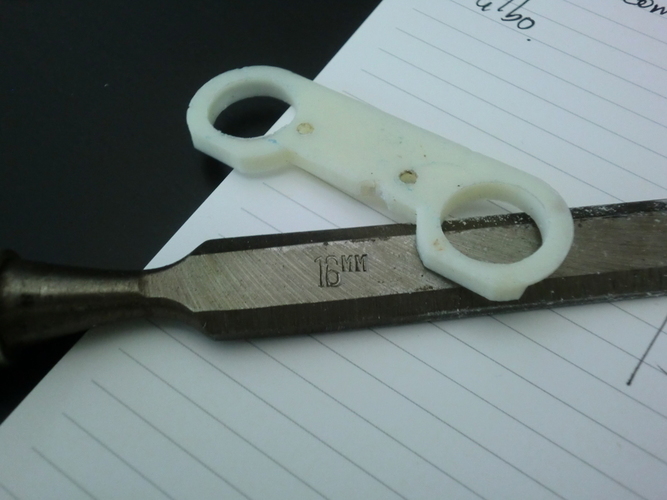
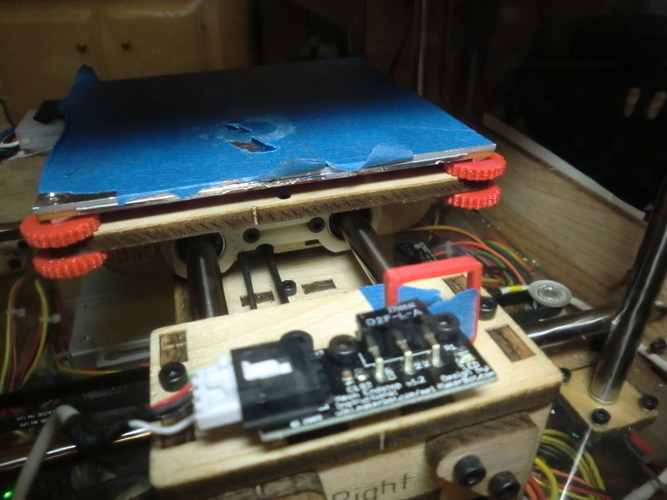
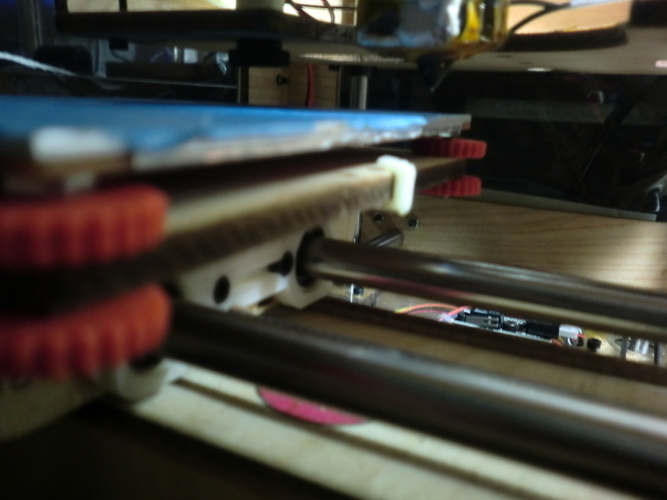
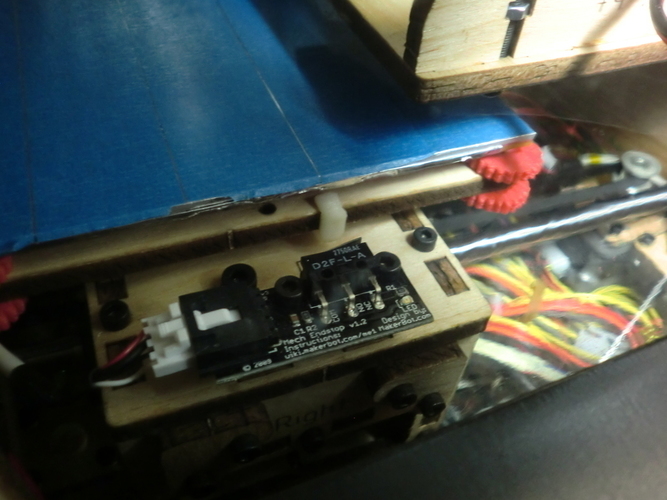
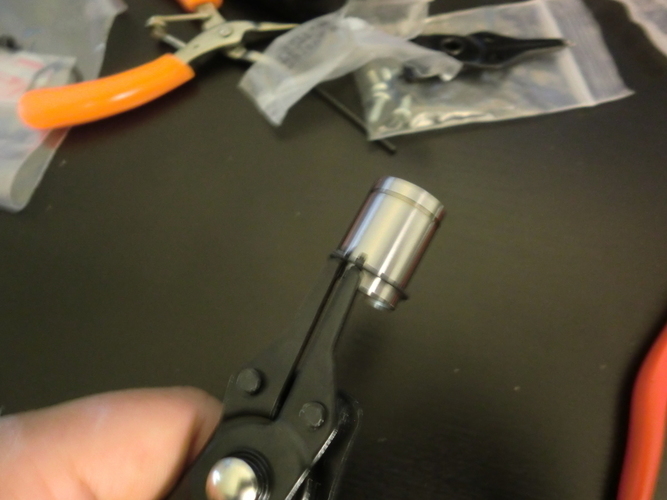
SummaryUse linear bearings with your original wood ToM X Carraige! This plate will hold SW6 / LMB6UU linear bearings to your existing plywood X-carriage by clamping down on the snap-rings that holds the bearings. You can even install it without removing the X carriage from the belt... I regularly print at 120mm/sec now!InstructionsPrint the retaining plate. Use "Scale -1" in RepG to generate the plate for the other side, and print that as well. Clean up if needed. Drill/sand/ream the holes so that the protruding ends of the bearings float freely in the hole. Attach snap ring around your bearing, and test fit against the retaining plates. You may need to slightly enlarge the holes in the plywood in order to slide the bearings in. Take your time and do it slowly. I managed to just wiggle my bearings into place, but you might want to lightly file/sand the wood a little bit. If you don't enlarge the hole, there's a chance you'll crack the plywood, at least a little. Mount the plates over the bearings and snap ring, and hold that down with a M3 x 20mm screws. (There were sufficient extras in my ToM build kit.) The idea is to use the plates to hold the bearings perpendicular to the X carriage ribs by sandwiching the snap ring between the rib and this plate. As it currently stands, you will lose some X travel distance; and you will have to put a small shim to hit the X limit switch. Print the little x limit shim clip and attach it to your X-stage so that it will hit the limit switch. (See picture.) I now run 120 mm/sec feed, and 200 mm/sec moves when running the Jetty acceleration firmware.
Comments