Prints (0)
-
No Prints Yet
Be the first to upload a Print for this Design!
Description
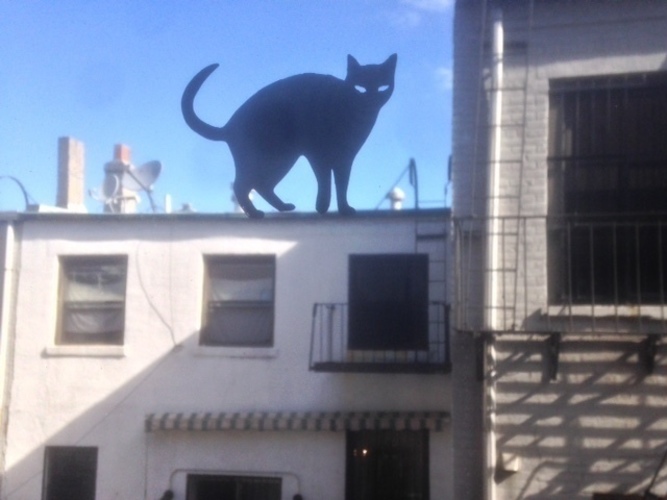
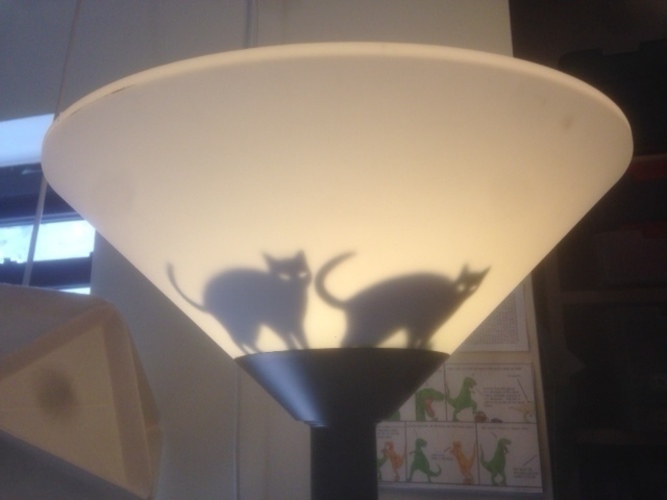
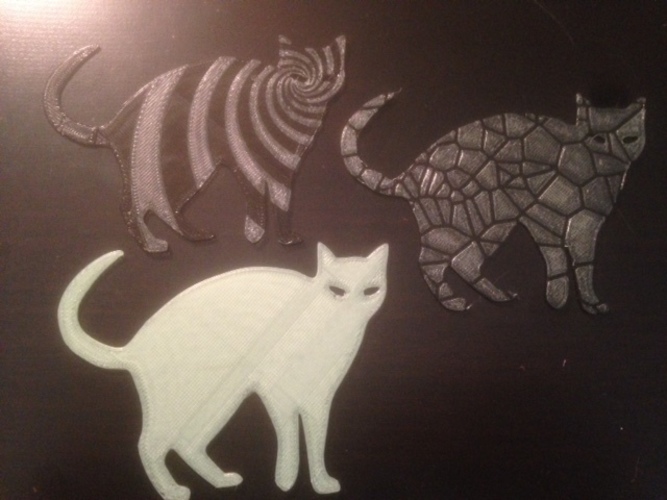
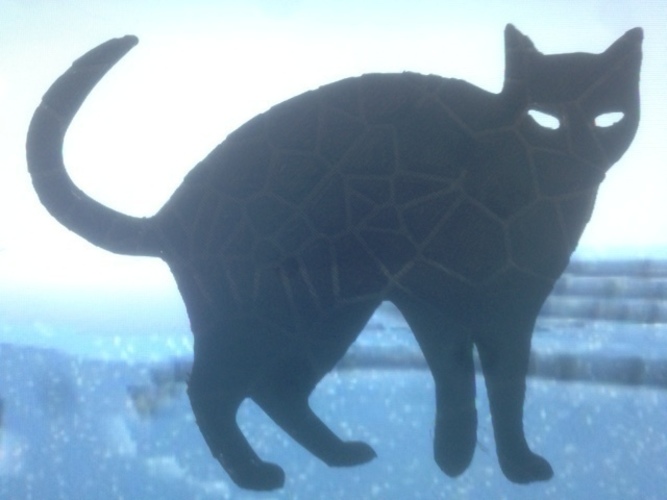
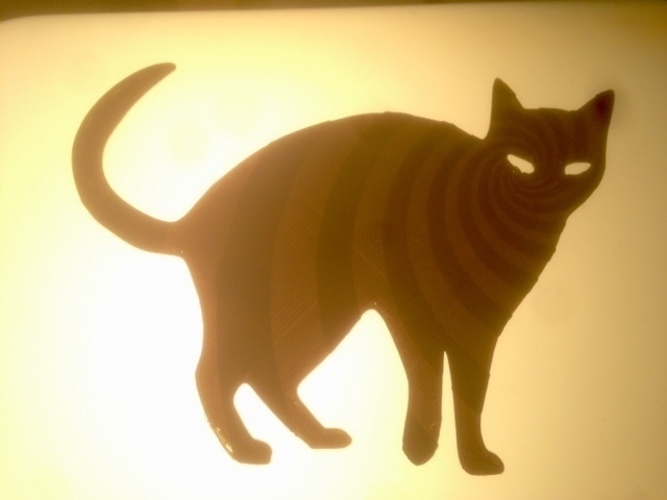
Halloween is getting closer, but black cats are lucky any time of year! Stick them on your windows, tuck them inside lamps, or hide them around the house. Choose from solid, Voronoi, and spiral designs. Let light shine through the patterned designs, or use glow-in-the-dark filament to add some spooky bling.
These cats are fast and fun to print, but the main point of this Thing is to provide a tutorial that illustrates how quickly and easily you can turn an image from the web into a cool 3D-printable shape. Read on to find out how!Print SettingsRafts: NoSupports: NoResolution: .3mmNotes: The cat models are 1mm thick, and the patterned ones have pattern starting at 0.5mm high. With .3mm settings, my Replicator translated this into 2 layers of base and 1 layer of pattern. If you're swapping filament to change color for the pattern then you'll have to be quick to pause the printer right after the second layer.How I Designed ThisOverview of the design processYou can create 3D-printable files for these cats or any other images in just a few minutes using Google Image Search, an online SVG file converter like Online-Convert.com, and Tinkercad.
I'll walk through everything step-by-step in great detail below, but don't let my verbosity scare you away. The process is simple and quick: Find an image, convert it to SVG format, upload the image to Tinkercad for scaling and decoration, and then download for 3D printing. It only took about 10 minutes to create the first cat design.Step 1: Find a good imageThe first step is to find the image that you would like to use in your design. You can draw, create, or photograph any image you like, but of course the easiest thing to do is to Google it. Go to Google Image Search and type what you are looking for into the search bar. I typed "black cat" and then clicked on the "Clipart" button at the top of the results. The very first image was perfect; thank you, clipartpanda.com! Clip art, line drawings, black-and-white or one-color images, and images with transparent backgrounds are often good candidates for turning into 3D models. You can use the "Search Tools" button in Google Image Search to restrict your search to different colors or types of images.
Here are some things to keep in mind when selecting an image:
If your image has disconnected pieces then it will 3D print with disconnected pieces, unless you give it some kind of backing or connectors after uploading the image to Tinkercad.
Multicolor images may not work the way you expect, since every color in the image will be interpreted as either "on" or "off" when you import the image into Tinkercad. For example, the cats with green eyes in the image search results above might end up looking like they have no eyes at all after importing to TInkercad.
Thin lines in your image will be thin lines in your 3D print, and this can cause problems if the details are too fine for your printer. For example, consider the curly-tailed cat at the end of the third row of search results in the image above. If the tail and whiskers are wide enough to print as a nice solid line of filament, then the design could turn out beautifully. Or not, if the lines are too thin. (Pro tip: If you have a 0.4mm nozzle on your 3D printer, and you probably do, then you should aim for line widths that are at least 0.4mm.)
Step 2: Convert the image to SVG formatIn order to import your image into Tinkercad, it must be in SVG format. There are software programs that will convert images to SVG (for example Inkscape or Illustrator), and also lots of online tools that will let you convert file formats for free. I chose to use Online-Convert.com. The upside to a free online converter like Online-Convert.com is that it is fast and free. The downside is that the site is full of large green arrow buttons that are not part of the download process, but rather are part of embedded advertisements on the site. Read carefully, upload your image file, and then find the small "Convert File" button to obtain your converted SVG file for download.
Step 3: Import the image into TinkercadUploading your SVG file to Tinkercad is easy. First, get a free account at www.tinkercad.com if you don't have one already; then open a new Design. In the right column menu, open the "Import" tab and then use "Choose File" to browse for the SVG file on your computer. Once you've located and selected the desired file, press the "Import" button. The upload process can take a minute or two if your design was particularly complicated.
After the upload process is complete you should see a 3D object with 10mm thickness, whose outline is determined by your image. At this point you'll know immediately if your image was a good choice; it will either look good or it won't. Mine looked pretty good but it was giant!To resize the design to something more reasonable, zoom out and grab the corner selection dot, then hold Shift while dragging the model to a smaller size. Note that this will also make the model thinner, so let's fix that in the next step...
Step 4: Scale and repair the extruded model in Tinkercad, then download.
=====
Twitter: twitter.com/mathgrrl
Hacktastic blog: www.mathgrrl.com/hacktastic
Shapeways geekhaus store: www.shapeways.com/shops/mathgr...
This design and all associated pictures and files are licensed under the Creative Commons Attribution Non-Commercial Share Alike license. If you want to use designs, images, or files outside of the terms of this license, please email [email protected].
Comments