Prints (0)
-
No Prints Yet
Be the first to upload a Print for this Design!
Description
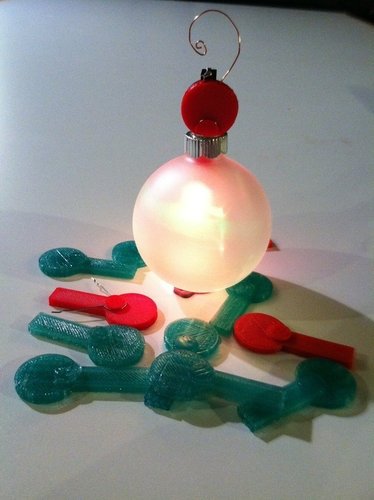
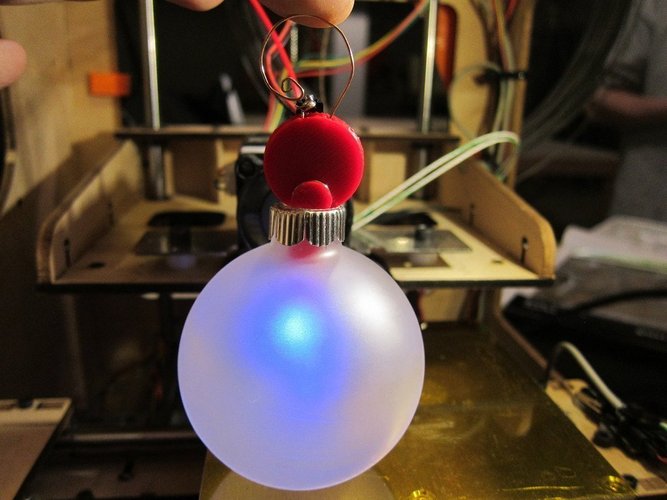
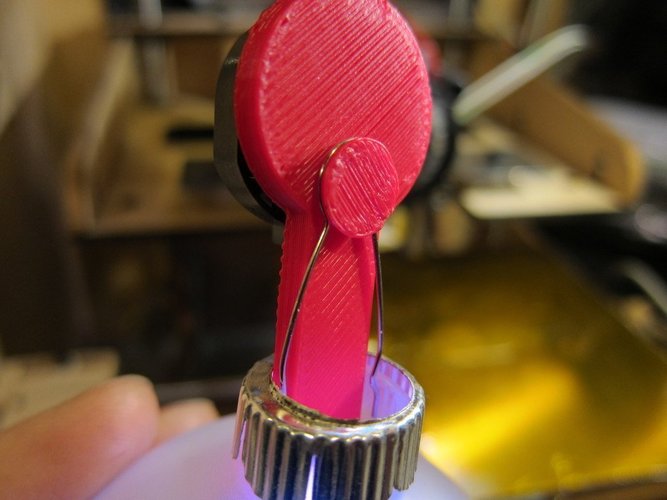
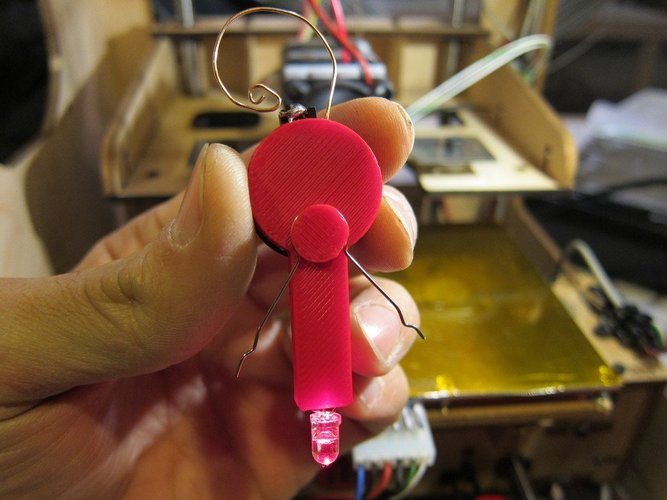
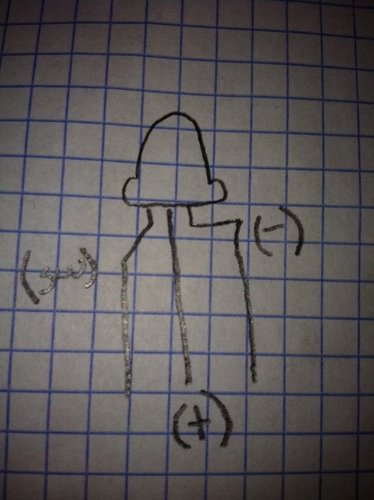
SummaryThis is the LED ornament topper that was a collaboration between CCCKC Hackerspace and Hammerspace Hobby & Community Toolshop (our new home) in Kansas City. It is a fun, quick 4 soldering point ornament insert. The LED cycles between several colors and modes with each on and off cycle. We decided to keep it awesome by printing the body and using only two components (LED and battery holder) and copper wire to extend the leads to create the ornament hanger and integrated switch! We created this holiday-themed project as a fun way to create a gift and learn to solder at the same time! We hope you enjoy it and please customize it! It is a blank canvas and ripe to become many different characters and uses. One thought is to NOT trim one of the copper leads and have two swirls at the top, tapping those together to become a switch. Slap some googly eyes and BAM, reindeer! And don't forget Hanukkah! Turn these upside down and make a Menorah with 9 prints. You get the idea. Let those derivatives fly and feel free to improve it! I used Autocad 123d - http://www.123dapp.com mainly to learn this program a little more, try it, you might like it! Cowtown Computer Congress of Kansas City - http://C3KC.org Hammerspace Hobby & Community Toolshop - http://www.hammerspacehobby.com NOTE: We specified two different LED's to choose from. Radioshack has an LED in store that works but we ordered ours from http://microelect.net/ over the phone. Yeah, over the phone!InstructionsA picture is worth a thousand words so check out this flickr set for several thousand. http://www.flickr.com/photos/luiserodriguez/sets/72157628366373613/with/6514354733/ *Print in ABS or PLA in color of your choice. *Attach battery holder so + tab points toward the ornament. Use hot glue or double stick tape. *Extend outer leads with stiff wire. Use too much and trim later. Use JUST enough solder or you won't be able to fish it through the body. *Insert LED with extended leads into holes in end. Slightly bend middle (+) lead to assist fishing it through the middle hole. *The right-angle lead (-) gets soldered to the battery clip tab. The middle (+) lead gets soldered to the (+). *The downward pointing 45 degree angel lead (switch) gets shorted to (-) to turn the LED on, off, then on again to start the next mode. It's up to your creativity on how to bend or extend the leads out of the top, have fun. *Use any glass ornament, frosted or clear. *Remove clip and attach to nub on insert. It should snap but don't worry if it doesn't. Squeezing it together holds it on the nub as you insert the entire completed insert into the ornament. *Remove decorative cap and used over-sized tool to cut a whole for the insert, leaving a small lip to reuse as a decorative element. *Replace decorative cap. Insert completed ornament topper. *Rejoice in your awesomeness OR Give the print and the components as a gift and give the world another Maker! I'm sure we've missed something but have it and ask any questions you may have. HAPPY HOLIDAYS!
Comments