Prints (0)
-
No Prints Yet
Be the first to upload a Print for this Design!
Description
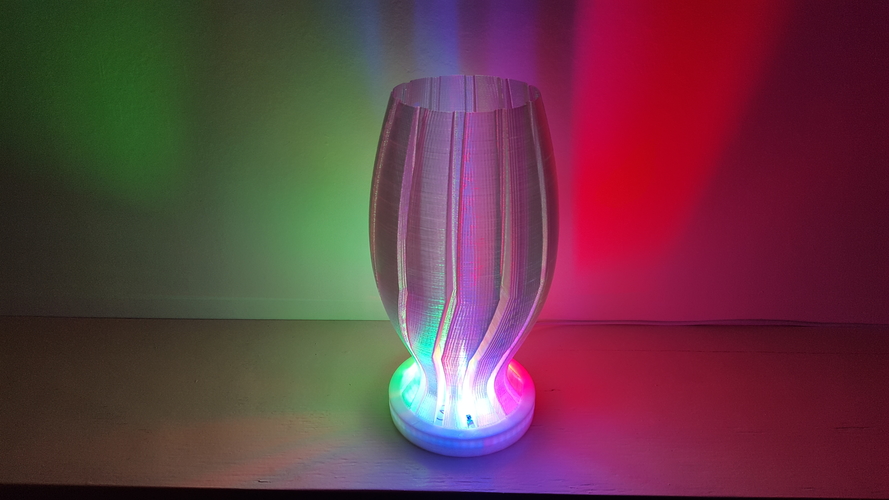
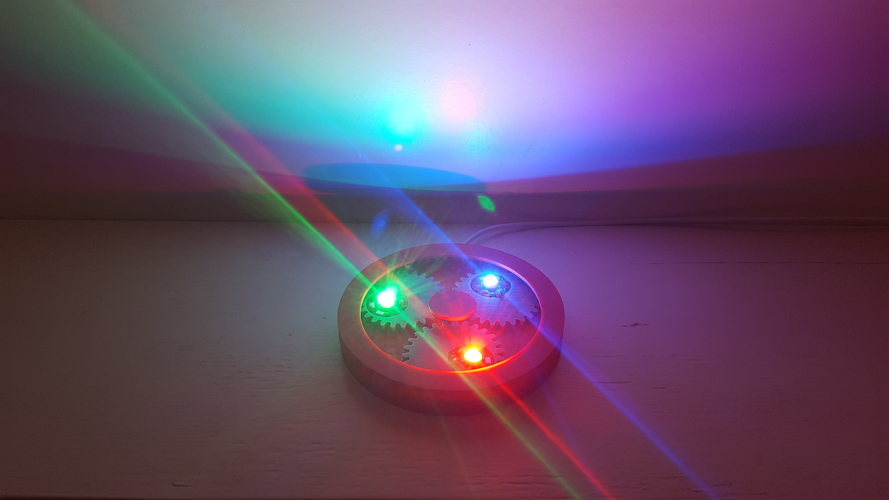
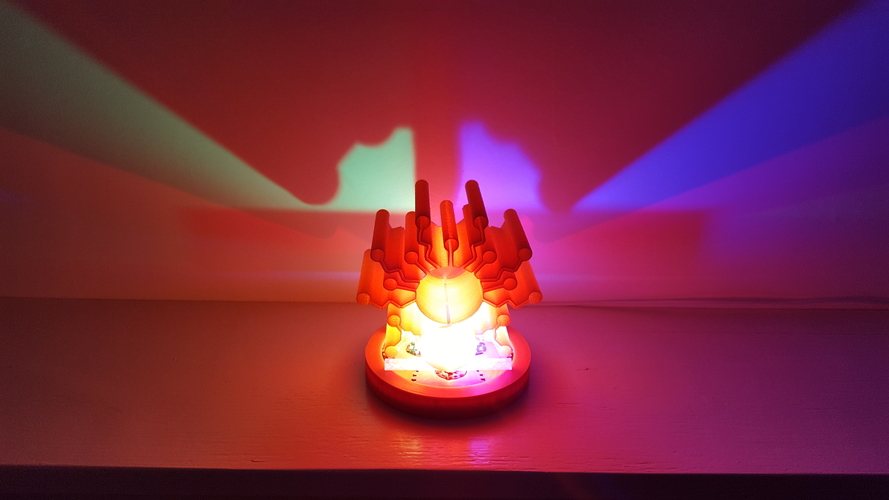
Many people have asked me how I light my lampshades.
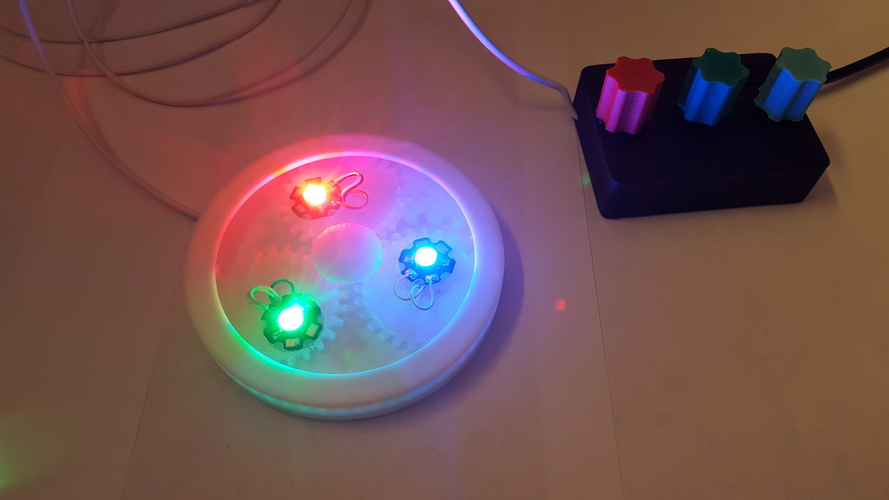
I just use a red, green and blue LED in offset from each other.
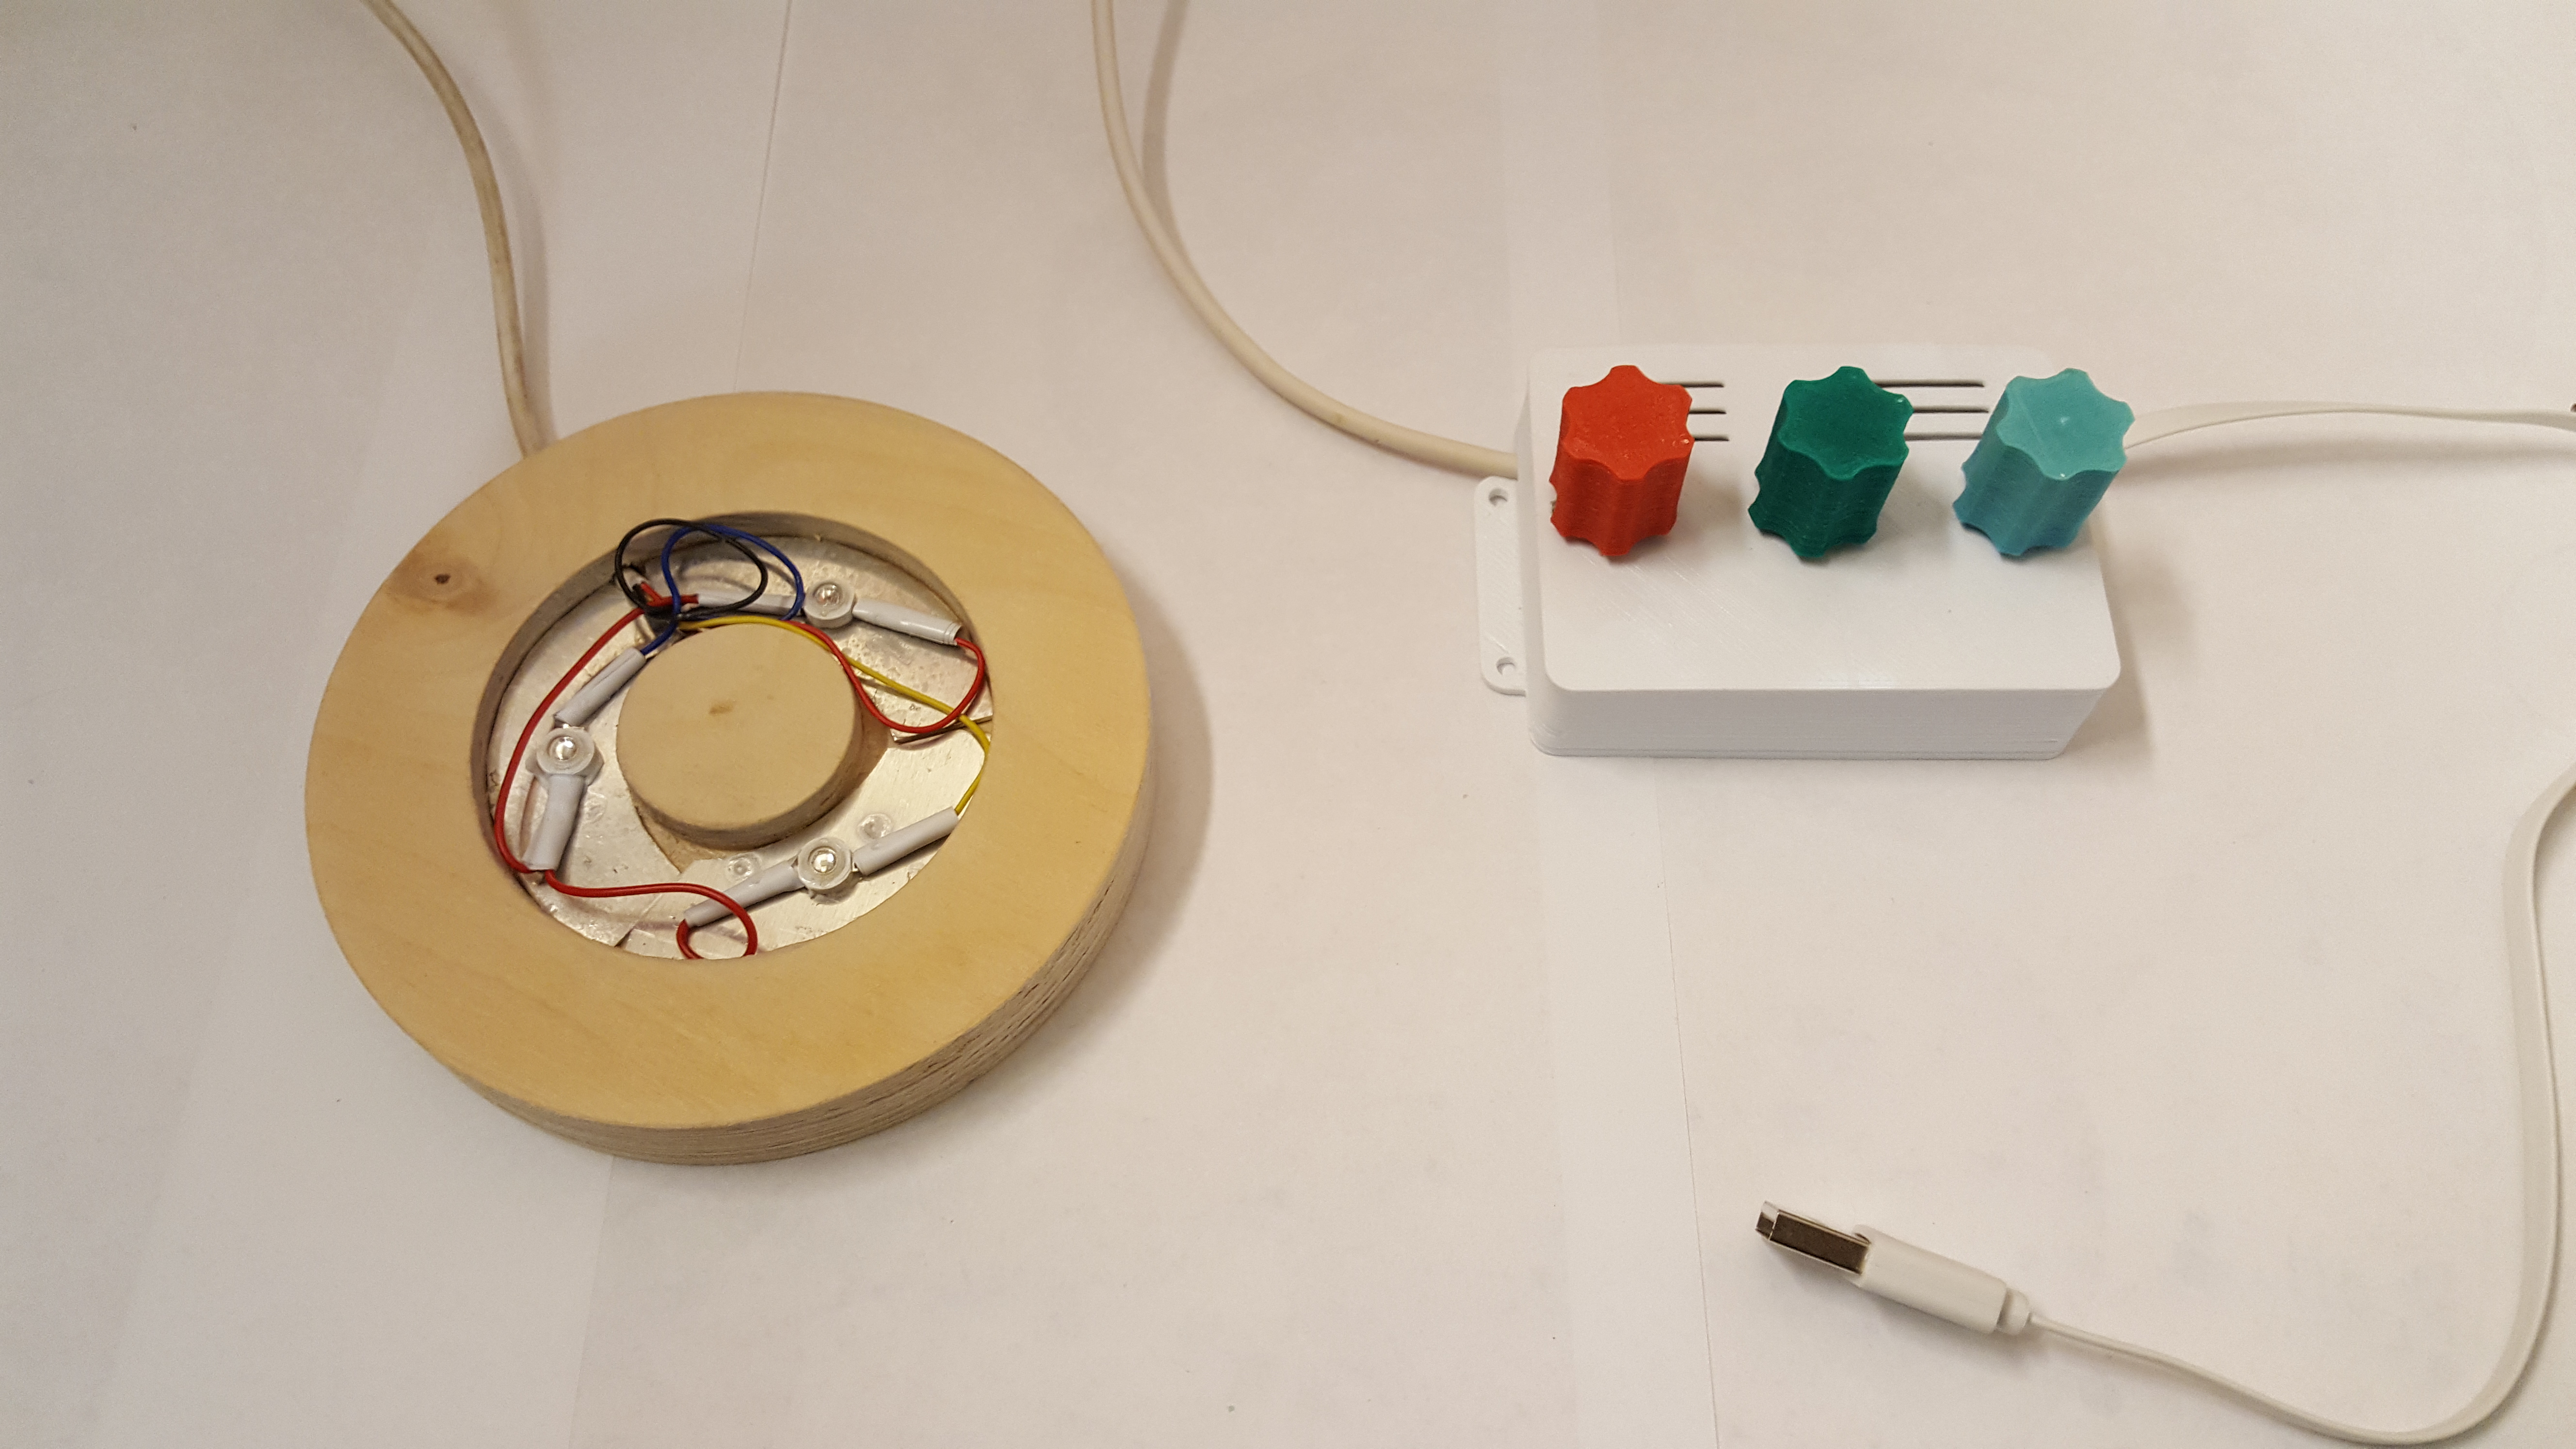
My old LED bases are made from wood and are very simple in design. See picture.
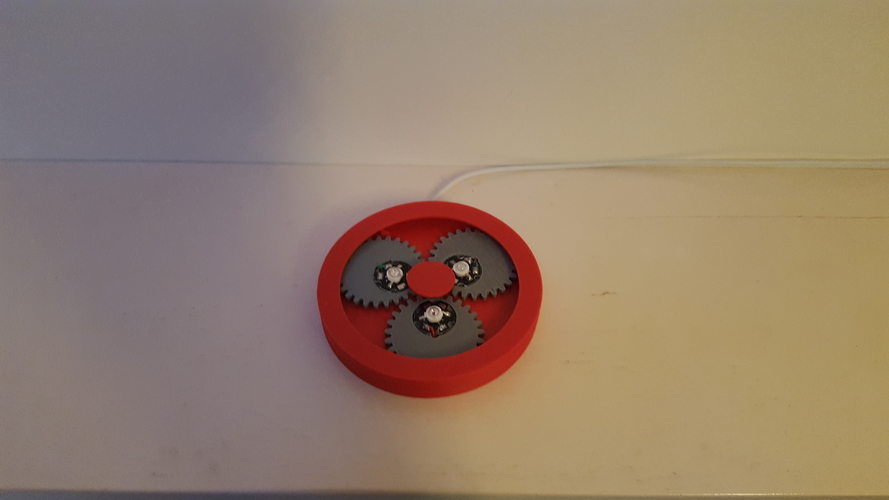
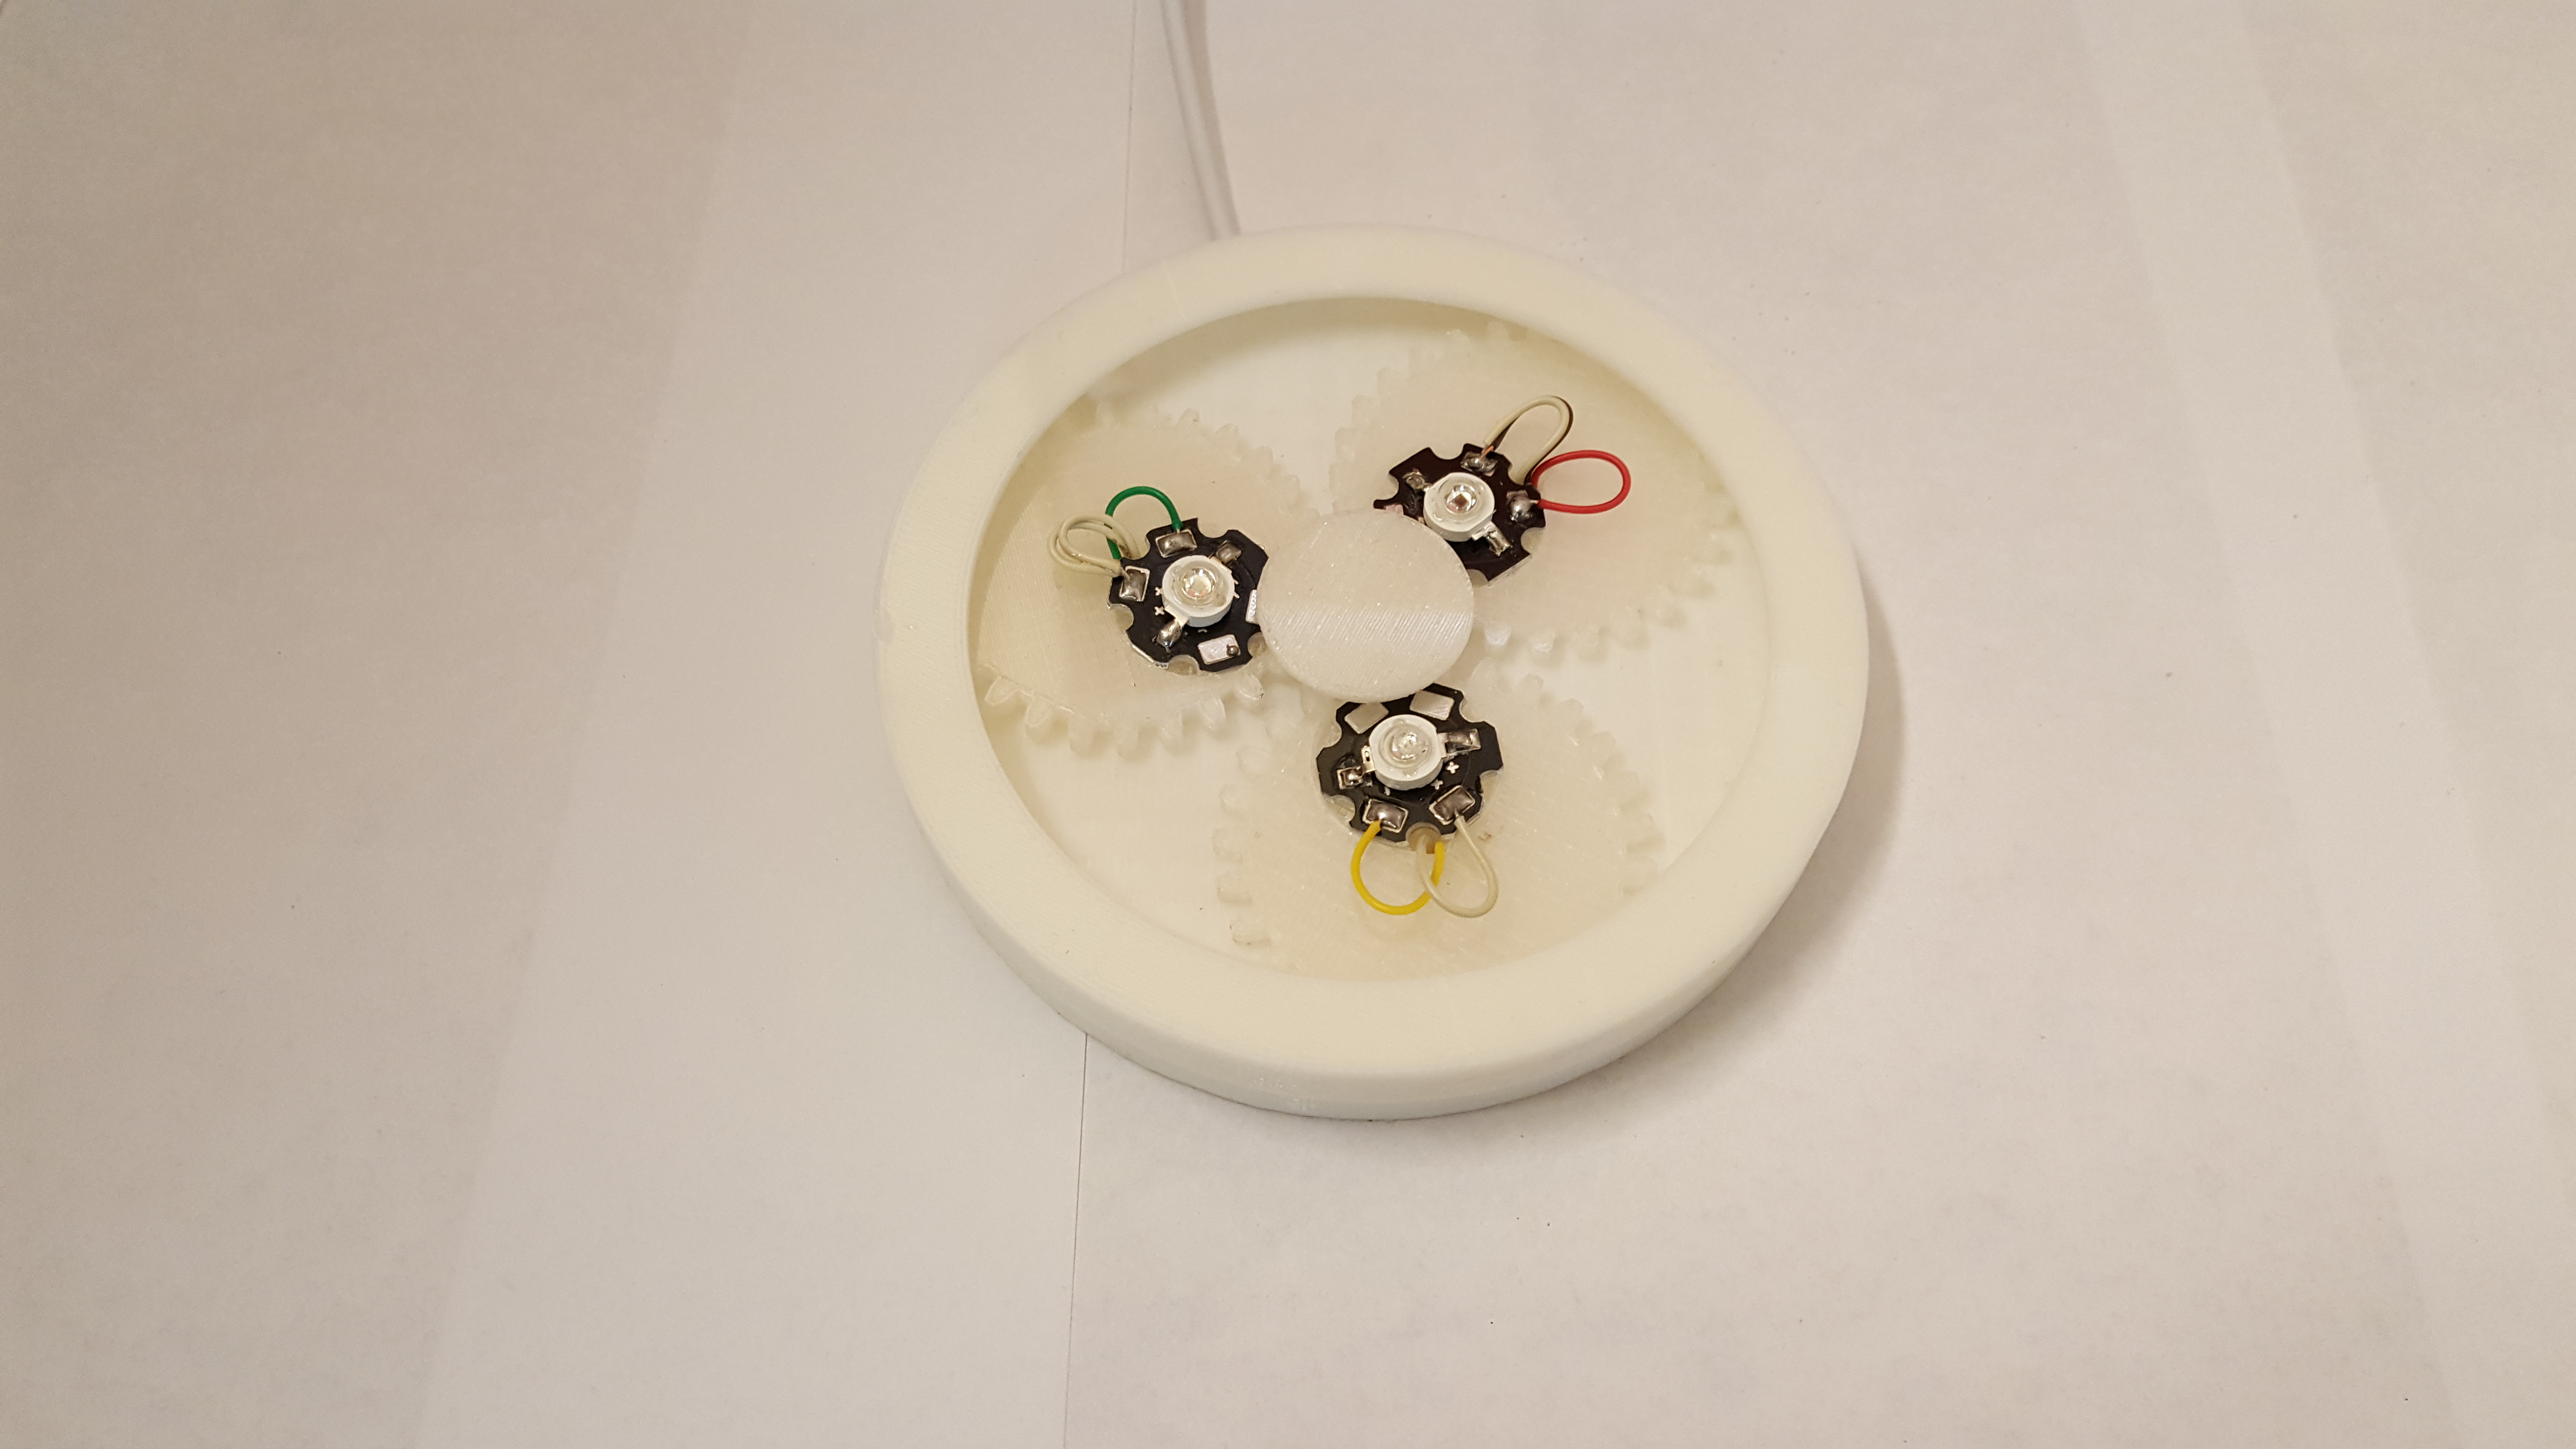
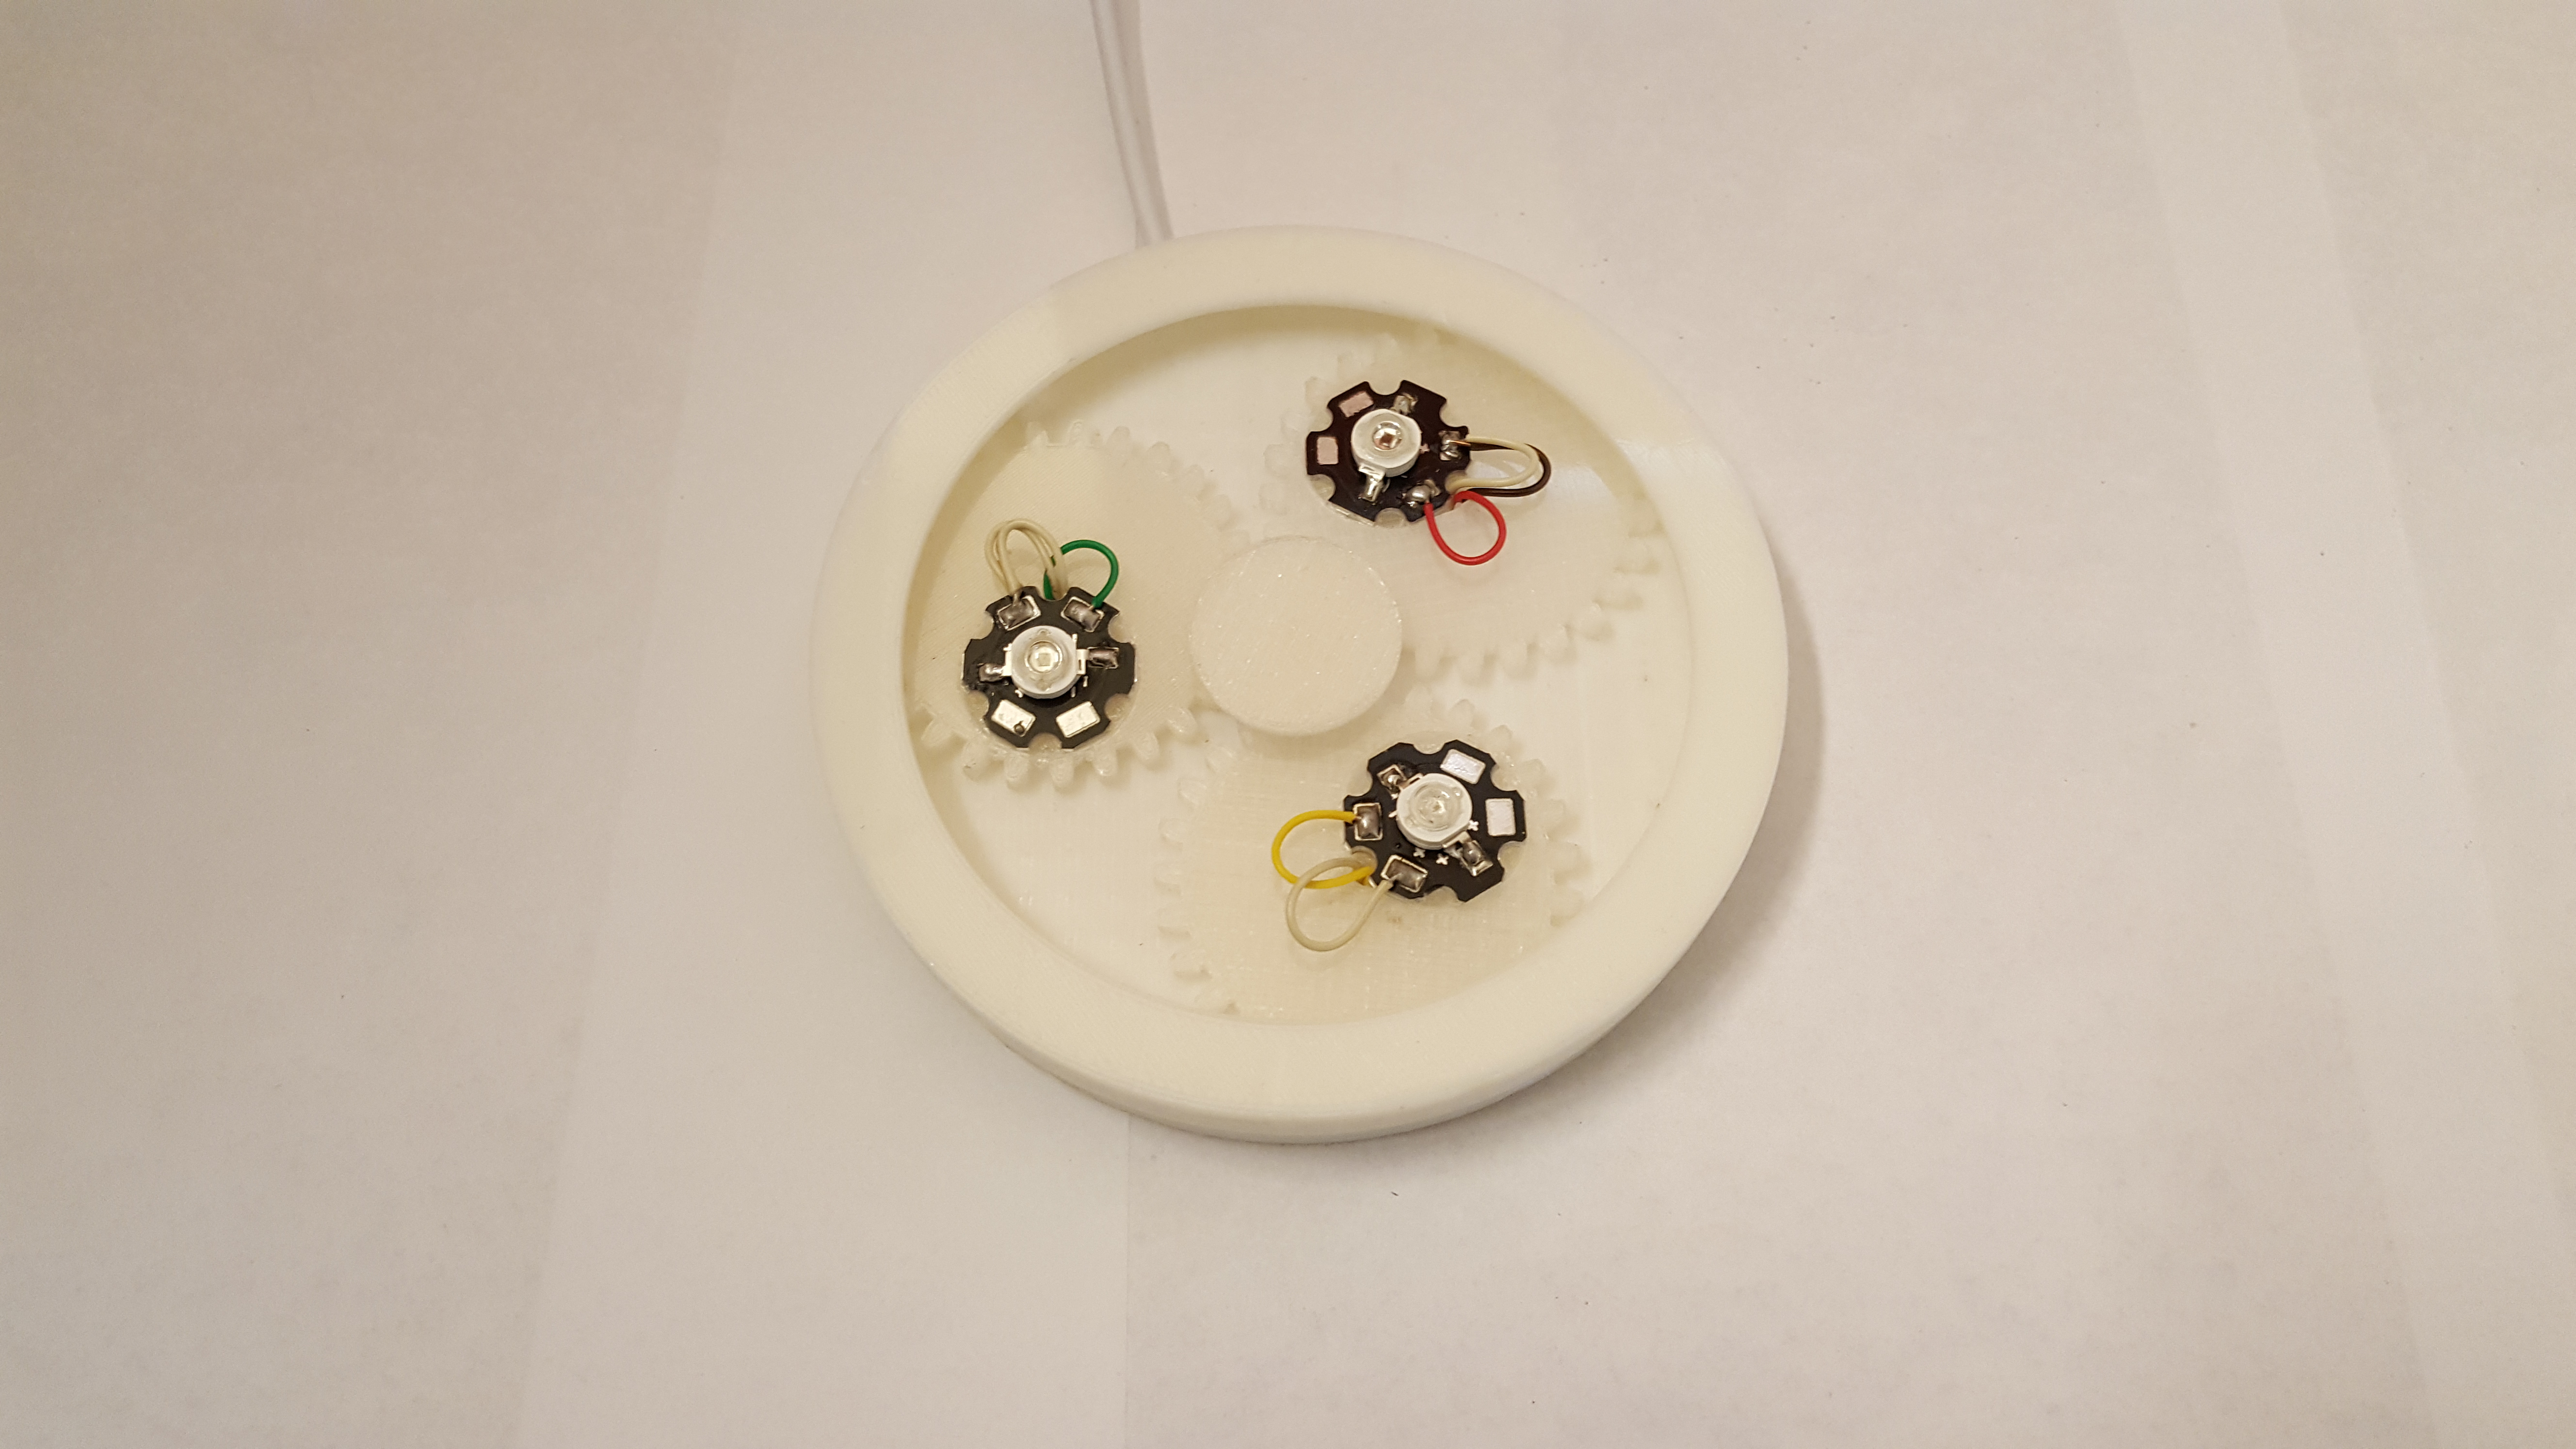
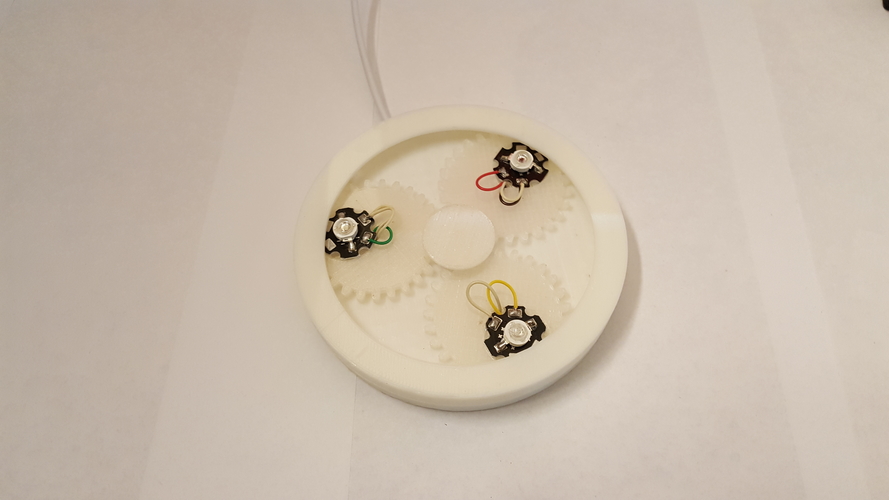
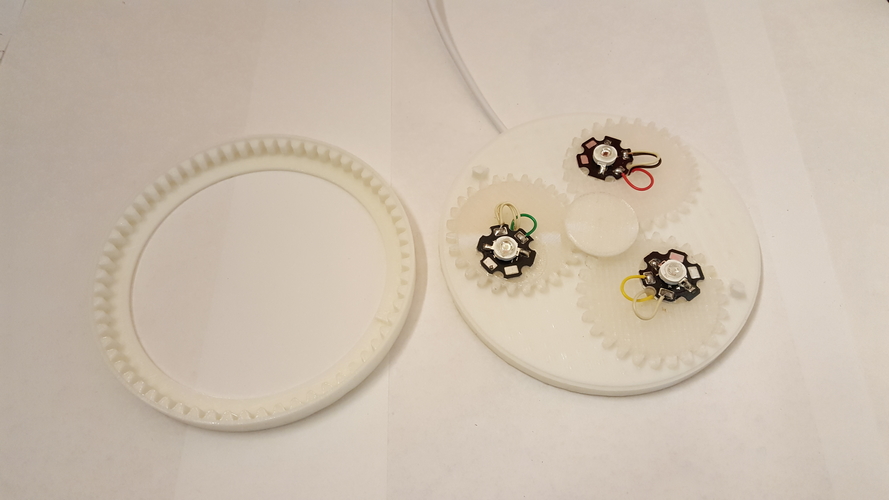
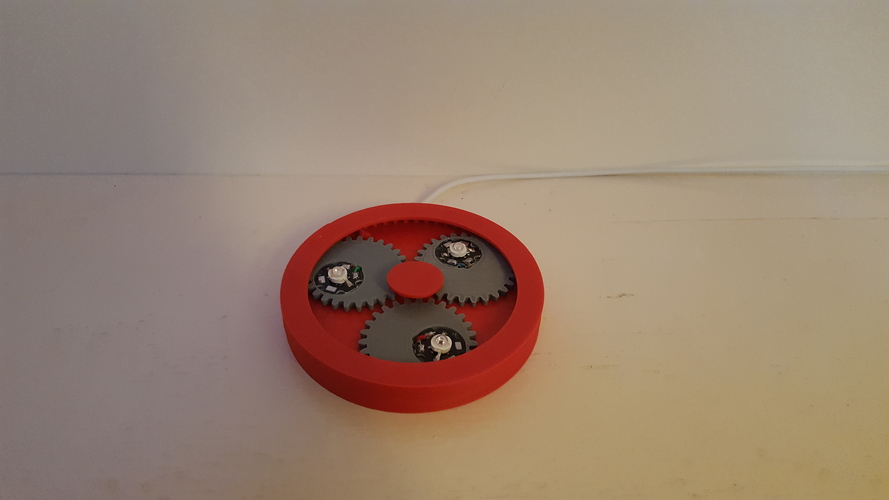
But now I have made one that can be printed. I also took the liberty to make the distance between the LED’s adjustable. The distance between them can be adjusted by turning the outer ring of the base.
The white adjustable one in the pictures has 3W LED’s they come with their own heatsink.
They work well, but they get really hot. They must be able to radiate their heat. So I recommend making a hole into the base of your spiral vase mode lamp shade. Otherwise they will melt the plastic.
If you are using the 1W LED’s and they have no heatsink, you have to glue them to an aluminum plate with thermal glue. In the picture of the wooden base you can see an example. Most of the photos of my lampshades are with a base that includes 1W LED’s.
Then there is the problem that there are a lot of different LED’s you can buy and they are not all the same in voltage and current they use. So the resistors used may vary in resistance and voltage. So it’s very important to use the right resistor. The value of this resistor is defined by the voltage of you power supply, the voltage of the LED and the current the LED will draw.
In my case I use an USB power adapter 2.1A and thus 5V.
Most RED power LED’s operate at a voltage up to 2.3V
Most GREEN and BLUE power LED’s operate at a voltage up to 3.6V.
The Current of the LED’s is given by the manufacturer I hope :-)
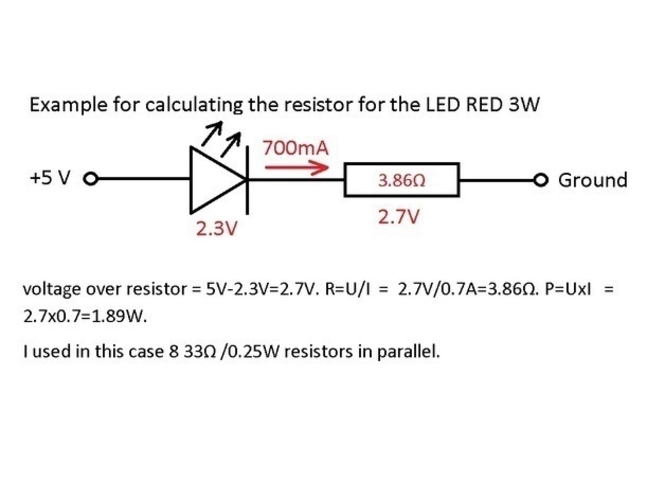
Because I want to inspire people to do more things themselves I have included an example how to calculate the resistor in one of the pictures.
Below I have calculated the resistors the resistors for 3W red, green and blue LED’s and below that also for the 1W LED’s.
BUT BEWARE! These resistor values work only with 5V.
For the 3W heatsink ones I have calculated for 700mA so the resistor will be something like:
RED: voltage over resistor = 5V-2.3V=2.7V. R=U/I = 2.7V/0.7A=3.86Ω. P=UxI = 2.7x0.7=1.89W.
I used in this case 8 33Ω /0.25W resistors in parallel.
GREEN: voltage over resistor = 5V-3.6=1.4V. R=U/I = 1.4V/0.7A=2Ω. P=UxI =1.4x0.7=0.98W.
I used in this case 5 10Ω /0.25W resistors in parallel.
BLUE: voltage over resistor = 5V-3.6=1.4V. R=U/I = 1.4V/0.7A=2Ω. P=UxI =1.4x0.7=0.98W.
I used in this case 5 10Ω /0.25W resistors in parallel.
For the 1W ones without their own heatsink, I have calculated for 434mA so the resistor will be something like:
RED: voltage over resistor=5V-2.3V=2.7V. R=U/I = 2.7V/0.434A=6.22Ω P=UxI = 2.3Vx0.434A=1W.
I used in this case 6 33Ω/0.25W resistors in parallel.
GREEN: voltage over resistor=5V-3.6V=1.4V. R=U/I = 1.4V/0.434A=3.23 P=UxI = 1.4Vx0.434A=0.6W.
I used in this case 5 10Ω/0.25W resistors
BLUE: voltage over resistor=5V-3.6V=1.4V. R=U/I = 1.4V/0.434A=3.23 P=UxI = 1.4Vx0.434A=0.6W.
I used in this case 5 10Ω/0.25W resistors
I used ¼ watt resistors to make a bigger one. But of course you can use 1 big one also :-)
If you find this all too much work, than you can just buy a standard LED driver :-)
I will post a simple dimmable one soon. :-)
Printed in PLA 0.25mm resolution, nozzle 0.5mm at 195°C & neutral PET-G 0.2mm resolution, 0.4mm nozzle at 220°C. for the little gears I recommend a very low federate for the last pin like part.
for LED driver /dimmer please see : https://pinshape.com/items/403...
Comments