

Prints (0)
-
No Prints Yet
Be the first to upload a Print for this Design!
Description
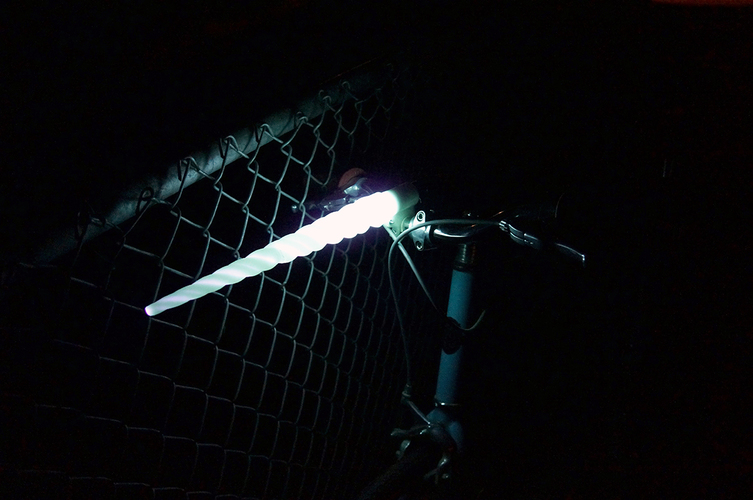
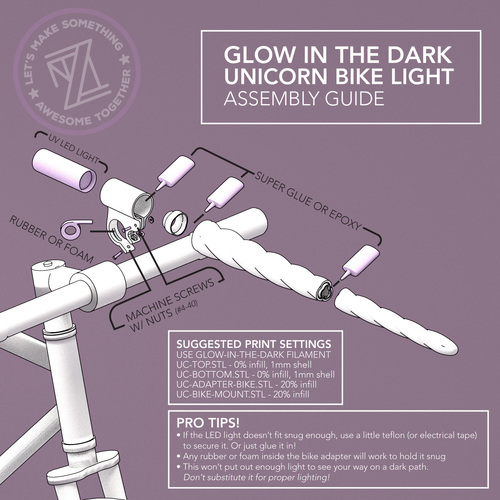
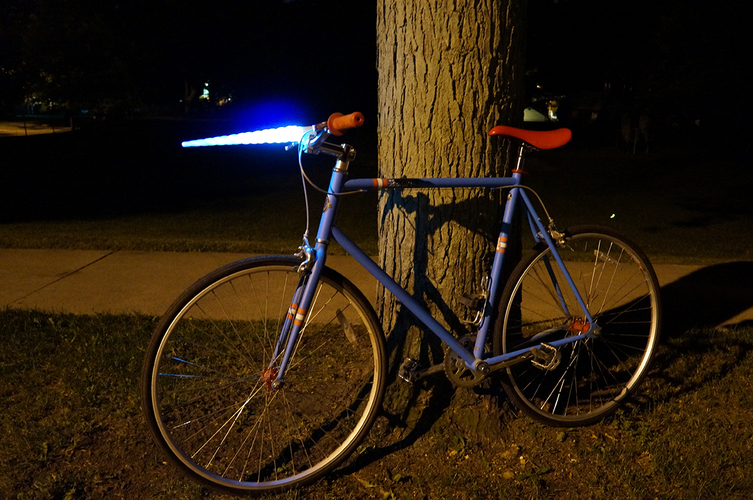
Decided to add a little whimsy to my bike while keeping me visible at night. Design is broken into (4 total) shorter pieces so even the smallest printers can produce this model. Of course you can always print this in a different color filament and leave out the UV light, but where is the magic in that?! There is an assembly guide (with pro tips!) posted with this design to help you figure out how it goes together. It is 90% printed, but you'll need a few extra things: 2 - #4/40 screws w/ nuts (1/2" and 3/4")
Some sort of rubber or foam to keep it snug on the handlebars
Super glue or epoxy to join the pieces together
UV Led light (or regular LED if you don't want extra magic!), can be had for less than $5 on ebay. The cheap LED flashlights at Harbor Freight fit in this also.
*** UPDATE ****
I've added three new bike mount parts (UC-Bike-Mount-V2, UC-Bike-Mount-V2-Top, UC-Bike-Mount-V2-Bottom) for increased strength. You won't have to try and snap the mount to the handlebar, now it is a three piece assembly.
You will need two extra #4-40 1/2" nuts and screws and one extra #4-40 3/4" nut and screw. Still add some foam to the insides of the bottom and top pieces, and secure it to the handlebar. Now slide in the UC-Bike-Mount-V2 onto that and secure with the 3/4" screw. In order for the UC-Bike-Mount-V2 top piece to print in the proper orientation for max strength, you will need to use some minimal supports touching the build plate only.
Comments